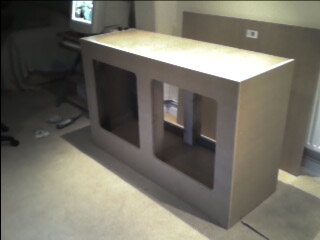
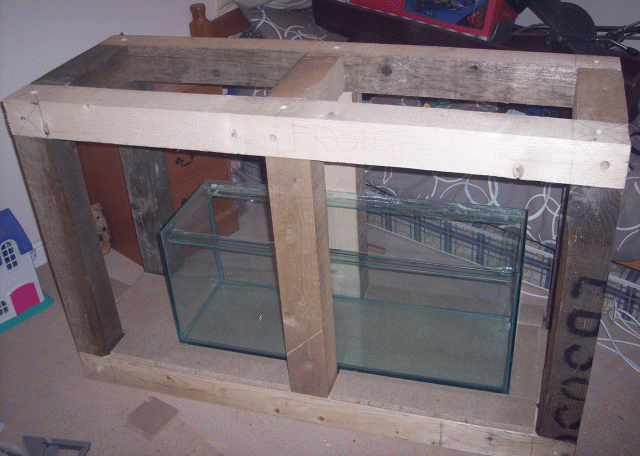
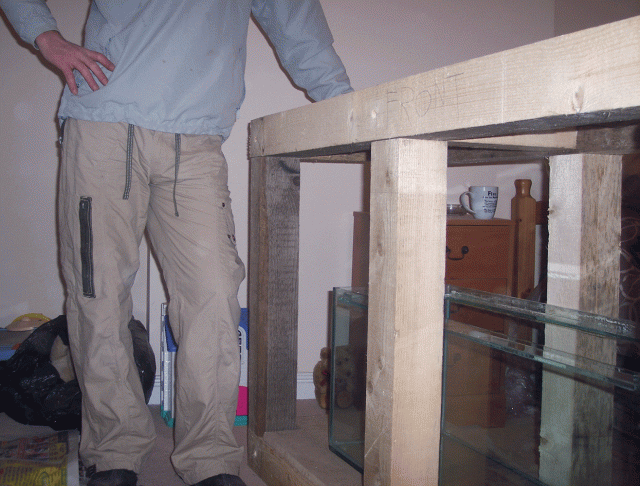
Well, today I finally got to make a start with the build for new system.
Just to start off with, will throw some dimensions at you all so you know what I working with.
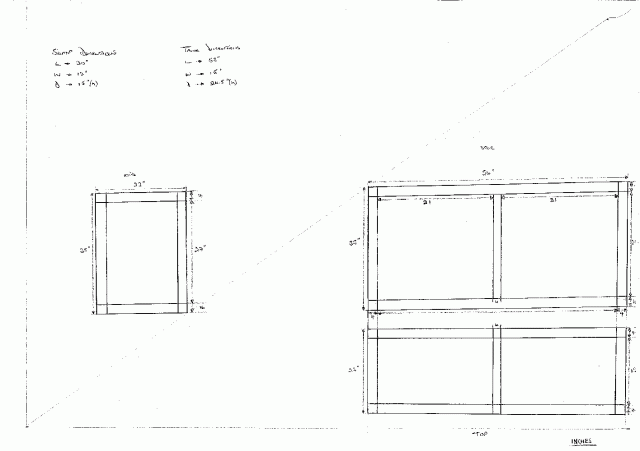
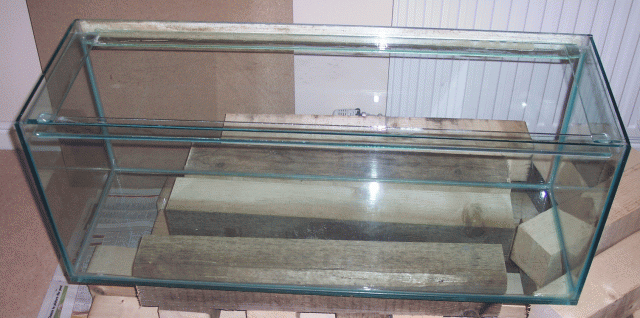
Display Tank - 53"L x 15"W x 24.5"T ( about 100 US Gals )
Sump - 36"L x 12"W x 15"T ( about 20 US Gals )
Tank Stand - 54"L x 20"W x 35"T
Plumbing - 1" ( UK Measurements ) through-out with a 1700 litre per hour pump for the return
Lighting - got to save a little cash for this bit. But will just be using the T8's from my old tank for the time being.
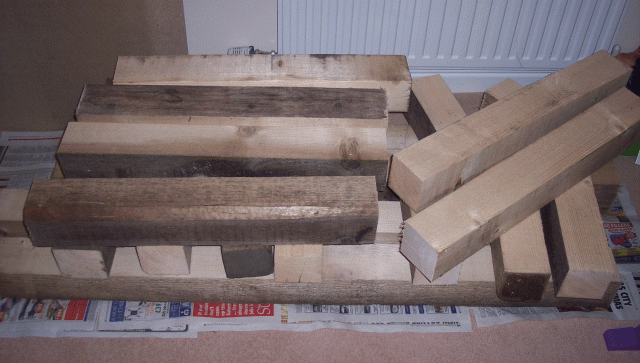
The timber i am using is all 4" x 4" untreated. I know it may be a little over kill on the structure of the frame, but I always prefer to edge on the side of caution.
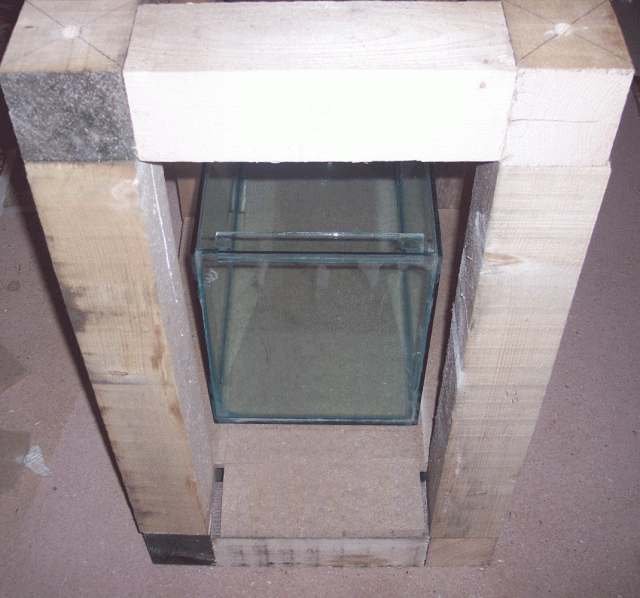
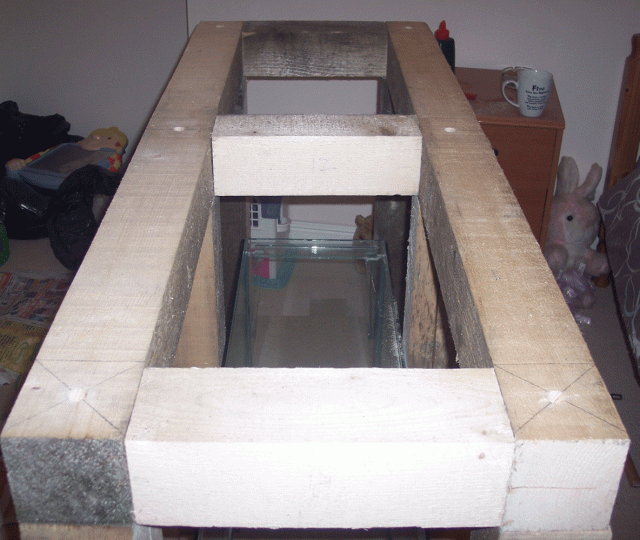
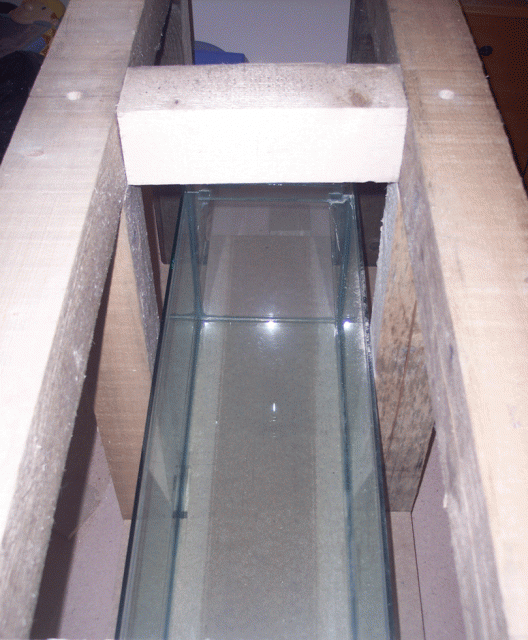
Now, you attentive people may of noticed that the stand is actually wider than the what the tank is, 5" wider actually. The reason why it is like this is to allow a gap of 12" at the end to be able to slide the sump tank inside the frame from the end. Some one did say that to build the sump inside the frame as I am building it. Yes, that may be good, but, what happens if for reason it shatters...How you going to get another sump in that’s the same size? So, that is why the stand in wider than the tank.
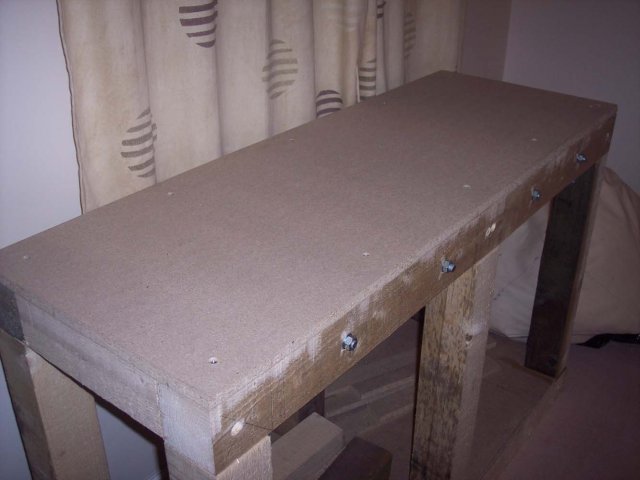
To compensate for this, I am adding 4 extra supports around the top frame of the tank, in 4" x 4" again which will have large bolts going through them which clamp these to the outside frame. That bit will be come more apparent as this beast gets built and you will see from the photos later.
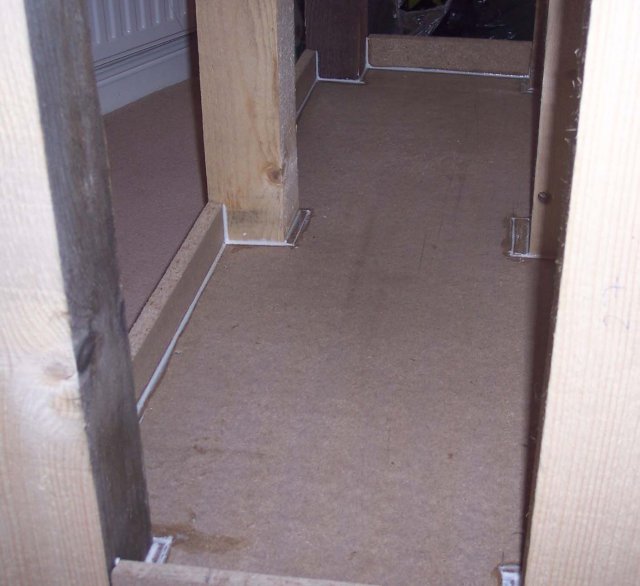
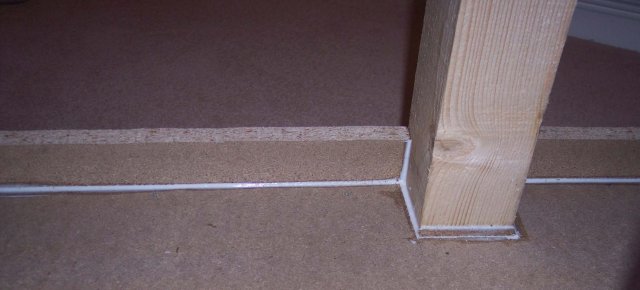
So, so far today, I have made up the basic frame installed the base floor of the stand. The base floor will be having a lip installed all around the edge which will be 2" tall and completely sealed, so, any overflow or water splashed from the sump will not seep out from the stand but be just contained inside.
Next part of the stand to be built will be installing the extra tank supports on the top frame, fitting angle brackets on all joints for extra strength, fitting the top which the stand will sit on to, and to install the mini flood barrier around the inside of the bottom and then seal the entire bottom..
That’s it for day one...its now time for a few well deserved beers I think...
Any feedback or constructive criticism is always welcome
Right then...death by picture for you now..
Niko


