OK, so here I go. Been doing my homework and cruising through Craigslist for the perfect "starter" tank. I've decided to make a true build log out of this to document exactly how to do, (and not do I'm sure) what it is I hope to do. I am also going to keep a running total of actual cost of the project so if anyone else is looking into getting into a new (used) tank they can see how little (or how expensive rather) you can do this for. All prices will be rounded to the nearest dollar.
My mission statement. (don't know if I need a mission statement really but oh well): To build a community tank with a DIY background, real plants and a sand and rock bottom. To do all this while not getting so high tech I need a Phd. in electrical engineering, marine biology, or astrophysics. All the while, spending as little as I can as to avoid having to put the kids on Craigslist to fund the project.
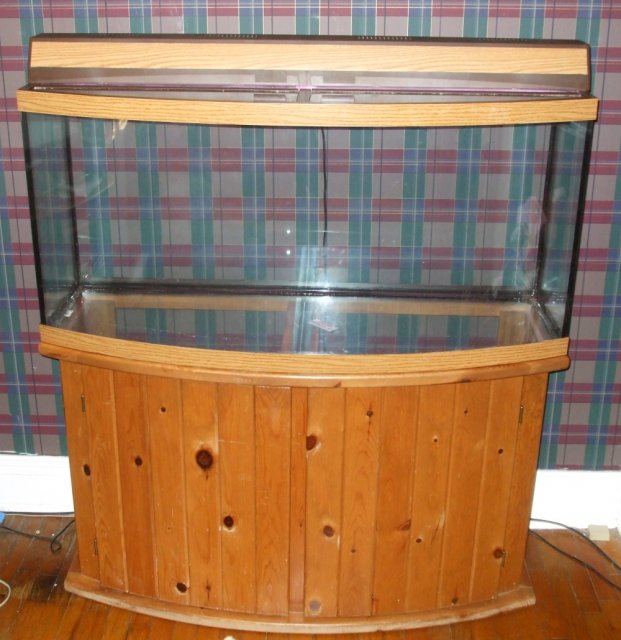
Now, on to the pictures and the begining of the build. We can start with the new (used) tank. It is a 72 gal. bowfront tank with wood grain and matching oak stand. Decided to go the Craigslist route to save money. Appears to be a great tank. I got it home, removed the old substrate and gave every surface a good wipedown with plain white vinegar on a micro-fiber cloth. Not too worried about the ph at this point in the game as I'll need to do several water changes while I am curing and cleaning the finished background. Will need to shim up the front as the marble test indicated that the floors in my 115 yr old house have started to sag to the middle. Hey, after 125yrs you'll sag too. I'm thinking now that normal cabnet style shims should do the trick. If anyone has found out different please let me know. Here's the tank. Price: $225. Running total: $225.
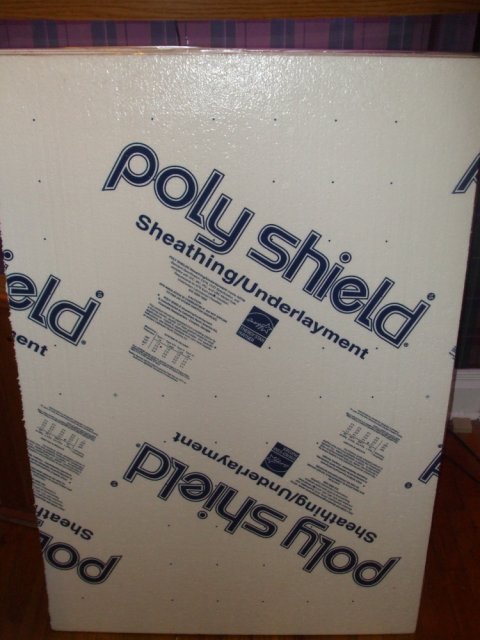
Next, a shopping trip to my local Lowe's store. Here I picked up some of the supplies I'll need for the background. I'm going to go with an asian theme in the tank so I'm going to be doing my best to replicate the look of part of The Great Wall of China. Decor is going to be a mix of whimsical and natural. Driftwood and perhaps a piece of bamboo or two along with an ancient looking resin pagoda and a chineese dragon with an airstone in his mouth. Some random larger stones, perhaps weatherd to look like they fell off somewhere farther up the wall. From Lowe's though, I picked up (1) 4'x8' sheet of 3/4" Polyshield styrofoam. I cut it into 1/3s to get it home but that makes 3 sheets with an overall size larger than my tank so no worries. It has a plastic coating on the front and foil sheet on the back. Both will peel off with little effort wich is what I plan on doing. Price: $11. Running total: $236.
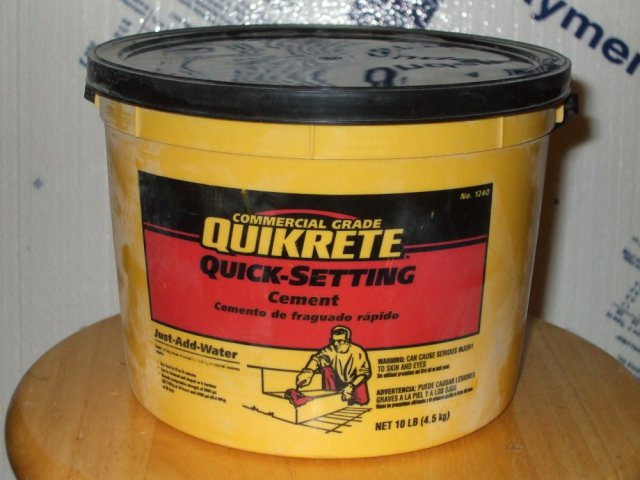
In order to make the styrofoam look like the bricks of The Great Wall, I'm going to need some thin patch concrete. I've taken the method from several differnt sites all having to do with DIY backgrounds. I'm not going to credit any of them at this time only to say that the method is not exactly my own but the idea itself is. There have been some pioneers in the making of styrofoam backgrounds and I can only hope mine will look half as good. This was the smallest container they had that I think will be enough to do the job. Only time will tell. Commercial grate Quick-Crete quick setting cement. Price: $8. Running total: $244.
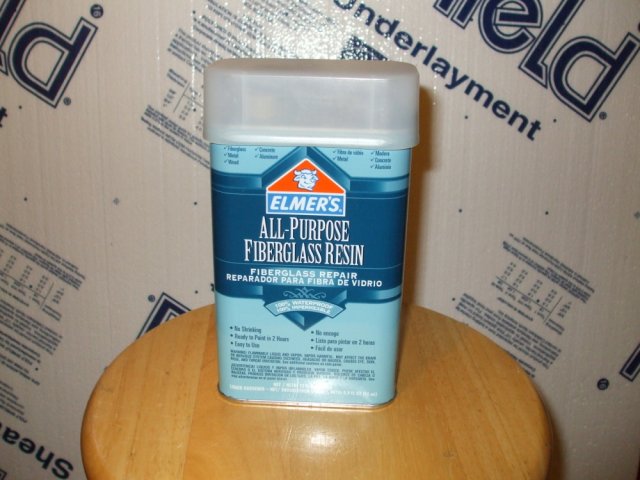
In order to protect the concrete I decided to use an all purpose fiberglass resin. This should seal the concrete and styrofoam and make everything 100% waterproof. At least for the mean time, I've decided not to die the concrete itself. I plan on giving the concrete at least three coats of resin. On the final two coats I'll be sprinkeling pool filter sand onto the wet resin to add texture, break up the shiny effect of the resin and hopefully throw just a bit of color into the mix. In time I hope that enough natural aquarium color will find its way into the cracks and holes to make it look natural. More on that later. Elmer's All-Purpose Fiberglass Resin. Price: $15. Running total: $259.
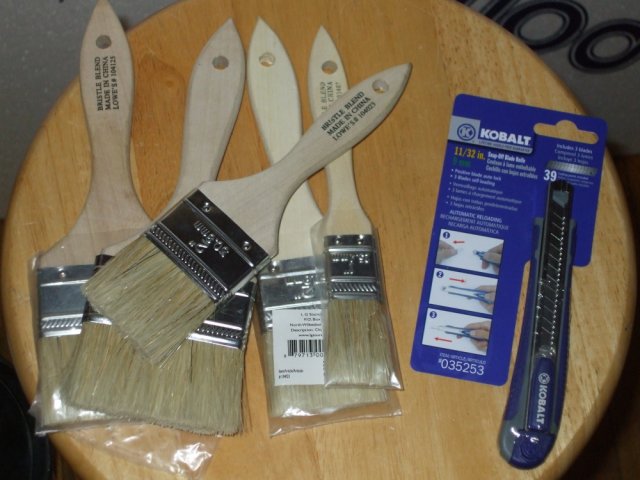
Now, I hate including this in the price but I went ahead and got 5 disposable brushes and a new knife for working with. You probably dont need a picture of this but you're gonna get one anyway. If I'm going to be true to the project I guess I need to factor in all the money I'm gonna spend. 5 disposable paint brushes and new Kobalt snap-off blade knife. Price: $11. Running total: $270.
Well, thats it for tonight. I hope to get into building this wall a bit in the next several days. I hope all of you enjoy the build. This isnt going to be a really quick one I'm afraid. I've run into too many problems trying to rush other types of projects so I'm gonna give everything its needed time to dry/cure etc. Any questions are welcome. Suggestions and comments are greatly appriciated. I'll try to keep you all up to date. Thanks for following along on my first real build.


My mission statement. (don't know if I need a mission statement really but oh well): To build a community tank with a DIY background, real plants and a sand and rock bottom. To do all this while not getting so high tech I need a Phd. in electrical engineering, marine biology, or astrophysics. All the while, spending as little as I can as to avoid having to put the kids on Craigslist to fund the project.
Now, on to the pictures and the begining of the build. We can start with the new (used) tank. It is a 72 gal. bowfront tank with wood grain and matching oak stand. Decided to go the Craigslist route to save money. Appears to be a great tank. I got it home, removed the old substrate and gave every surface a good wipedown with plain white vinegar on a micro-fiber cloth. Not too worried about the ph at this point in the game as I'll need to do several water changes while I am curing and cleaning the finished background. Will need to shim up the front as the marble test indicated that the floors in my 115 yr old house have started to sag to the middle. Hey, after 125yrs you'll sag too. I'm thinking now that normal cabnet style shims should do the trick. If anyone has found out different please let me know. Here's the tank. Price: $225. Running total: $225.

Next, a shopping trip to my local Lowe's store. Here I picked up some of the supplies I'll need for the background. I'm going to go with an asian theme in the tank so I'm going to be doing my best to replicate the look of part of The Great Wall of China. Decor is going to be a mix of whimsical and natural. Driftwood and perhaps a piece of bamboo or two along with an ancient looking resin pagoda and a chineese dragon with an airstone in his mouth. Some random larger stones, perhaps weatherd to look like they fell off somewhere farther up the wall. From Lowe's though, I picked up (1) 4'x8' sheet of 3/4" Polyshield styrofoam. I cut it into 1/3s to get it home but that makes 3 sheets with an overall size larger than my tank so no worries. It has a plastic coating on the front and foil sheet on the back. Both will peel off with little effort wich is what I plan on doing. Price: $11. Running total: $236.

In order to make the styrofoam look like the bricks of The Great Wall, I'm going to need some thin patch concrete. I've taken the method from several differnt sites all having to do with DIY backgrounds. I'm not going to credit any of them at this time only to say that the method is not exactly my own but the idea itself is. There have been some pioneers in the making of styrofoam backgrounds and I can only hope mine will look half as good. This was the smallest container they had that I think will be enough to do the job. Only time will tell. Commercial grate Quick-Crete quick setting cement. Price: $8. Running total: $244.

In order to protect the concrete I decided to use an all purpose fiberglass resin. This should seal the concrete and styrofoam and make everything 100% waterproof. At least for the mean time, I've decided not to die the concrete itself. I plan on giving the concrete at least three coats of resin. On the final two coats I'll be sprinkeling pool filter sand onto the wet resin to add texture, break up the shiny effect of the resin and hopefully throw just a bit of color into the mix. In time I hope that enough natural aquarium color will find its way into the cracks and holes to make it look natural. More on that later. Elmer's All-Purpose Fiberglass Resin. Price: $15. Running total: $259.

Now, I hate including this in the price but I went ahead and got 5 disposable brushes and a new knife for working with. You probably dont need a picture of this but you're gonna get one anyway. If I'm going to be true to the project I guess I need to factor in all the money I'm gonna spend. 5 disposable paint brushes and new Kobalt snap-off blade knife. Price: $11. Running total: $270.

Well, thats it for tonight. I hope to get into building this wall a bit in the next several days. I hope all of you enjoy the build. This isnt going to be a really quick one I'm afraid. I've run into too many problems trying to rush other types of projects so I'm gonna give everything its needed time to dry/cure etc. Any questions are welcome. Suggestions and comments are greatly appriciated. I'll try to keep you all up to date. Thanks for following along on my first real build.


Last edited:


