Glass Rimless Nano Build

  • Get the NEW AquariaCentral iOS app --> http://itunes.apple.com/app/id1227181058 // Android version will be out soon!

stephenpence

What.. my name isn't enough?
Feb 9, 2010
69
0
0
i'll post pictures as soon as i, well, even start this thing. i'm getting the glass cut today but i have a few questions. I decided to go glass over acrylic for the cost factor. 1/4" acrylic runs ~$14 a square foot, where as glass is only $6.50. granted i only need 3 sqft, but hey that's half. so here's my first question for all you DIY-ers. when i assemble the 'walls' of the tank, do i then put them ON-TOP of the base plate, or AROUND the base plate... if that makes any sense. It seems to me that the walls of the aquarium should be sitting on top of the base piece. and on that note, should i be looking at using a thicker piece of glass for the base? The finished inside dimenstions are going to be 7"Hx5"Wx14"L. It should be right at 2 gallons. It will soon be the home for all my berried shrimp. I'm moving soon, and rather than loosing all my new babies, i figured i'd make them a new home with no substrate to get lost in when i try to break the tanks down in a month or three. then it will become my office tank of blue tigers once i have moved. pretty stoked, but in need of a little guidance before i start moving with it!
 

stephenpence

What.. my name isn't enough?
Feb 9, 2010
69
0
0
The Build!

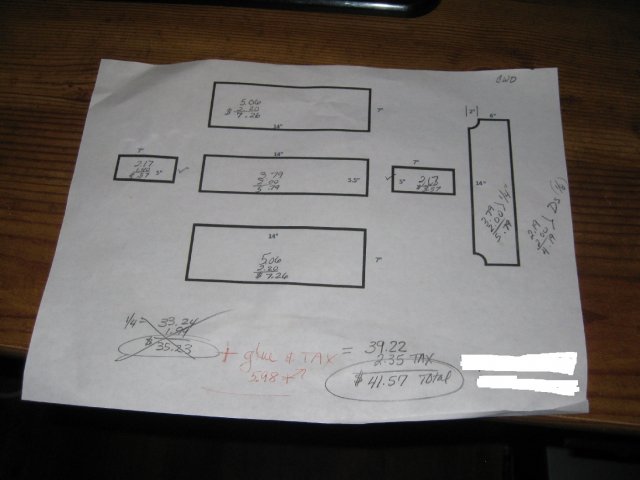
So here's the plans i started with.. K kinda crude, but it's a MS Paint Drawing.. give me a break!
Plan.jpg
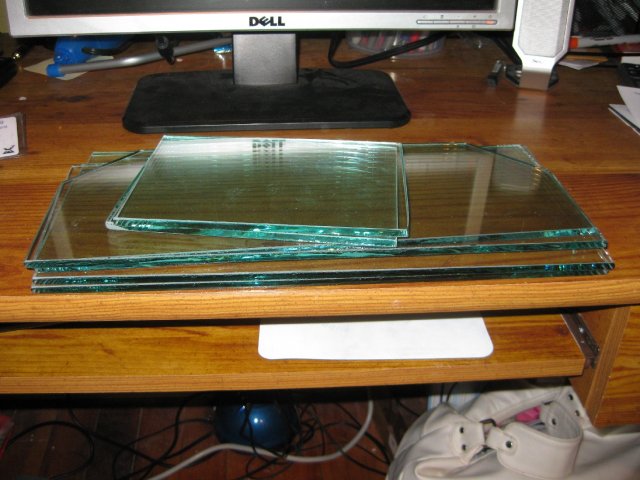
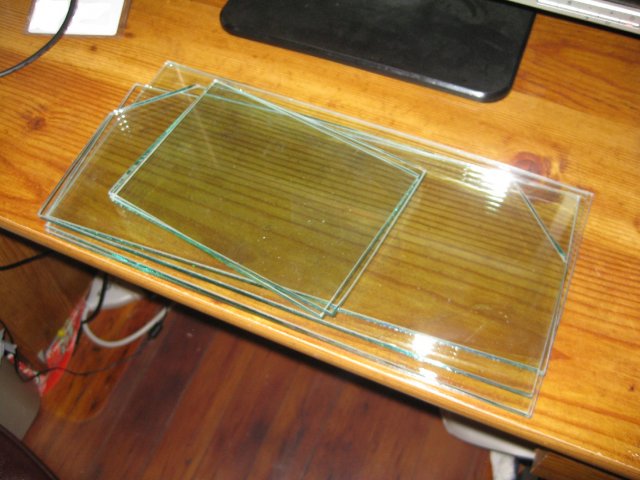
A few hours later and my plan turned into this!
pieces.jpg

pieces2.jpg
All 1/4th inch glass.
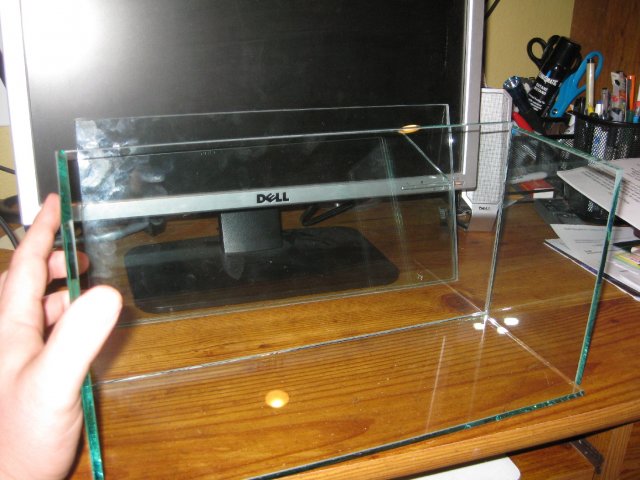
Now.. I have a pretty big proposal due.. and i really needed to be working on it.. so.. I'll just see what it's going to LOOK LIKE..
dry fit.jpg

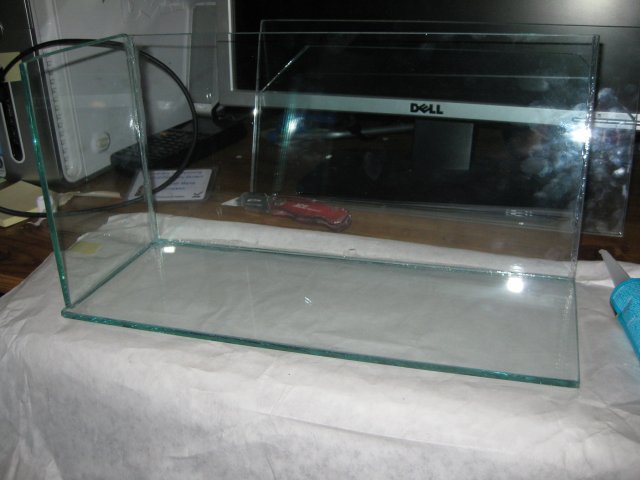
What I discovered here is that windows have a lot more room for error than do aquariums. some of the pieces were a full 1/8th off. And "square" was pretty relative here. So.. man.. I don't know how this is going to work.. I guess i better just put up a panel or two to see how if it's going to come together..
first 2 panels.jpg
Using DAP aquarium silicone sealant, i put a small bead on the base plate and firmly pressed the panels together. It's important to press firmly enough to get good coverage, while not so hard as to squeeze all of the silicone out of the gap. .. well.. those went up really fast.. Won't take long to do just another 2....
assembled.jpg
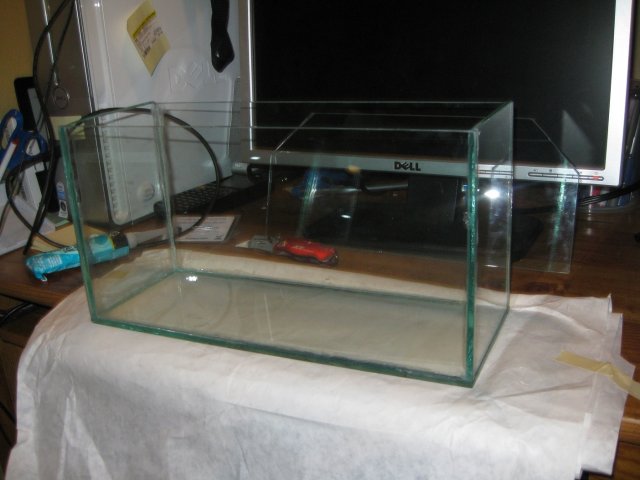
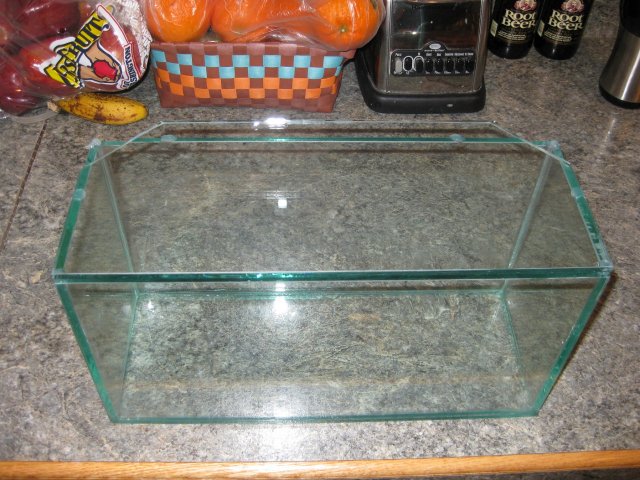
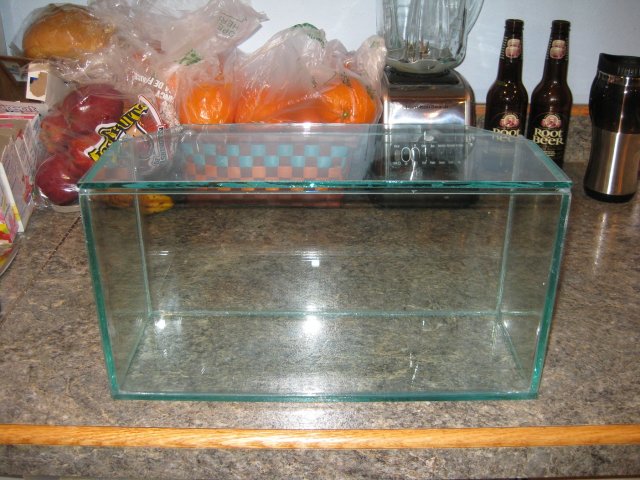
So earlier i was talking about all of these cuts that were off by a little. INITIALLY i was wanting to absorb all of that error in the bottom, making the top look perfect and flush. BUT the engineer in me wouldn't let me. that would make large silicone seals that may have had problems. So I opted to have tight seals everywhere and have some staggered panels on top. With a lid, it shouldn't be noticeable.
assembled with Lid 2.jpg

assembled with Lid.jpg
Notice the clipped edges. that's how my wire and hose will get into the tank.
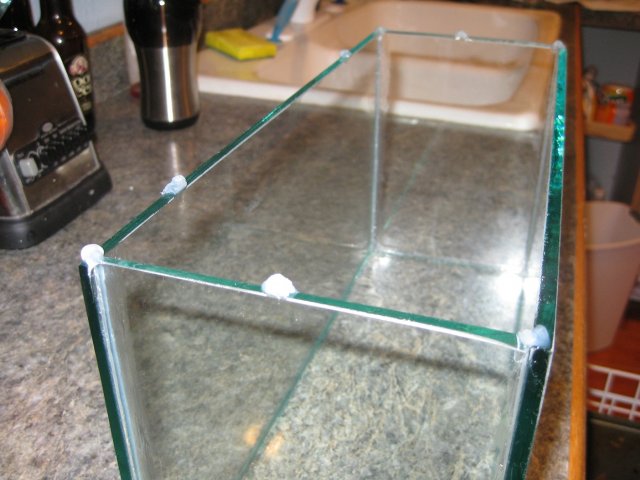
Now in order to keep from having pressure points on the lid since the top surface isn't even, I put silicon pads on the corners where it would impact.
assembled lid cusions.jpg
Here the gap from the cushions is pretty apparent.
assembled front view.jpg
The plan is to build a small cabinet that will be beside and below the tank that will house all of the neccessities.... including SOMEDAY a small canister filter. until then I'll be using a few tiny sponge filters. just 15 more hours until i can fill it with water.. and hope that it holds.. ... I can get that proposal done in 15 hours right? right.. because more parts come in for it tomorrow!!! if only i could make a living doing random stuff like this.


first 2 panels.jpg pieces2.jpg pieces.jpg dry fit.jpg assembled.jpg assembled with Lid 2.jpg assembled with Lid.jpg assembled lid cusions.jpg assembled front view.jpg Plan.jpg
 

stephenpence

What.. my name isn't enough?
Feb 9, 2010
69
0
0
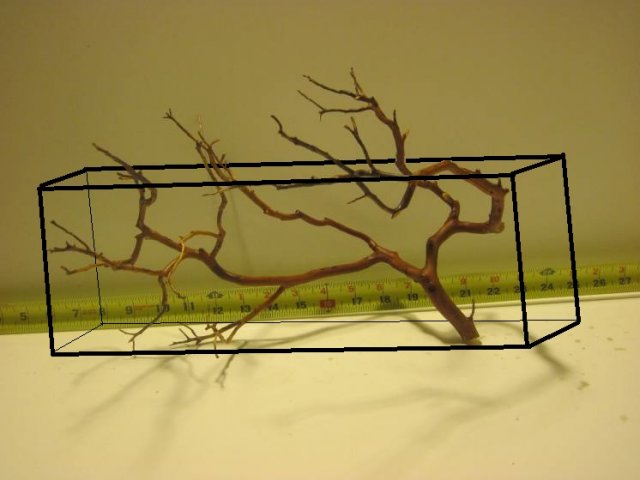
Man my productivity is off the charts! k.. so I've been looking for a piece of drift for the tank. this one says it's 13 left to right, which would just barely fit.. I just love the look of it. It got me thinking about leaving the top off and letting the top of this piece stick out. kinda like so...
drift.jpg
Granted, my spacial analysis is probably pretty off.. but you get the idea. looking at the tape measure in the back, I'm beginning to wonder if he didn't type in the measurements wrong.. it doesn't seem like it COULD be 13 inches left to right.. but here's hoping it is!
In any case.. this is the rough look of it.... Anybody have any thoughts?? i mean.. i will have to be a little more religious topping off the tank without a lid. it'll probably drop a half inch a day.. Am i at risk of having the shrimps climb out of the water/tank? I don't know WHY they would.. but creatures do counter-intuitive stuff all the time!

drift.jpg
 
Last edited:

NewObsession

AC Members
Aug 27, 2007
575
0
16
54
the topless with the wood coming out looks cool..if it in fact fits.
I have a couple of very similar "desk top" tanks that I built. THey're fun to toy around in.

I have a friend who keeps telling me I should make a living building tanks and stands. I pointed out making them in the garage for fun is one thing...making them to order on schedule and shipping is an whooooole other ballgame lol.
 

wijnands

AC Members
Jul 19, 2012
12
0
0
50
I really hate to drag old threads from the grave but I found this while googling for nano hillstreams and I'm really quite curious how this one turned out.
 
zoomed.com
hikariusa.com
aqaimports.com
Store