Please allow mod that allows me to post this, before I had published an article, but do not understand why it was deleted, or caused by something else. Today, I venture to new post. (if Mod can delete it for you next time I do not know sorry sir recidivism)
At the beginning aquatic forum also aims to promote the sales of light is key,
Done that many brothers mechanism with LED LUXEON LEDs and bar with many different models
And then there is machine notes ADA and HAD west. Vietnam, the Mini Aqua. The design is quite unique and convenient for you to learn design follow.
Undergoing exploration of light, light, light intensity, I gave out a form Aqua Luxeon LED products. Share on forums, which are beautiful doctor can follow. HN in the past they also guided direct DC or in this forum also.
I only guide for the doctor not to do any commercial purposes, but doctors do for commercial purposes please sir self-soaked paper.
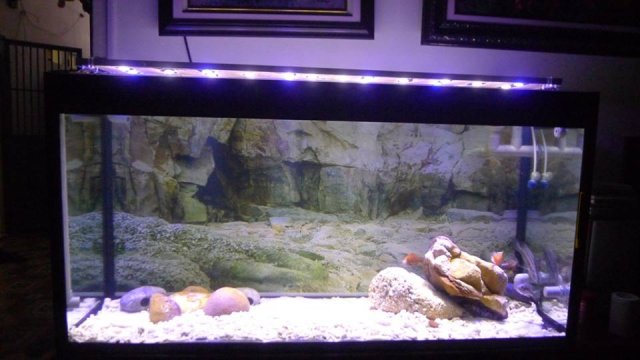
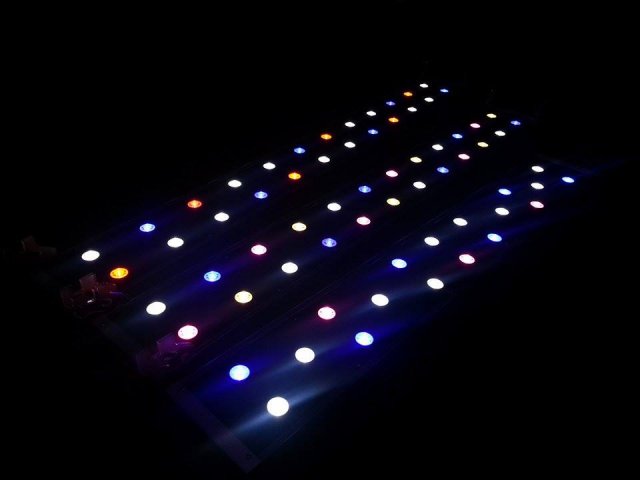
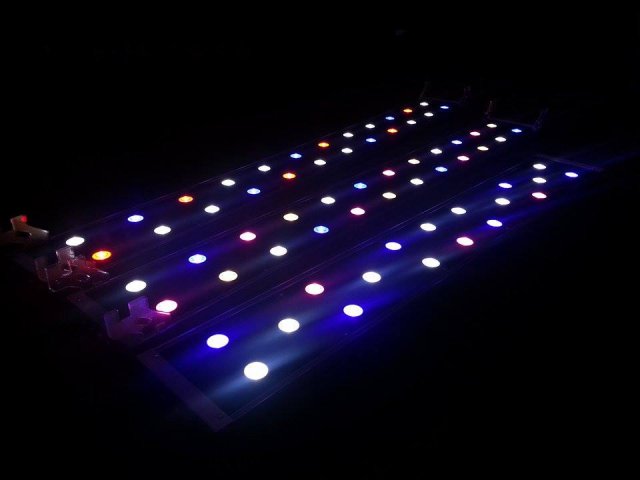
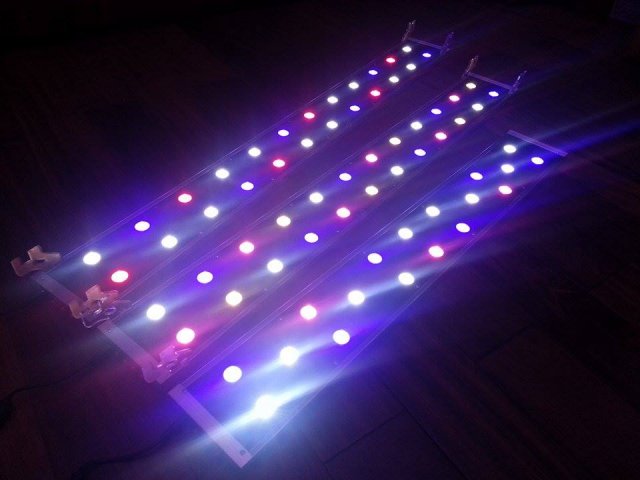
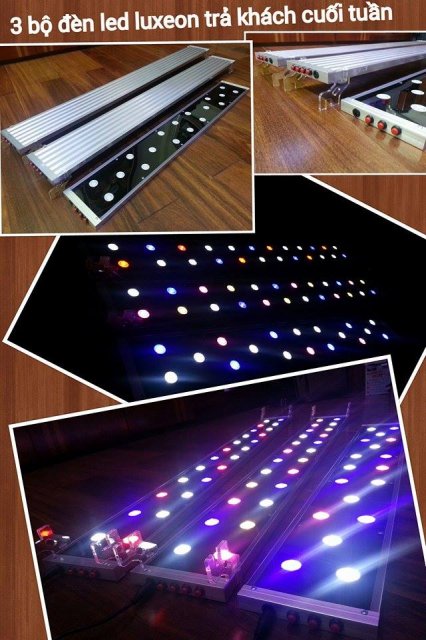
Here are the 2 light patterns I've made (I post under this catalog for your convenience brothers)
Lights Form No. 1:
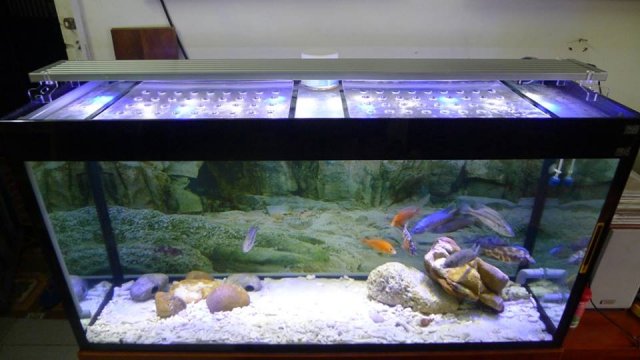
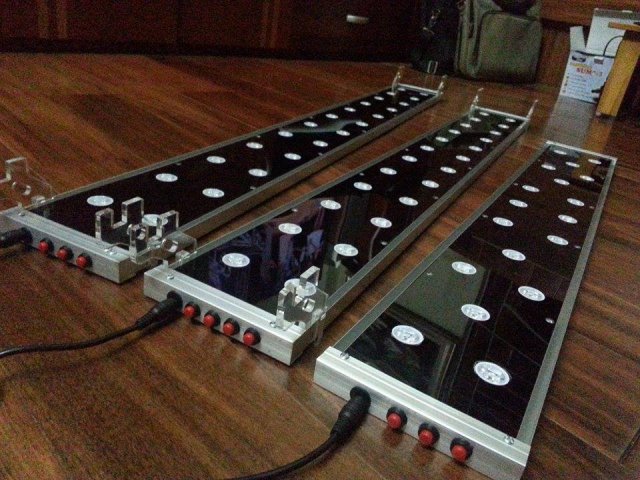
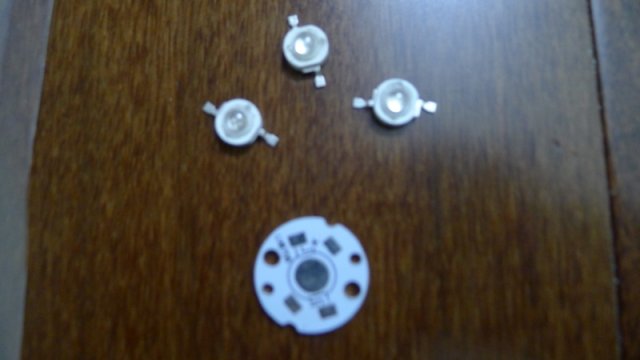
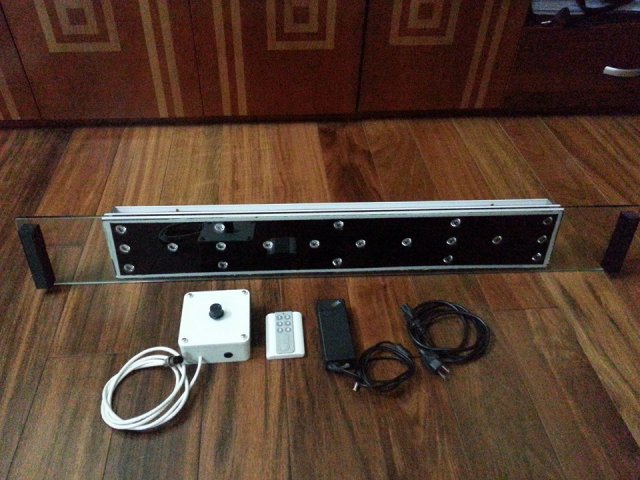
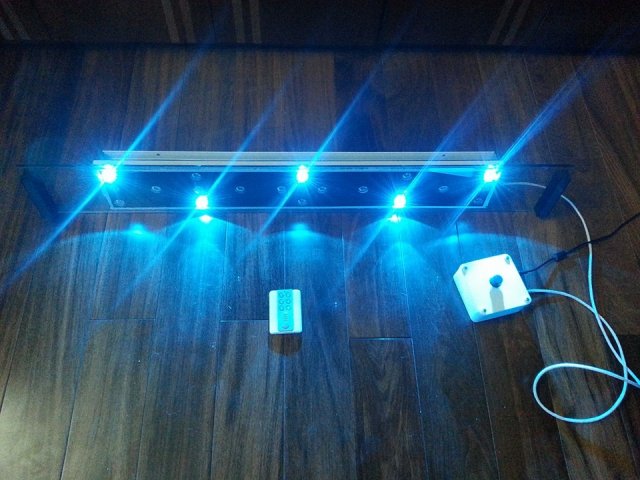
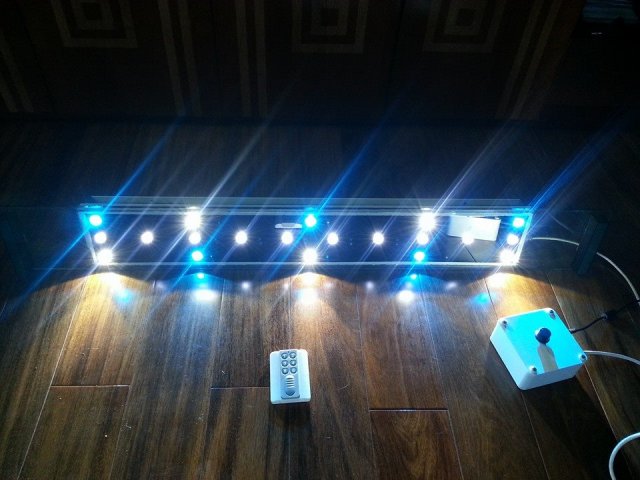
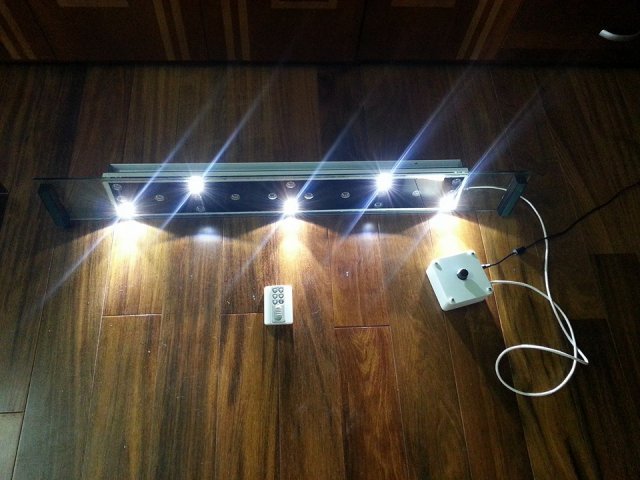
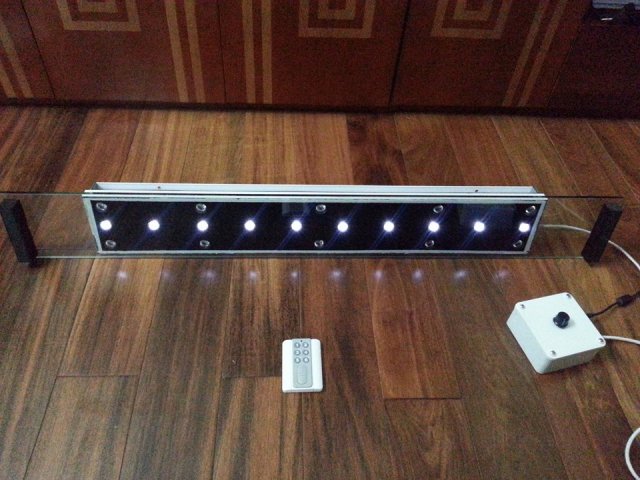
- Cree 3W Luxeon Lamps, 3 colors are: white 10 12.000K ball, 5 ball 5 ball Green and White 6.500K prince,
- The 8mm glass, screw grinding edges,
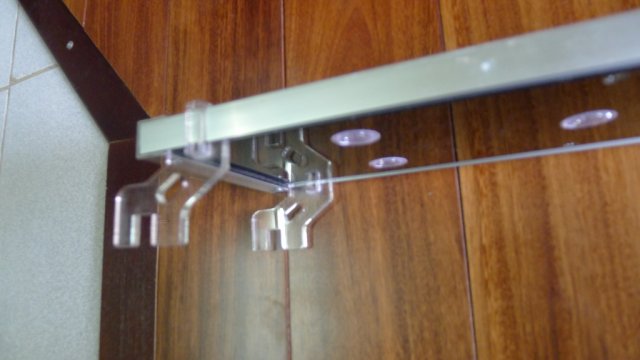
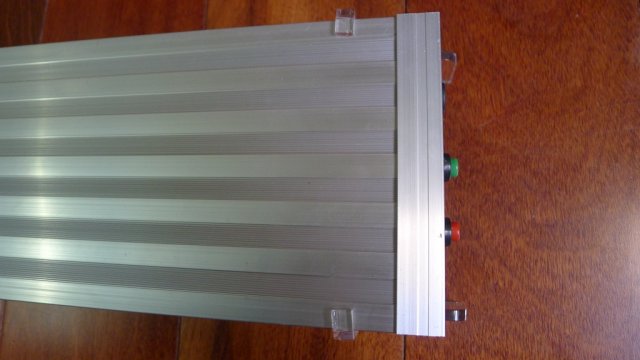
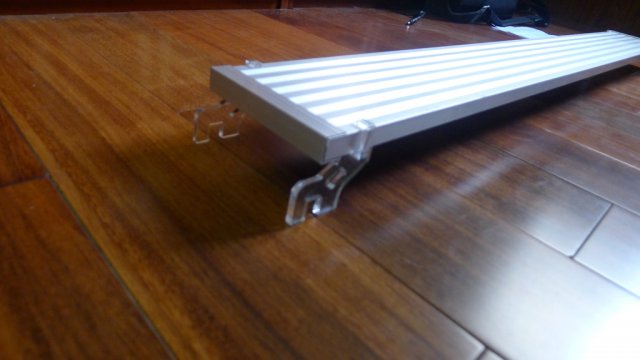
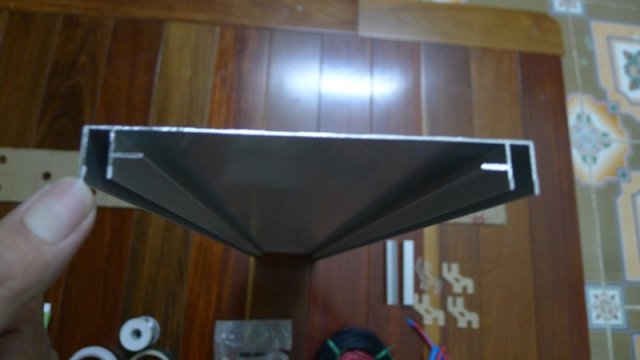
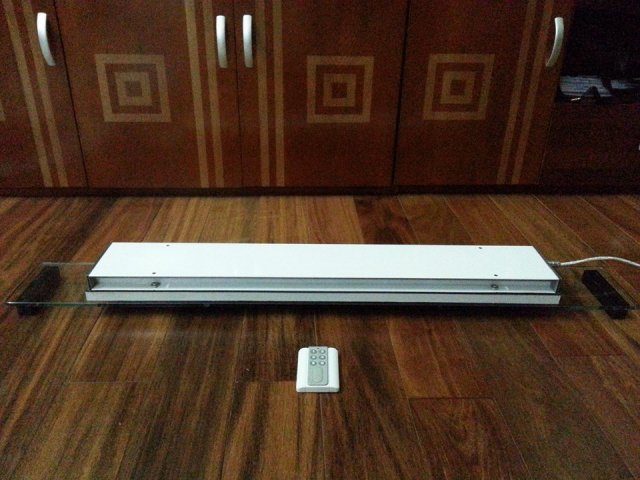
- Aluminum frame aluminum heatsink aluminum conductor steel reinforced door
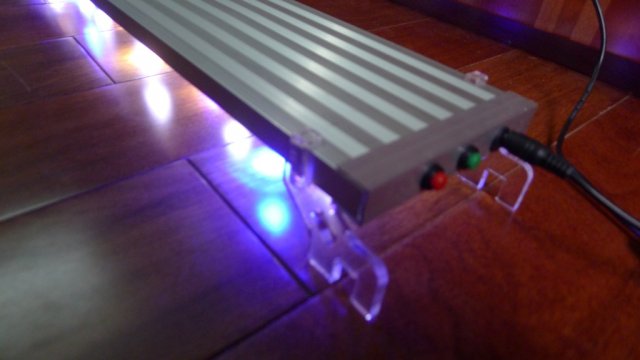
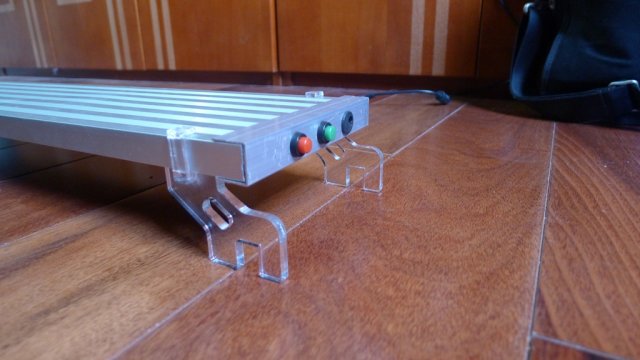
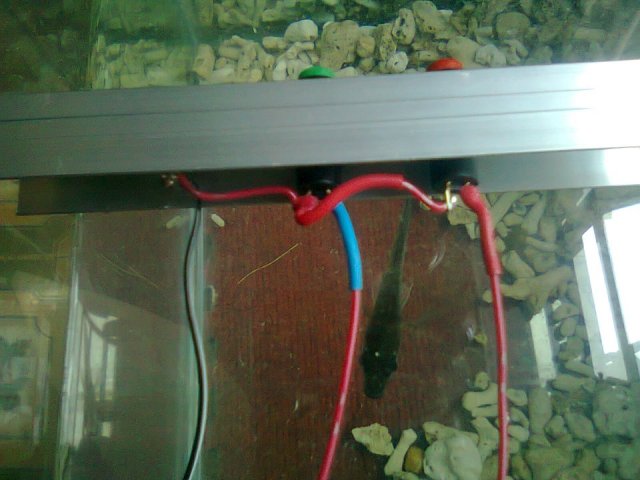
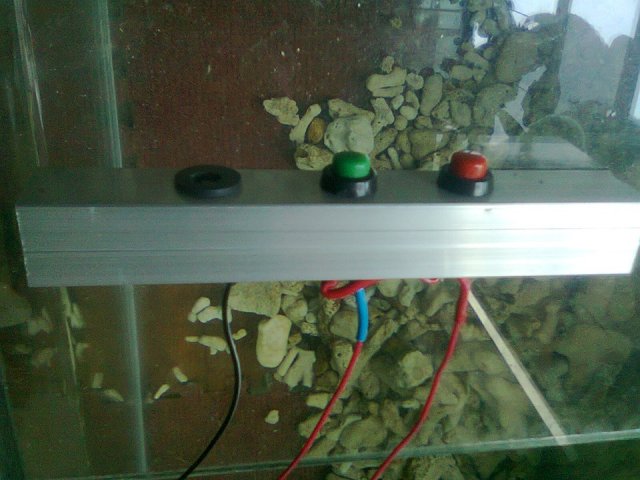
- There is a remote control using RF (radio waves out, 50m range, not afraid of the same obstacles as infrared TV remote) button 1, button 2, button 3: 3 color LED driver
- Yes Dimmer control light and dark (white)
- Power sources I use IBM lap top computer, (do not remember the subject, reach 15-17V)
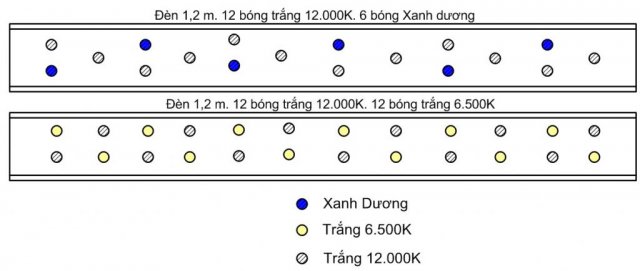
Lights Form No. 2:
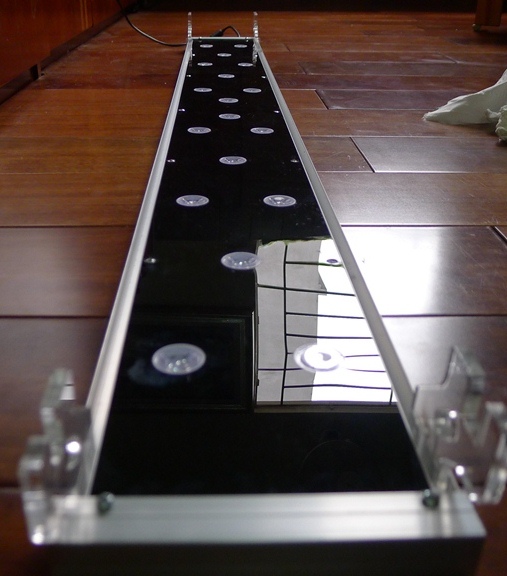
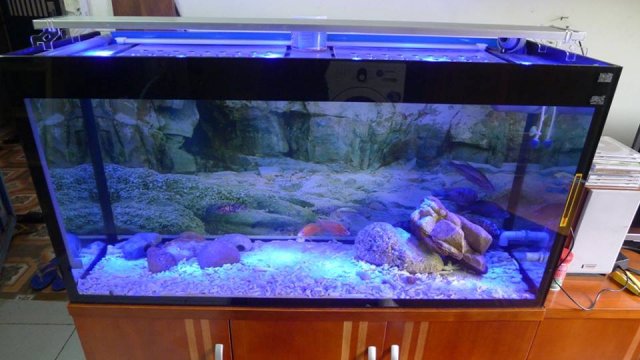
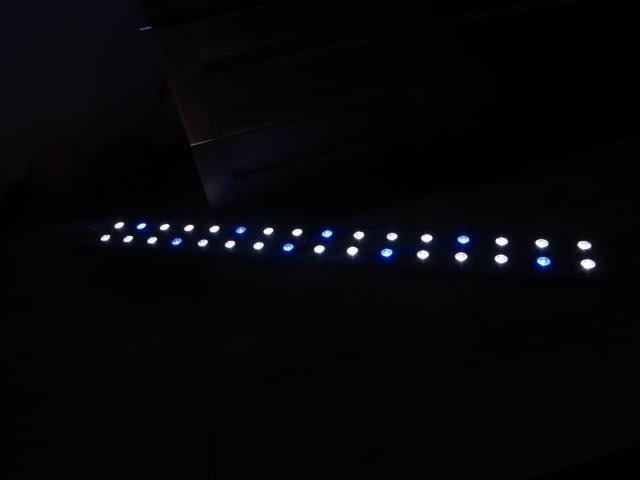
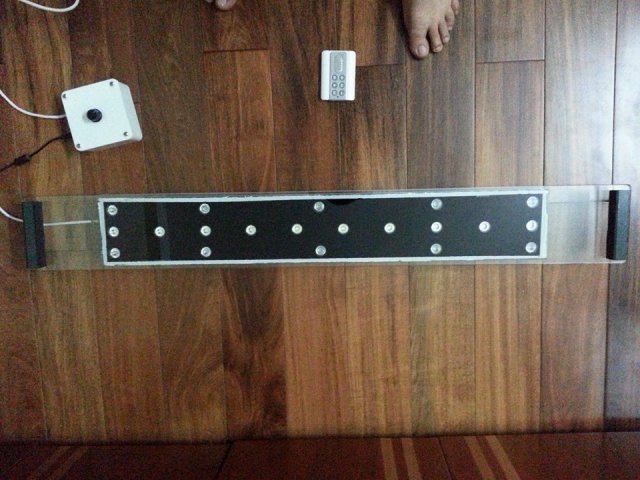
- Led Luxeon 1W, 2 basic colors: White 10.000k 12, and 6 in the Blue
- Power 18W,
- Source 12V-5A (overcapacity)
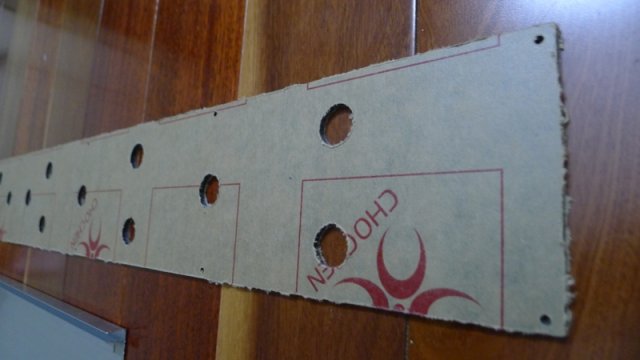
- Face Mica, CNC cutting (or Lazer), black, 5mm thick
- No Dimmer, 2 off switch 2 separate color
These materials and the steps taken
Step 1: Design
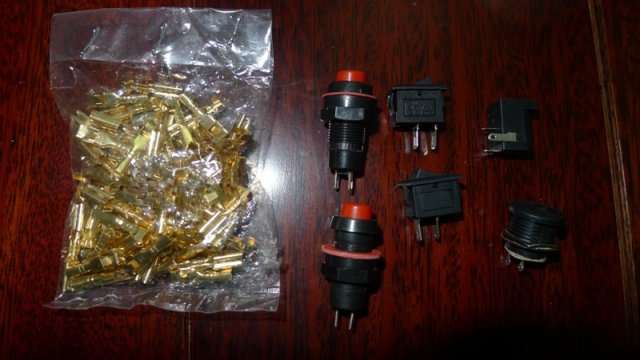
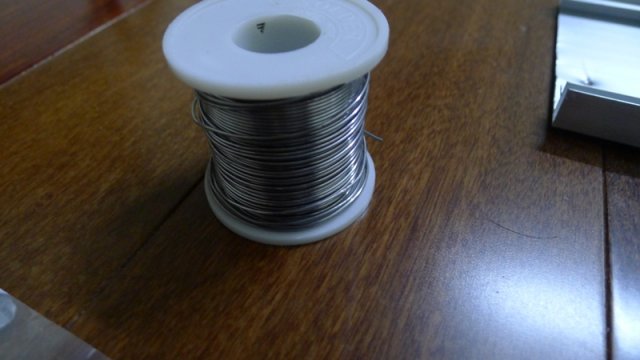
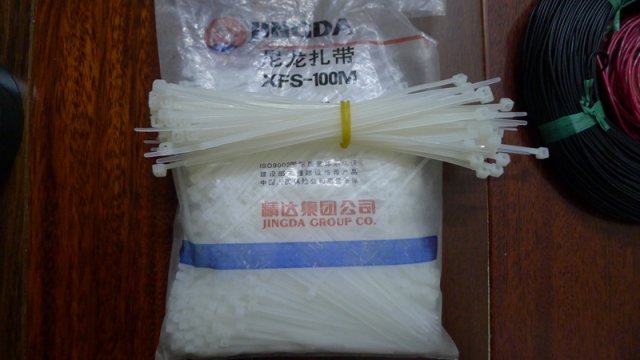
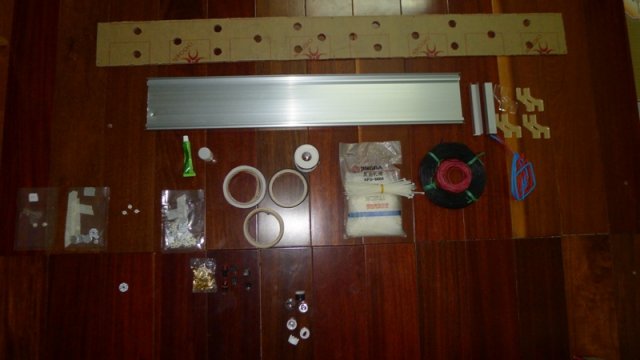
Step 2: prepare tools and materials needed
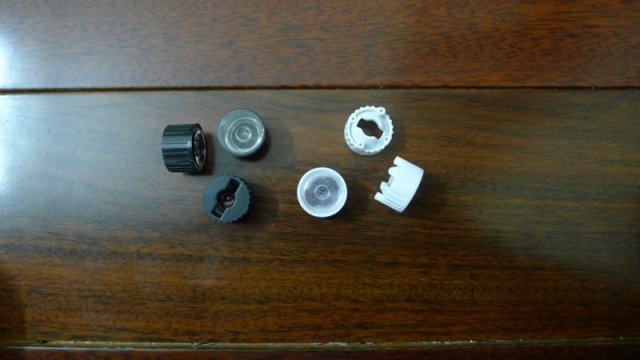
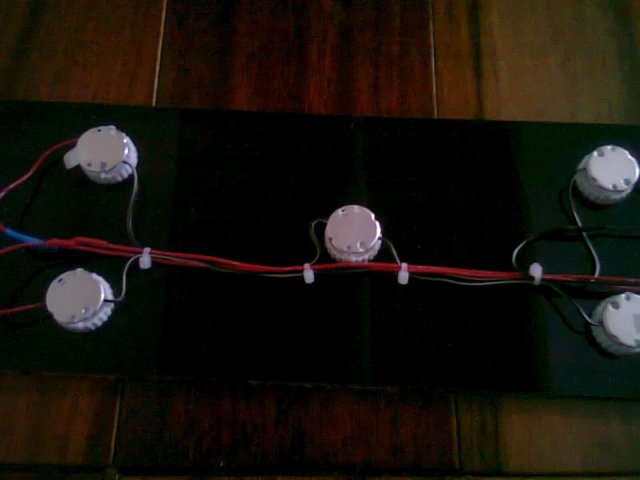
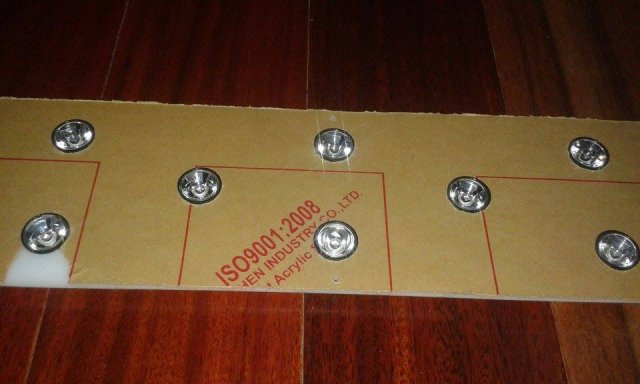
Step 3: Carry out welding wire, attach reflector, solder contacts
Step 4: Screw on, and enjoy the fruits.
Thank doctors have had to read
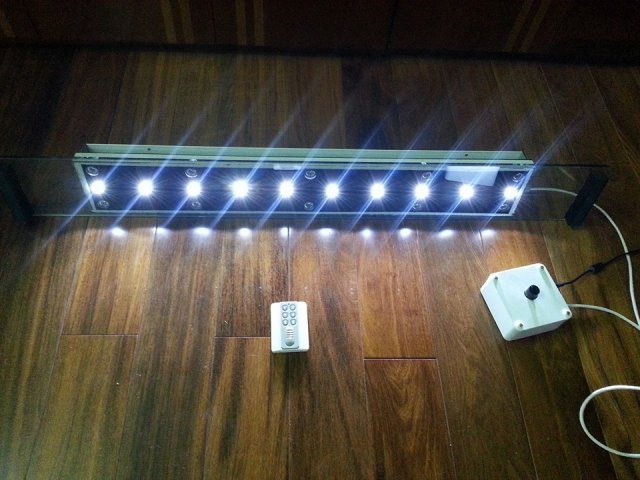
Lights Form No. 1:


At the beginning aquatic forum also aims to promote the sales of light is key,
Done that many brothers mechanism with LED LUXEON LEDs and bar with many different models
And then there is machine notes ADA and HAD west. Vietnam, the Mini Aqua. The design is quite unique and convenient for you to learn design follow.
Undergoing exploration of light, light, light intensity, I gave out a form Aqua Luxeon LED products. Share on forums, which are beautiful doctor can follow. HN in the past they also guided direct DC or in this forum also.
I only guide for the doctor not to do any commercial purposes, but doctors do for commercial purposes please sir self-soaked paper.
Here are the 2 light patterns I've made (I post under this catalog for your convenience brothers)
Lights Form No. 1:
- Cree 3W Luxeon Lamps, 3 colors are: white 10 12.000K ball, 5 ball 5 ball Green and White 6.500K prince,
- The 8mm glass, screw grinding edges,
- Aluminum frame aluminum heatsink aluminum conductor steel reinforced door
- There is a remote control using RF (radio waves out, 50m range, not afraid of the same obstacles as infrared TV remote) button 1, button 2, button 3: 3 color LED driver
- Yes Dimmer control light and dark (white)
- Power sources I use IBM lap top computer, (do not remember the subject, reach 15-17V)
Lights Form No. 2:
- Led Luxeon 1W, 2 basic colors: White 10.000k 12, and 6 in the Blue
- Power 18W,
- Source 12V-5A (overcapacity)
- Face Mica, CNC cutting (or Lazer), black, 5mm thick
- No Dimmer, 2 off switch 2 separate color
These materials and the steps taken
Step 1: Design
Step 2: prepare tools and materials needed
Step 3: Carry out welding wire, attach reflector, solder contacts
Step 4: Screw on, and enjoy the fruits.
Thank doctors have had to read

Lights Form No. 1:


