Arapaima Pond Build

  • Get the NEW AquariaCentral iOS app --> http://itunes.apple.com/app/id1227181058 // Android version will be out soon!

Luc

AC Members
Aug 25, 2008
703
0
16
54
Thailand
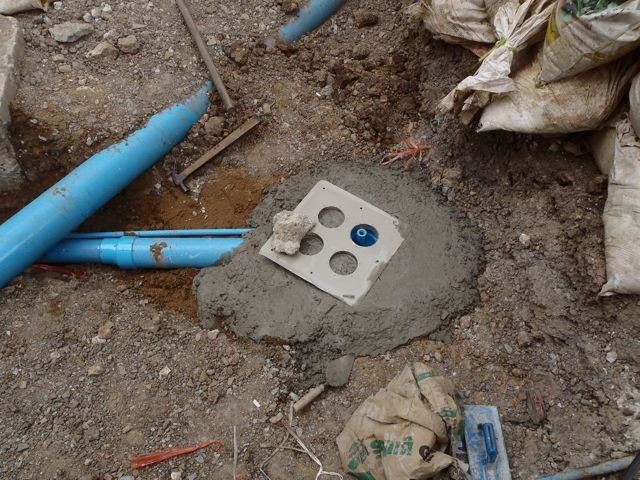
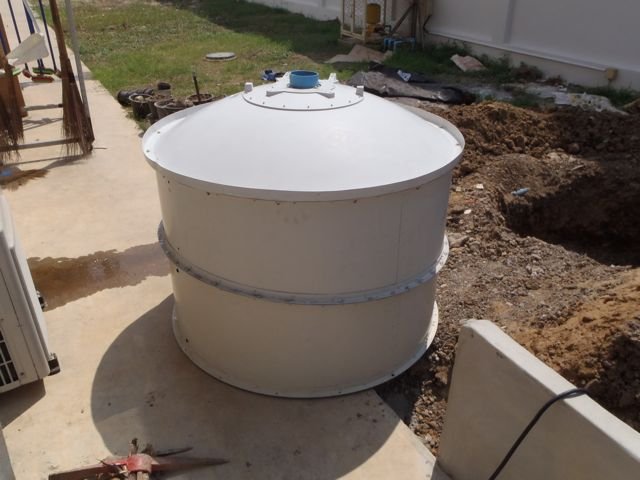
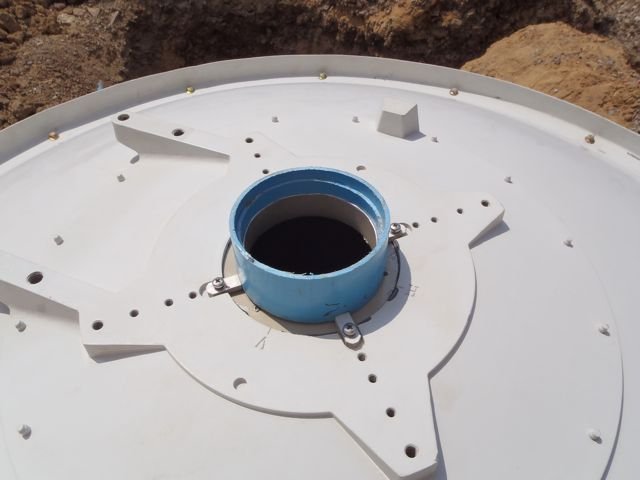
And the last piece of the puzzle, assembled together before it goes into the ground.
Quite lucky the flange I used for the Bottom-drain also fits exactly inside the bottom-opening.
So just a matter of giving the Flange a collar, (getting fast with it, only took 20 minutes), and then epoxy inside the rim. Next the flange pushed in and 4 aluminium brackets that came out back over it to push it down and to keep it in place.
Job done, tank ready.

Now busy with the drains and after that, it's a matter of lowering it into the ground on top of the elbow that's cemented it there.
1.jpg 2.jpg
 

Luc

AC Members
Aug 25, 2008
703
0
16
54
Thailand
Tomorrow some pictures again.
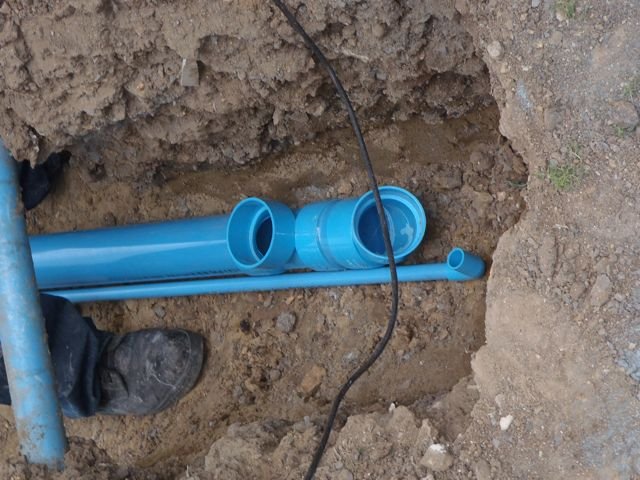
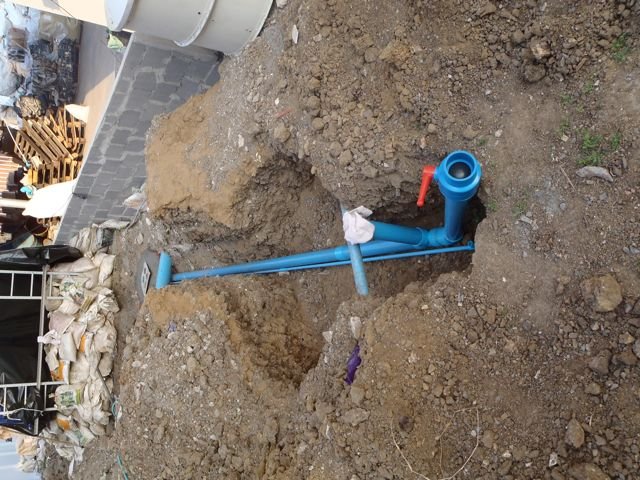
Lot of things finished today. Bottom drain is set, no turning back, but got it all figured and I am sure I can clean it easily if need to be. It's only 1 90' elbow at the pond drain, then all straight and level with only a 45' bend to come above the ground for draining and cleaning the pipe. There's a valve to close it there of course.
Same for the settling tank, so a dish-washing brush on a long stiff steel wire is all I need to clean is necessary.

I am very anxious to see if all my ideas work as planned. Will make some more pics tomorrow to show progress.


Sent from my iPad using MonsterAquariaNetwork app
 

finsNfur

AC Members
May 29, 2008
851
0
16
Connecticut
This is the most complicated pond build I have ever seen! I can't wait to see it once you are finally finished.
 

Luc

AC Members
Aug 25, 2008
703
0
16
54
Thailand
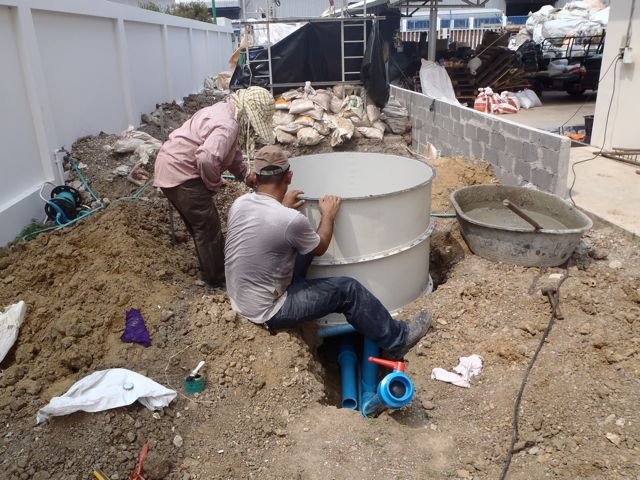
Well, quite an update for today.
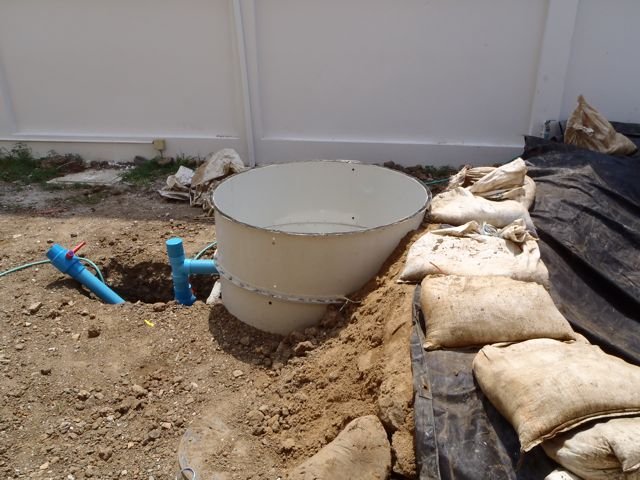
Finished installing the Settling Chamber.
Only still need to get the connection from the pond's bottom drain into the Settling Chamber.
It's all set in concrete, 1 more valve for the drain in the Settling Chamber to outside.

Tomorrow I hope to get all the side-walls done, clear stones and other objects and then cut a very old liner in pieces to use as a protective layer. I'm also thinking about using foam as the first part, that would make it totally proof against anything.

We'll see that tomorrow. Today there will be concrete supports for the concrete wall to get it all strong and ready for water. Making holes for mid-level and skimmer drains to Settling Chamber No. 2 today. Tomorrow we're pretty much ready with all the pond-drains. After that it will be a matter of 1 more settling tank for that side.

Bog-area's on both sides will be last part to add.

Cheers,
Luc

1.jpg 2.jpg 3.jpg 21.jpg 22.jpg
 

mykidsmylife

Princess of Peons
Aug 26, 2005
925
0
0
Indiana, U.S.A.
:popcorn:

I'm loving watching this. Keep up the fabulous work and pictures!
 

Luc

AC Members
Aug 25, 2008
703
0
16
54
Thailand
This is the most complicated pond build I have ever seen! I can't wait to see it once you are finally finished.
Thanks for your comments finsNfur, don't see anything complicated really. lol...

It's nothing more than a Display Tank (the pond) with a sump (settling tank + bog area)

Settling tank is the first compartment of a sump. You take out the large organic/solid waste with filter matt or filter sock.
Then with a pump it will go into the bog-area which is your bio-filtration.
Bio-balls are replaced by gravel and plants, who will provide filtering/polishing and breakdown of organic waste.

That's all there is to it. A very large sump.

31.jpg 32.jpg 33.jpg 34.jpg 35.jpg
 

Luc

AC Members
Aug 25, 2008
703
0
16
54
Thailand
47.jpg46.jpg45.jpg44.jpg42.jpg41.jpg

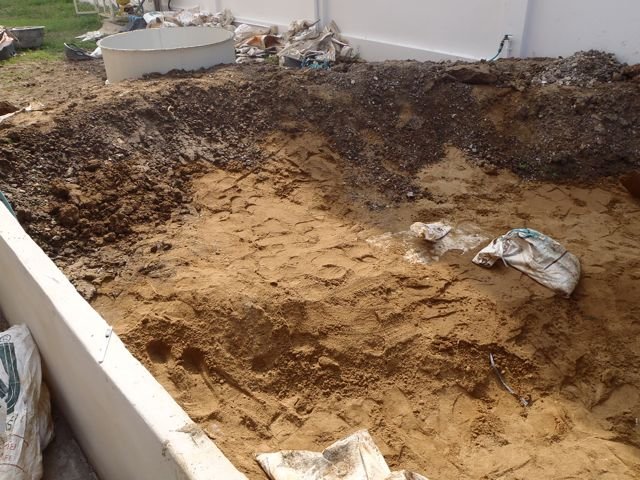
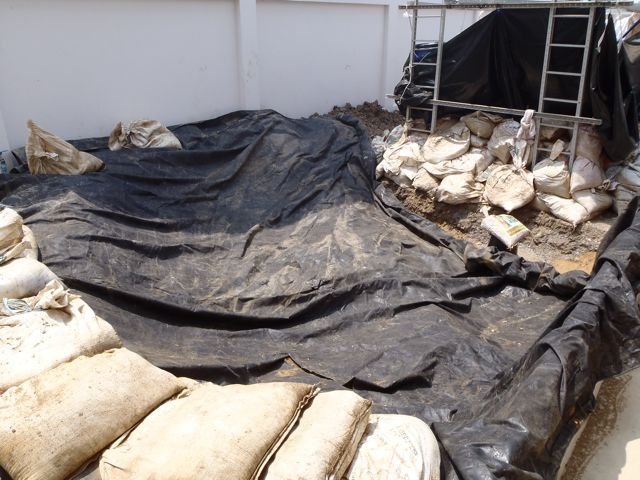
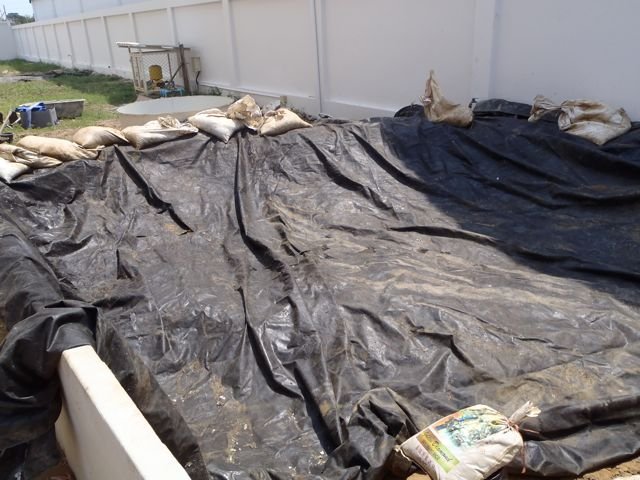
Ok pond area finished for today, protective layer put in for fitting...still need to align it better.
But for most of you it should now begin to look like something.
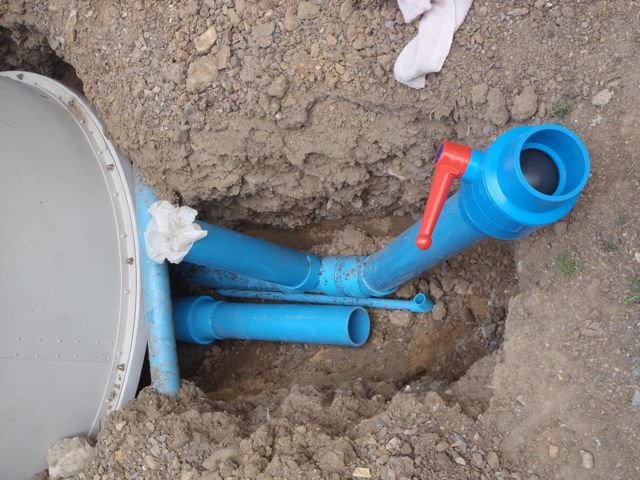
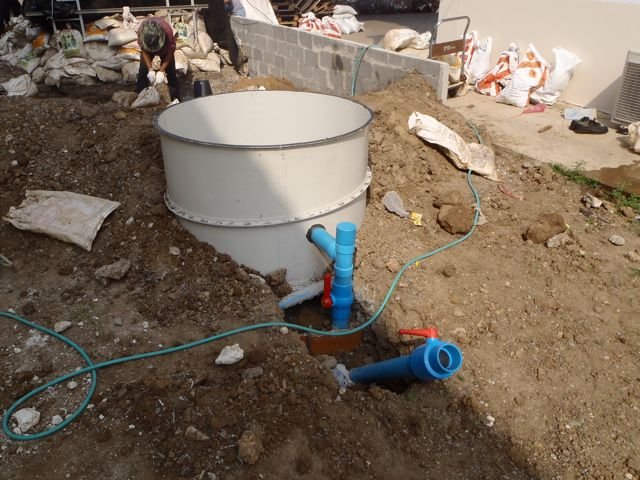
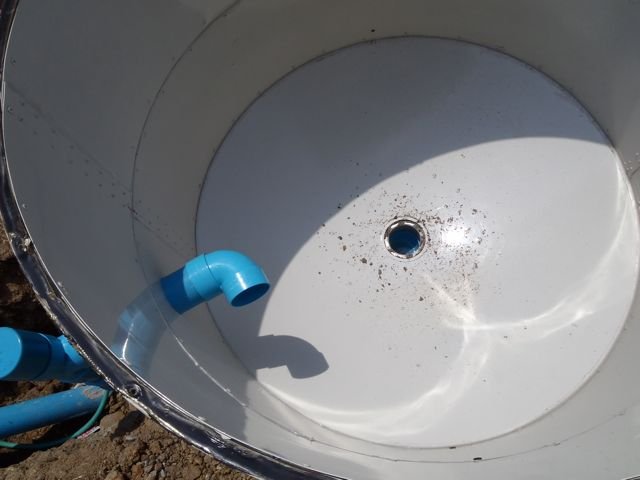
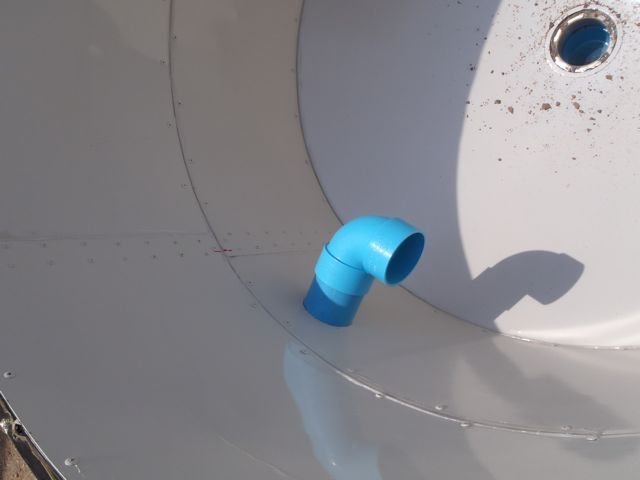
Put an elbow inside the settling-tank for understanding of water coming in and moving around.
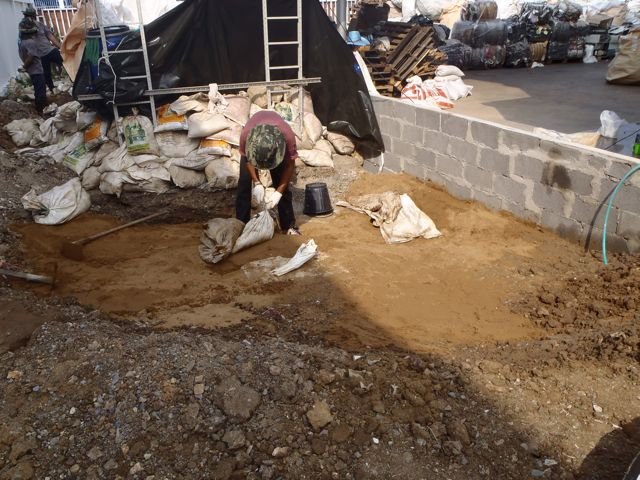
The tank has been set and now pushing sand around the bottom with a water-hose to take out all air-pockets.
Slowly getting the support around it done.

Next is the bog area behind the tank, which is now being brought up with sand before we put liner in there.

Cheers,
Luc

47.jpg 46.jpg 45.jpg 44.jpg 42.jpg 41.jpg
 

Luc

AC Members
Aug 25, 2008
703
0
16
54
Thailand
View attachment 192296View attachment 192297View attachment 192298View attachment 192299View attachment 192300

last pictures today...put the second drain pipe in to show how it will be.
Then pictures of the bog-area.
Slightly raised from the normal level around the factory, but it will have about 20" of water.
You can see the position compared to the side of the pond and the settling-tank.
So pump line will go just over the rim of the settling tank and into the bog-area.
From there through a slightly lower area with large stones into the pond.
 

Rbishop

Administrator
Staff member
Dec 30, 2005
40,727
452
143
70
Real Name
Mr. Normal
Great progress!
 
zoomed.com
hikariusa.com
aqaimports.com
Store