Hey, my name is Derek and I am looking for advice. I think now that I have built one paludarium that the best way for me to learn other than hands on would be for me to write out how I built my first one and have you all submit your ideas, tips, tricks, and methods and otherwise critique my original designs and methods.
Components Broken Down
Tank
All Glass 90 Gallon Braced wide tank 48”x 18”x 26”
Lighting
Triple Tube Fluorescent Light Strip with 3 T8 Aquarium lights
Cover
All Glass Versa Tops
Filter
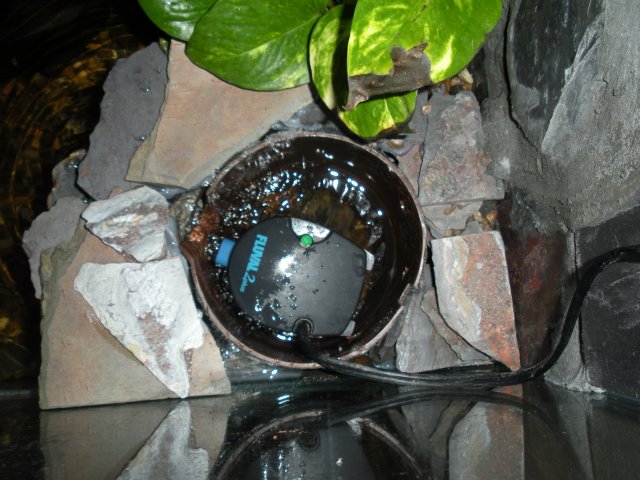
Fluvall 2 Sponge Filter
Background
15 12”x12” Natural Slate Tiles with Defects
Dark Gray Grout
Substrate
60# Natural Pea Gravel Washed and Bleached
2 Bags of Jungle Earth 8 Quarts each
5 Eco Earth Coir Bricks
3’x5’Roll Fiberglass Window screen
Drainage
2’ Piece 2.25” PVC Pipe
2.25” PVC Pipe Coupler
2.25” PVC Pipe Clean out
Divider
50”x 7.5” Piece of Plexiglas
Two 8”x 10” Pieces of Plexiglas
Decoration
Unused Slate Pieces
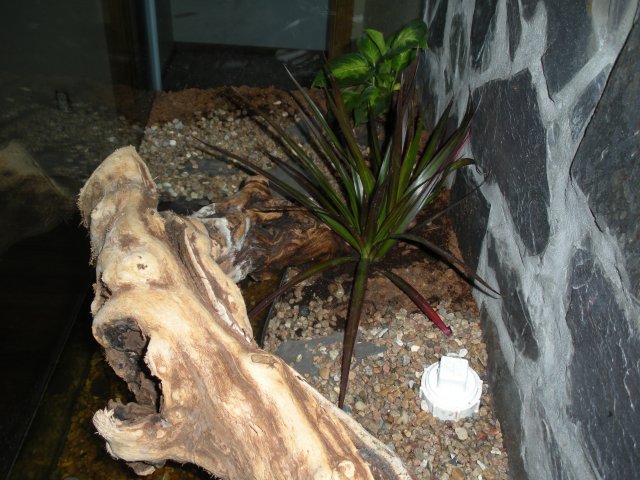
36” Grapevine
Plants
Dracaena
Pothos
Dieffenbachia
Miscellaneous
5 Tubes Silicone I
1 3” PVC Drain Cover
Buildup Broken Down
Background
I started my background by taking my 15 Slate tiles and breaking them into random shapes and sizes with my rock hammer. As slate is formed in sheets they had slightly tapering sides, which could be caused by hitting the opposite side of the slate. Once I had enough I placed them in to my tank for a dry fit making sure there were no gaps wider than 1.5”. Once I was satisfied with my pattern I glued them into place using liberal amounts of silicone. To glue them I wiped the back of each piece with 70% rubbing alcohol to remove lose dirt and chips. I also wiped off the area where the stone would rest. Once in place I pressed them firmly into position. When the entire tank was completed I allowed it to cure for 3 days. To grout my background I mixed up grout and then pressed it into place making sure to wipe off any extra off the stones as its easier now than later. I made sure to leave a space where my divider met the back wall to be grouted later. The back was finished. Wish I had left a gap on the right side however to hide my pump cord.
Divider
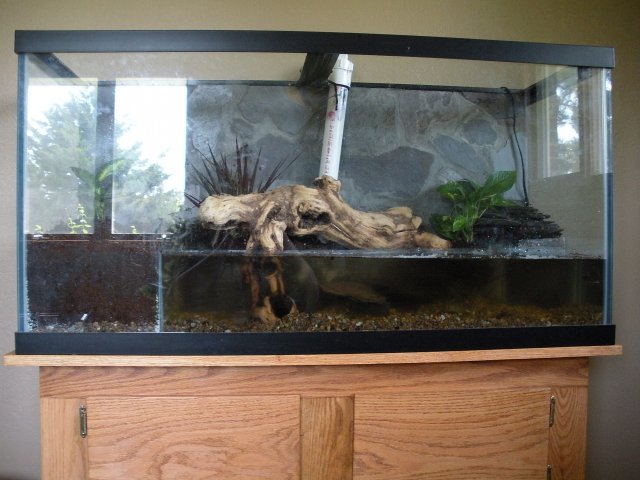
To make my Divider I had my local glass shop cut me a 50”x 7.5” Piece of Plexiglas which I then used a Industrial Heat gun made for Heat shrinking tubing to heat it up to a temperature where it was bendable. Use gloves, as it is quite hot at this point. Placing one edge on marks I had made on my counter I bent it to the desired points and then randomized the space in between. Once this was done I located the spot for my Drain cover to slide into and drilled it on a drill press. This is so I can have a secret watertight compartment in the back right hand corner to hide my filter but not allow fish to get into it and hide completely. The Cover was then siliconed into place. Two small notches were cut on the bottom corners of the Plexiglas to allow them to sit tightly against the silicone used to assemble the tank. The completed piece was then siliconed into place and allowed to cure. A second piece of plexiglass was then used to form the compartment at the back of the tank to house the filter. It was siliconed into place and the hole in the grout was filled in. The divider was complete.
Filter housing
The filter housing was supposed to be made of 6 inch PVC but due to the local hardware store not having it I substituted a Pitcher drilled full of holes with the bottom cut off as well as the handle and spout. I wrapped this in Fiberglass screen to keep out animals that could fit past the cover. The other sheet of plexiglass was cut to fit around the top of the pitcher as well as fit over the top of the secret compartment. The piece was glued to the divider and side of the aquarium but the pitcher was not glued in so that the screen could be cleaned if need be. The housing was complete.
Filter cover/ Waterfall
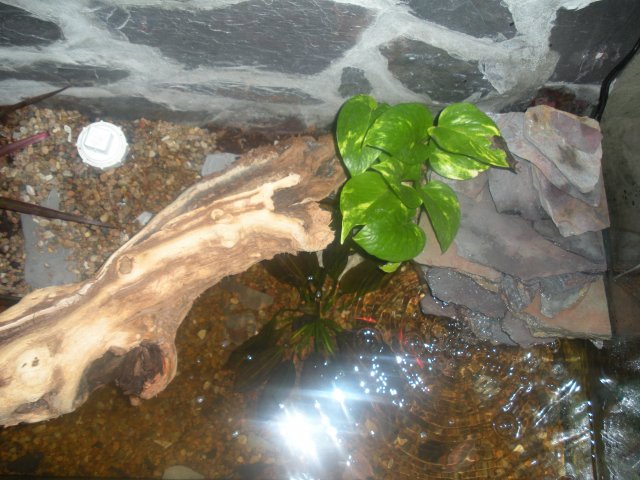
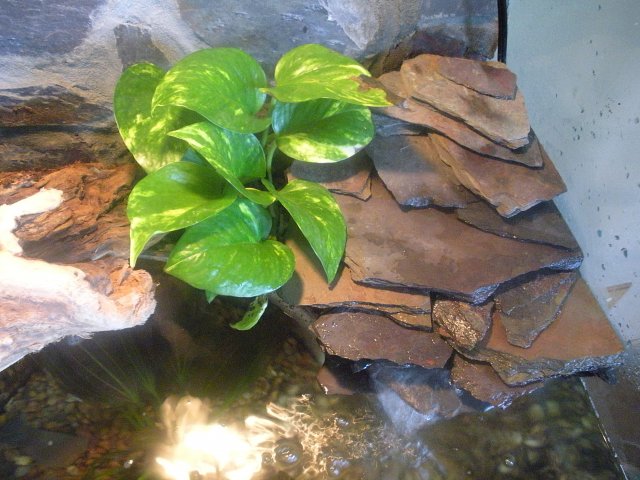
For the cover and waterfall I made two pieces one that was attached to the housing and one that set on top. To make these I glued pieces of slate together and glued them to the housing to form an appealing look and continued my way up to make a little mountain with a break in the silicone so the top popped off. I made it tight to the walls using the square edged pieces of the slate so critters could not crawl up into it and get stuck. In the front I used thin chips to create small spaces for water to flow out creating a waterfall.
Substrate
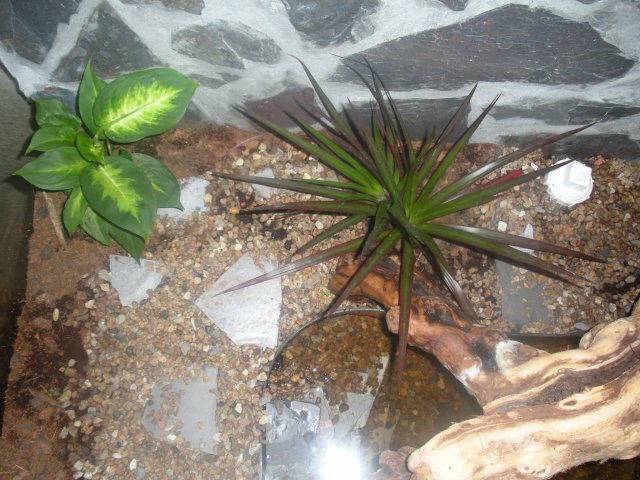
For the substrate I used a base of Pea Gravel that has been washed and bleached. This was laid down about 2.5” thick. Then a lair of screen went down to prevent the soil from clogging the gravel. Next came 5 bricks of coir and 16 quarts of jungle earth. This was landscaped to my liking and allowed to settle. For substrate in the water I just used 2” of Pea Gravel. I also built a slate cliff that compliments the mountain so my newts could get in and out.
Drainage
In the center of the tank is a drainage pipe incase the water builds up under the substrate. It is the PVC pipe cut to length with the coupler and cleanout to allow a turkey baster to the bottom of the tank. It was put in with the substrate.
Final Touches
I placed in my plants and grapevine. I put in 2 FBN’s, a pictus, 2 flying foxes, 2 dozen Ghost Shrimp, 8 Malaysian snails, and 7 Glofish.
Planned Upgrades
I plan on adding java moss to blur the edges of the Plexiglas as well as the line where it changes from gravel for my beach to substrate. I would also like a few Bromeliads for the back wall and some kind of Duckweed and an underwater grass of some sort to hide the Drain cover for the filter.
Questions I have
What kind of plants do you recommend? How many newts will this setup hold? (15 Gallons of water). What kind of lights do you recommend? (1 will be black light for Glofish). Will bromeliads grow on Grout? What can I replace my pictus with? If my glofish is really fat one day and really skinny the next did she have babies if so how long till hatching?
For my other tank I would love to have a terrestrial pair of darts. I would like some suggestions on that. I would really love it if they were black and green. Or blue and black. That will probably be a different post though.
I hope to get pictures of my tank up soon but my computer won’t load them because of the dialup so I have to go to a friends.
Well I hope you have some great Ideas for me and that I didn’t bore you with this incredibly long post.
Any help would be appreciated.


