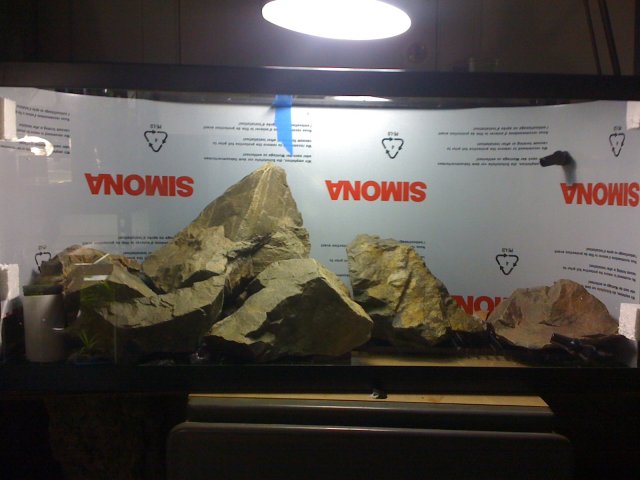
I've been working on this for a while, but have only been taking photos of the process with my iphone... but I'm close to setting this new tank up, and took photos of the final plumbing and rear of the tank to get a thread going.
It's a 30 gallon tank designed to house a few Stiphodon Atropurpureus and Stiphodon Percnopterygionus that I have, and I'm hoping to keep a few other hillstream species such as Sewellia Lineolata and Akysis Vespa. The tank is going to have quite a bit of large stone in it, and a directional (right to left) current. I'm planning a medium to high light set up, with only a single species of small foreground plant, used in the background instead. Ideally, this tank will be an algae farm.
What I've done so far:
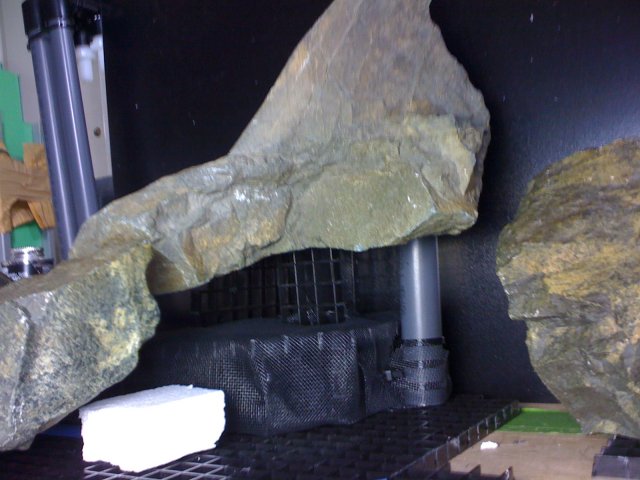
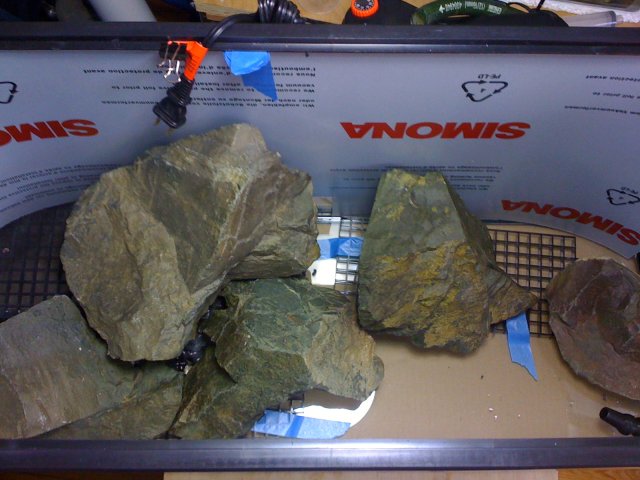
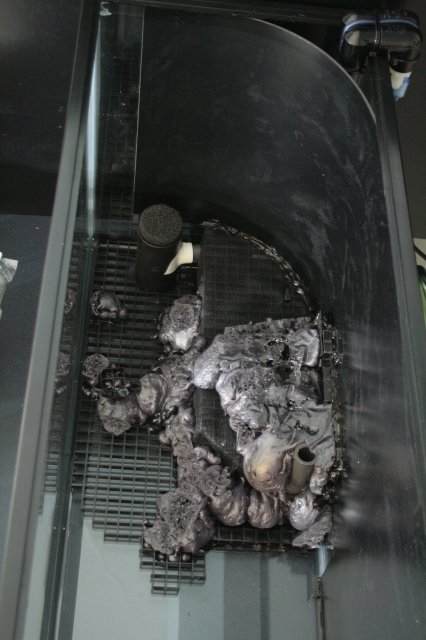
I've built a quick false bottom, to support some of the larger pieces of stone, one of which I want up off the floor of the tank about 6". It's a big piece of stone, so the false bottom is reinforced with pvc tubes.
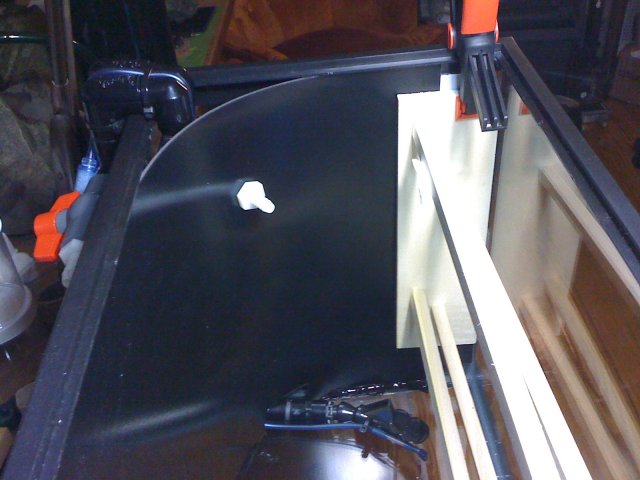
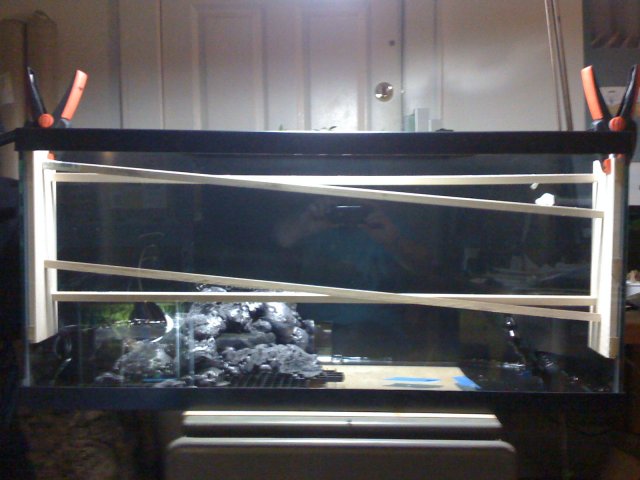
The background is a single piece of expanded pvc foam board, known as Sintra, or Simona in this case. It's used in a lot of the tanks at the NY Aquarium, and I've wanted to try it for a while now. It's really easy to work with. I cut it with a knife, to allow the false bottom, and some plumbing, to come through the background in various spots. It is flexed tight into the corners, to just create enough space to hide plumbing. I built a set of clamps to hold it in position, and siliconed the sheet to the sides and back of the tank.
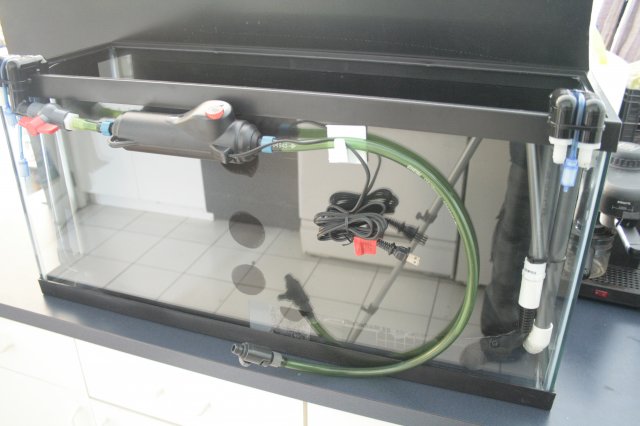
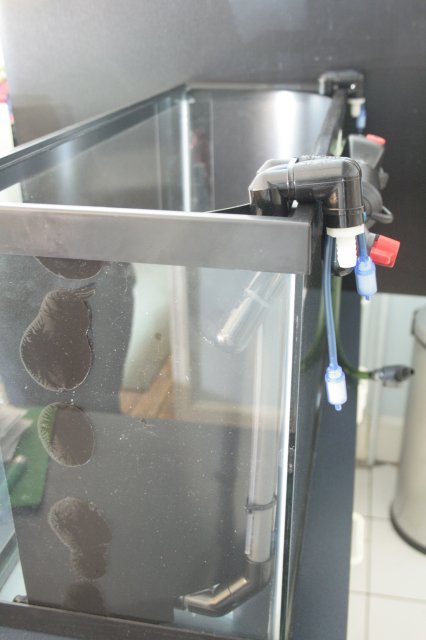
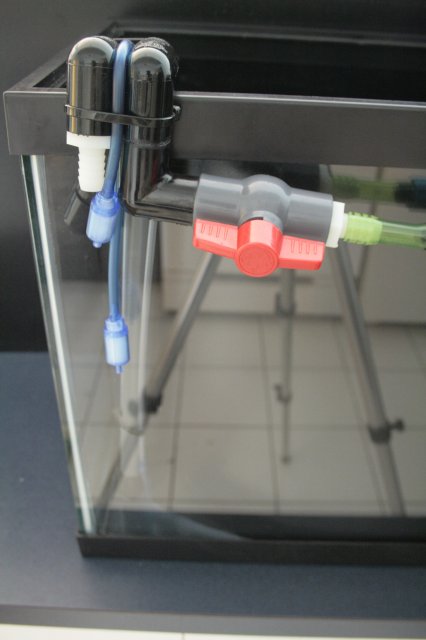
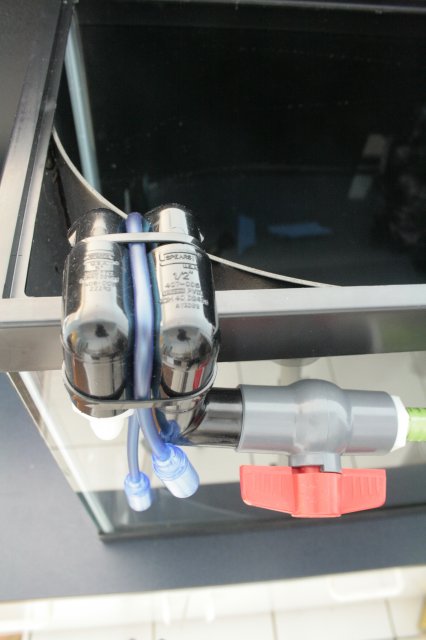
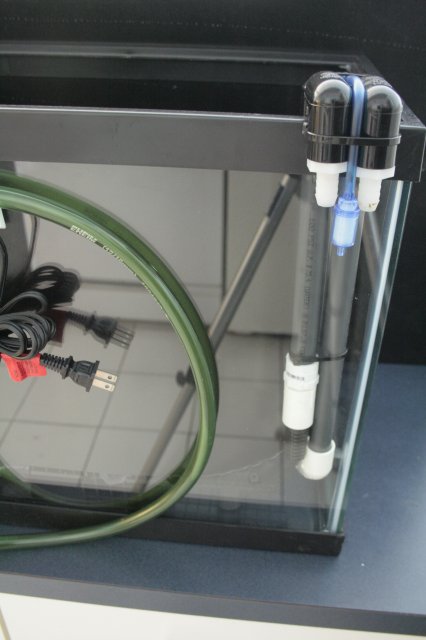
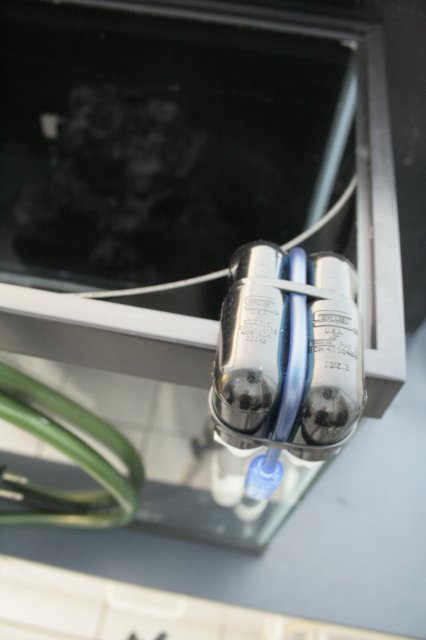
All of the plumbing is 1/2" PVC pipe and fittings. I've created a bundle on each end. In the photos below, the intakes are on the right, and the returns are on the left. One of the intake strainers is a standard 1/2" strainer, placed behind the background. The other intake is a 1 1/2" x 1 1/2" x 1/2" T, coated in plasti dip, with a a Pond Master intake prefilter foam pushed into it. It will be buried in gravel with only the top exposed, like a sewer. The returns are both 1/2" LocLine fittings. One return runs under the background, (and the substrate) so that only the nozzle will protrude from the sand in the front of the tank, to create an uphill current against the stone.
Air will be delivered behind the scenes, by lines run with the plumbing behind the background panels. Water flows into these areas, and one of the intakes is behind as well, so oxygenated water will be pumped into the tank, without bubbles being in the display area. I've also run a "back up plan" air line into the bottom front corner of the display area, attached to the undergravel locline fitting. The airline is tied off, but will allow me to add an additional airstone if I need to, without any replumbing.
The filters will be an Eheim 2213 and an Eheim 2215 overdriven with an Eheim 2217 impeller. I tested this tonight and it works, and did provide a bit more flow than the previously tested 2215.
The heater is a hydor 200w ETH inline heater. I've used these on other tanks, and I love them.
I'll be posting more shots in the next few days, as I install the tank and start the hardscape.


