
When I took on this project I found no record of resealing a bowfront so I am making a record! ") I have never done anything like this before but it really was not that hard. The hardest part was getting the silicone on, smoothing it and removing the tape before it dried!
I have never done anything like this before but it really was not that hard. The hardest part was getting the silicone on, smoothing it and removing the tape before it dried!
The tank just had a small leak in the front corner. All the other silicone was in good condition BUT new silicone does not stick to old silicone so it all has to be replaced.
I started this a few days ago but just haven't had time to post everything until now. I only worked on it for a short period of time each day. This is not intended to be a guide, just sharing MY experience. Enjoy!

The Tools Needed!

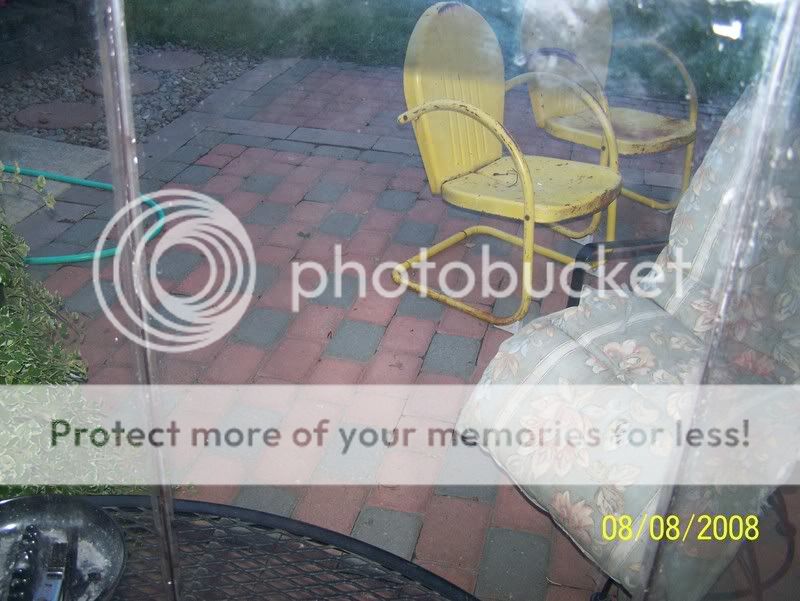
The tank! Please ignore the ammonia, it will not be used until I start the fishless cycle.

End of Day 1 - Got the majority of silicone off using a razor

Close-up of the front edge, you can see that the silicone came off in large pieces because it was still soft & not dried out.
Still a lot of cleaning to do but it was getting dark

I did not get a picture after all the silicone was removed & before I added the tape.

Here you can see how CLEAN all the edges are!

Pull tab were added the bottom tape so it can quickly be removed. The bottom front edge would have been impossible to get a nice clean edge with the tape so we winged that!
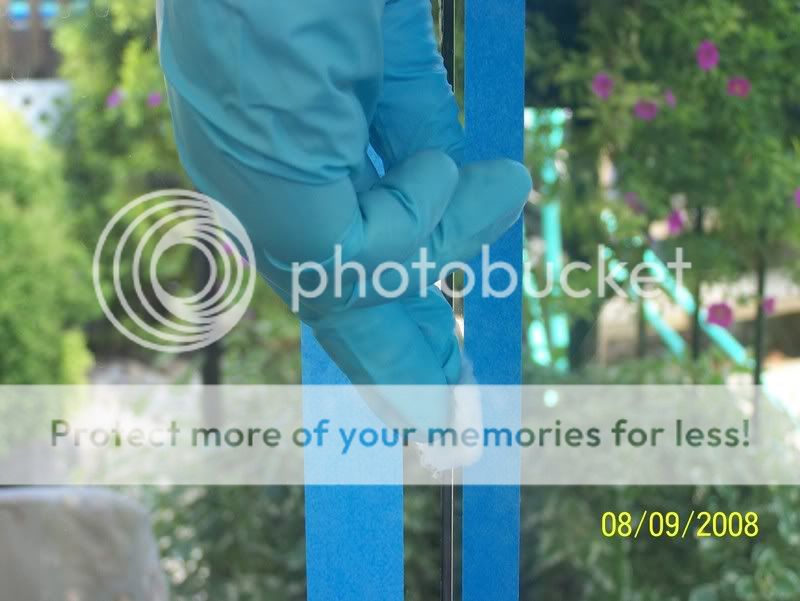
One last swap with alcohol to make sure it was clean of any oils from my hands.

End of Day 2 - Cleared all silicone out, taped edges, cleaned with alcohol & covered with a brand new plastic bag to keep it clean till tomorrow when we added the silicone.

Adding the silicone was not fun! It dries MUCH faster than I thought. I was working with 2 other people (which may have been my downfall) and we had to cut the tape out in spots because it was lifting the silicone off. :mad2: This shot was taken 2 days after the silicone was applied, right before the water test.
If it does not hold water we will start ALL OVER AGAIN. Which wouldn't be so bad because we like the black silicone much better anyways! :grinyes:

Full silicone shot. The tank was placed on wood, a thin layer of foam & plastic to make it level, supported and easy to spot any unwelcome water!

 So far so good!

This is about as far as I got when it started leaking originally.......still no leaks

It is FULL!! It has been full for about 6 hours now and it is holding so far. And this is where we sit and wait!
I wish I could have posted this when I first started so people could have followed along but it has kept me quite busy! I am also working on refinishing the stand & building a matching canopy for this tank. I have some pictures of refinishing the stand if anyone is interested. Once I get pasted the planning phase of the canopy I will probably add that to this thread or make another one just for that!
Please feel free to ask any questions! Comments always welcomed! Thanks for looking!
I have never done anything like this before but it really was not that hard. The hardest part was getting the silicone on, smoothing it and removing the tape before it dried! The tank just had a small leak in the front corner. All the other silicone was in good condition BUT new silicone does not stick to old silicone so it all has to be replaced.
I started this a few days ago but just haven't had time to post everything until now. I only worked on it for a short period of time each day. This is not intended to be a guide, just sharing MY experience. Enjoy!
The Tools Needed!
The tank! Please ignore the ammonia, it will not be used until I start the fishless cycle.
End of Day 1 - Got the majority of silicone off using a razor
Close-up of the front edge, you can see that the silicone came off in large pieces because it was still soft & not dried out.
Still a lot of cleaning to do but it was getting dark
I did not get a picture after all the silicone was removed & before I added the tape.
Here you can see how CLEAN all the edges are!
Pull tab were added the bottom tape so it can quickly be removed. The bottom front edge would have been impossible to get a nice clean edge with the tape so we winged that!
One last swap with alcohol to make sure it was clean of any oils from my hands.
End of Day 2 - Cleared all silicone out, taped edges, cleaned with alcohol & covered with a brand new plastic bag to keep it clean till tomorrow when we added the silicone.
Adding the silicone was not fun! It dries MUCH faster than I thought. I was working with 2 other people (which may have been my downfall) and we had to cut the tape out in spots because it was lifting the silicone off. :mad2: This shot was taken 2 days after the silicone was applied, right before the water test.
If it does not hold water we will start ALL OVER AGAIN. Which wouldn't be so bad because we like the black silicone much better anyways! :grinyes:
Full silicone shot. The tank was placed on wood, a thin layer of foam & plastic to make it level, supported and easy to spot any unwelcome water!
So far so good!
This is about as far as I got when it started leaking originally.......still no leaks
It is FULL!! It has been full for about 6 hours now and it is holding so far. And this is where we sit and wait!
I wish I could have posted this when I first started so people could have followed along but it has kept me quite busy! I am also working on refinishing the stand & building a matching canopy for this tank. I have some pictures of refinishing the stand if anyone is interested. Once I get pasted the planning phase of the canopy I will probably add that to this thread or make another one just for that!
Please feel free to ask any questions! Comments always welcomed! Thanks for looking!
