After reading gunners review of the smaller Sunsun canister filter I decided to go out (or stay in rather) and purchase one of my own. This one is the Sunsun canister filter rated at 530gph, for fish tanks up to 250g. I purchased this on ebay from ebay seller kool_goods.
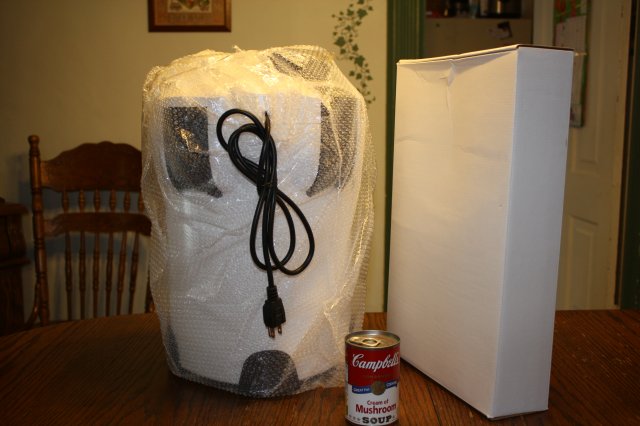
Initial purchase price was $78.99 with $20, flat rate, shipping. I used paypal and was very pleased with the sellers communication and shipping speed. Package arrived apx. 6 days later via UPS. I could not believe how large this pacage was. I read the product dimensions and thought it was big, but didn't have a real understanding of HOW big this thing is. In all the following pictures I use a standard can of soup for perspective.
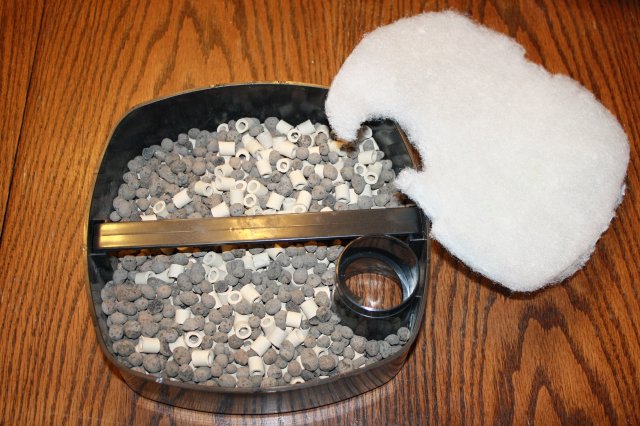
I am completely new to the canister filter world so this review is not comparing the filter to other filters, rather, the ease of setup for a novice, and my general opinion as to craftsmanship and durability. This will be the main filter for my already up and running 72g tank. It has the bare minimum filtration right now with one penguin 350 H.O.B. The only other option with Sunsun was the smaller filter rated for a 100g tank but I plan on stuffing this to the gills with media for mechanical filtration. I assume this will slow the flow considerably. Also, this larger model has 4 filter trays as opposed to 3 on the smaller model. I have big plans for all 4.
These first pictures are of the packaging and contents. I am purchasing additional filter media today and will be actually setting it up on my tank later on today with more pictures of setup to follow.
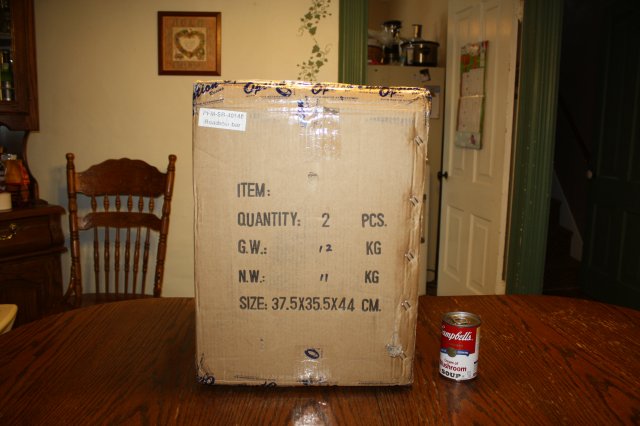
Packed well in sturdy cardboard (not sure what a roadster bar is, but I assure you there is a filter inside)
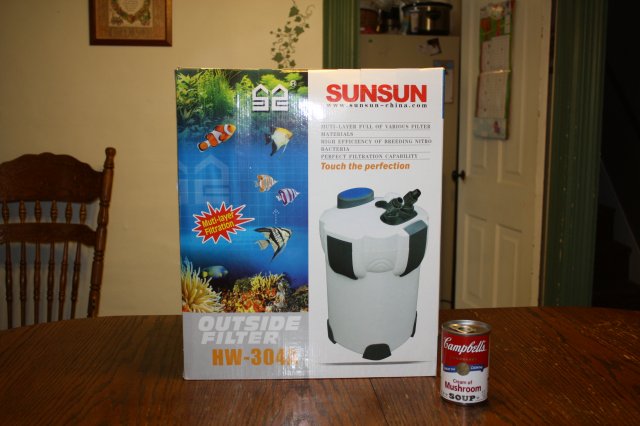
Original manufacturer packaging. Attractive, dry, undamaged with a convenient carrying handle on top.
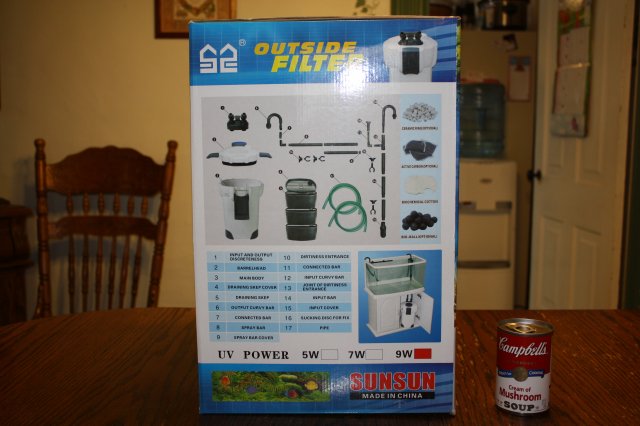
Side view has parts list, and general assembly instructions. This box indicates I received a 9w UV model which is inaccurate. I assume the box may have been misprinted. I neither ordered, payed for, or received a UV model. They are, however, available.
My first look at the hardware.
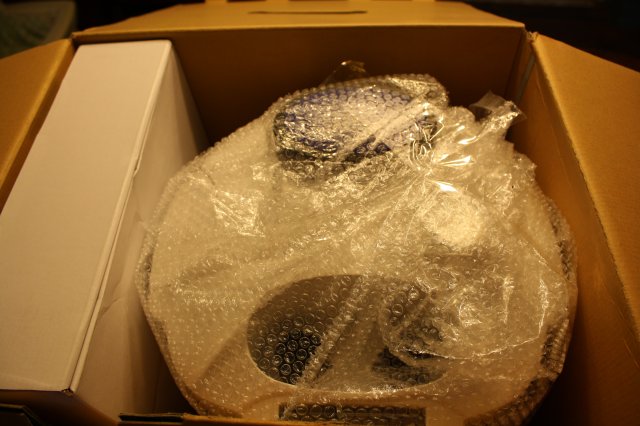
Filter unit is packed in lightweight bubble wrap, spray bars, hoses, and fittings all in the white box.
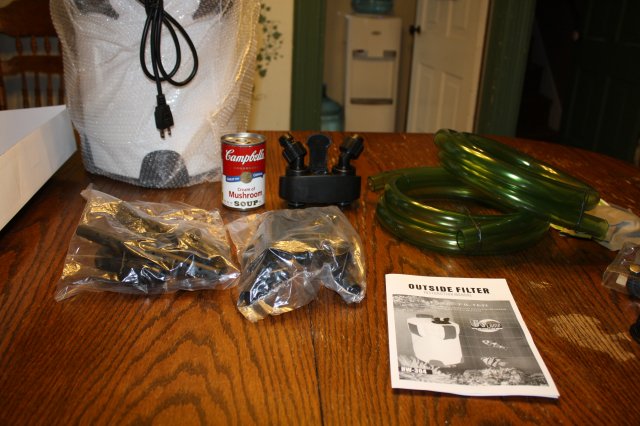
Contents of the white accessory box. Contents are divided into inlet parts, outlet parts, quick release valve, hoses and instruction manual. Instructions are written in somewhat broken English. No real assembly instructions to speak of. I can scan and include the actual instruction manual if anyone is interested. It's not that impressive but does include power consumption levels for all the different models and a trouble shooting guide. Two hoses included are apx. 6 feet in length with an outside diameter of 1 inch.
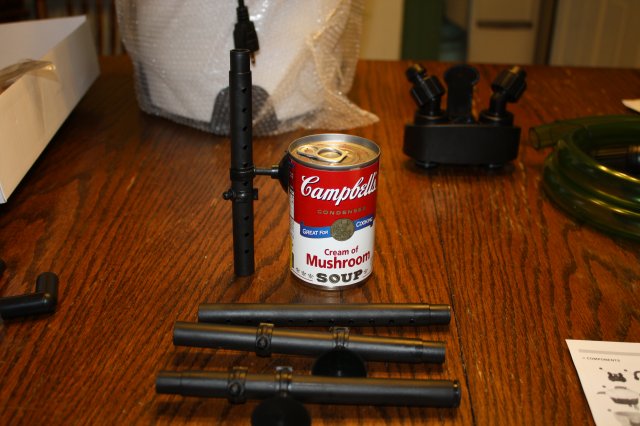
This is the 4 piece spray bar. One of which has the end cap attached.
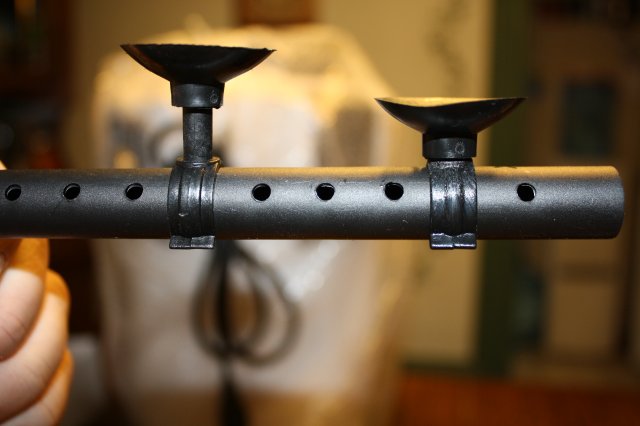
The spay bar comes with 2 different size suction cup holders. Show here are both for comparison. Spray bar will have a total of 3 suction cups to secure it in place.
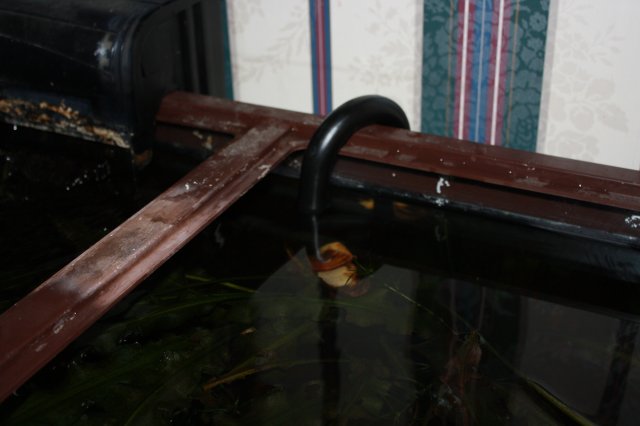
This is the curved bar for the inlet. Notice the surface skimmer attachment shown in the picture. This seems to be optional as there is a plug in that area to start with. The separation you see between the upper and lower sections in this picture is actually a ribbed riser section. Presumably to raise and lower the surface skimmer to the right height for your water level. Could also be to raise and lower the overall length of the inlet tube. Total adjustment of this section is just shy of 2".
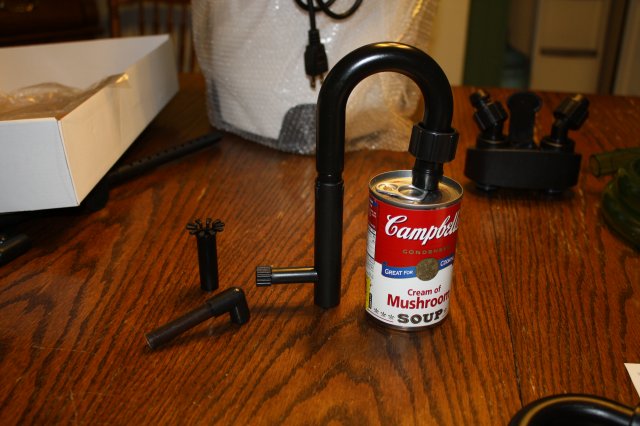
The loosely assembled inlet riser. You can see here the adjustable section here almost fully extended. (surface skimmer not shown) You can also see the two different size suction cup holders here as well.
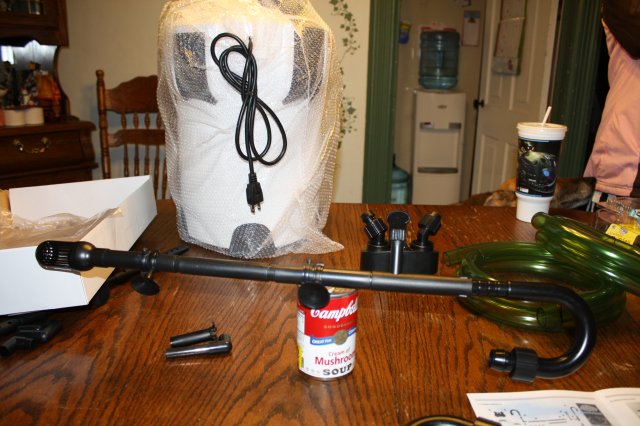
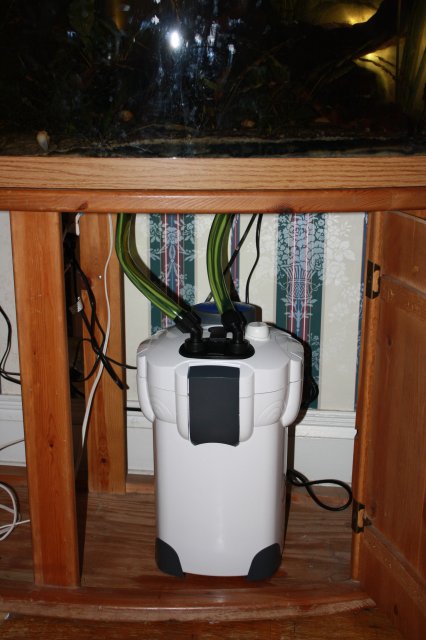
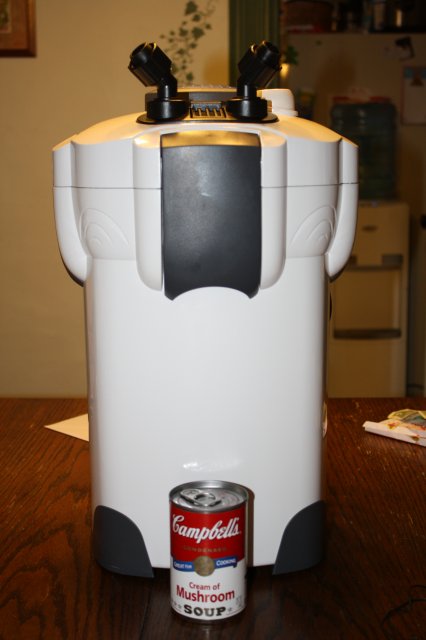
The unit with quick release valve installed. It is a monster. My wife asked me if we had a swimming pool we were planning on filtering. The quick release valve is pretty simple to operate. It has a swinging arm the locks the unite in place once it is fitted into the body. It only goes in one way, and has some sort of seal that prevents water from escaping the hoses when disconnected. I haven't put this to the test yet but I will, and will let you know when I do.
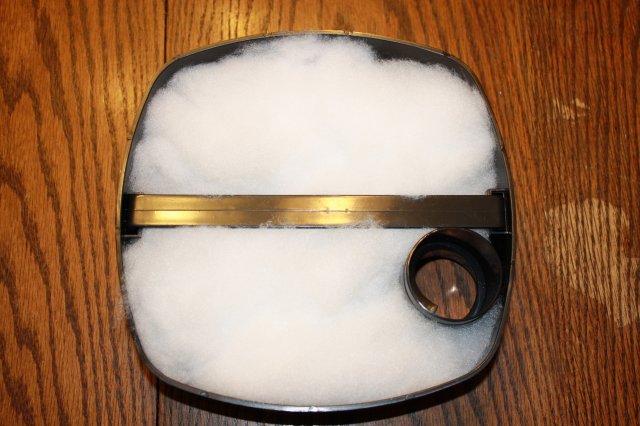
Overhead view of one of four media baskets. The handle pulls up for easy removal and collapses to fit snug when baskets are stacked together. This is one area I am sure I will need to be careful. If grasped in the middle when basket is installed, full of wet filter media, and snug against the body of the filter, I have a feeling it will break fairly simple. I plan on using these as little as possible and pulling from both ends, near the body of the tray, when I do.
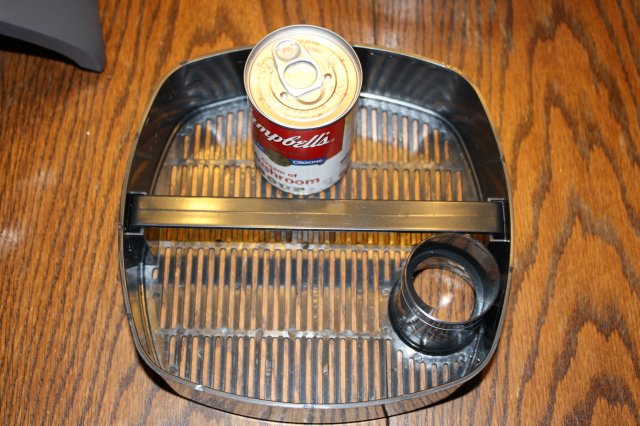
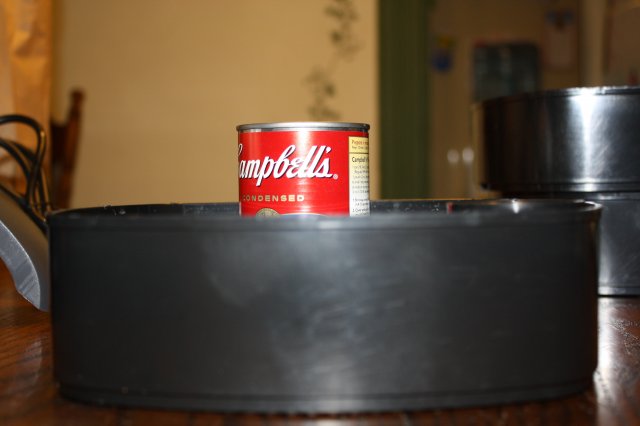
Side view of one basket with soup can inside for perspective. There is quite a lot of room in one media basket and this bad boy has 4.
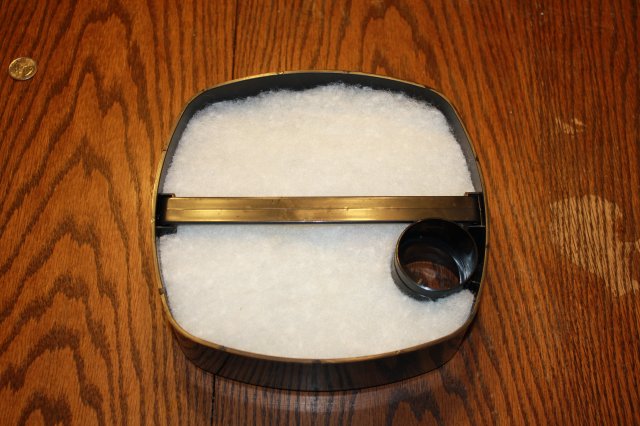
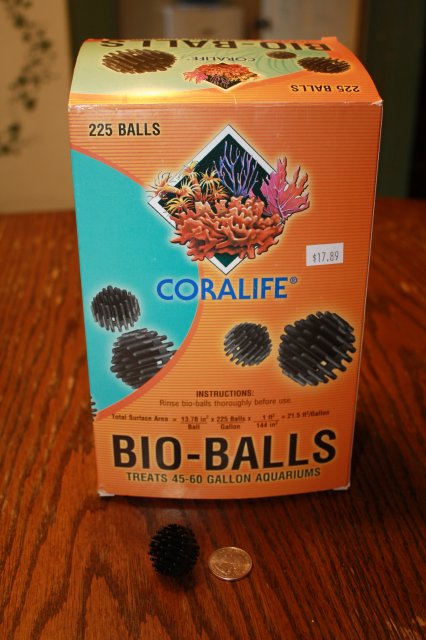
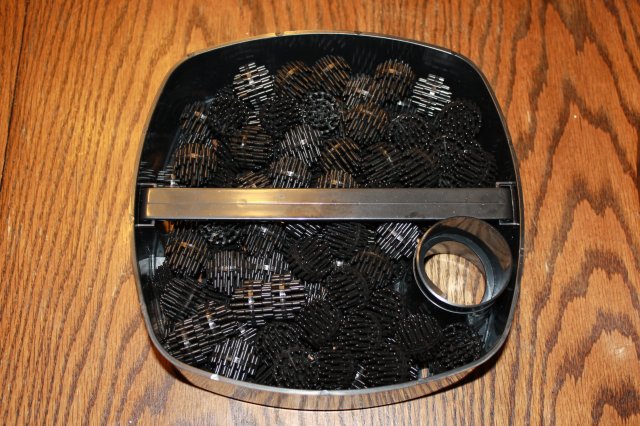
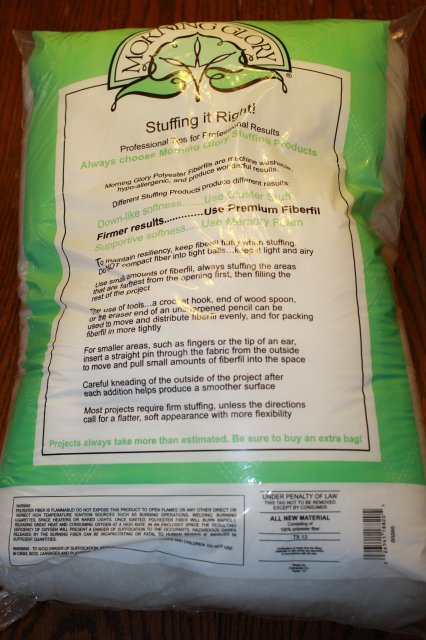
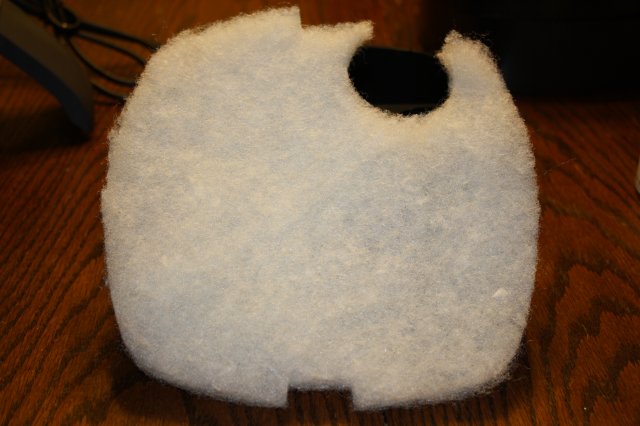
As far as filter media goes. This unit only came with 4 of these cotton pads. They are precut for the baskets and two of them together would fill the basket nicely. I am planning on buying ceramic rings for one level capped with one of these, a very course sponge for another, bioballs for yet another, and finally the top level capped with polyfill fiber. I have no plans on purchasing any more of these precut cotton pads but they are available on ebay as well. I will say, though, I am planning on making a template out of one and using that to cut all my bulk filter media from now on.
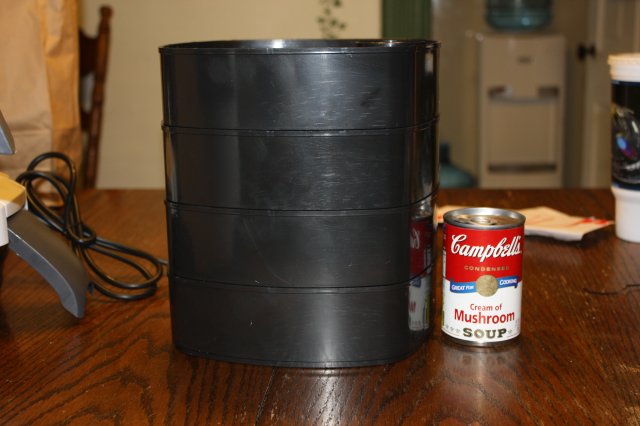
The last picture in this series shows the four baskets stacked together. Seems to be plenty of room for all the media I want.
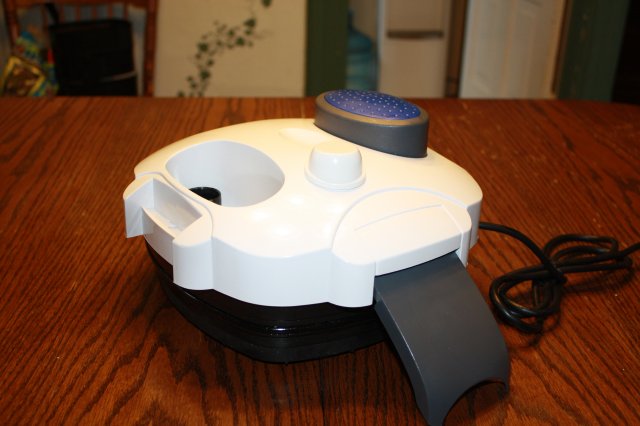
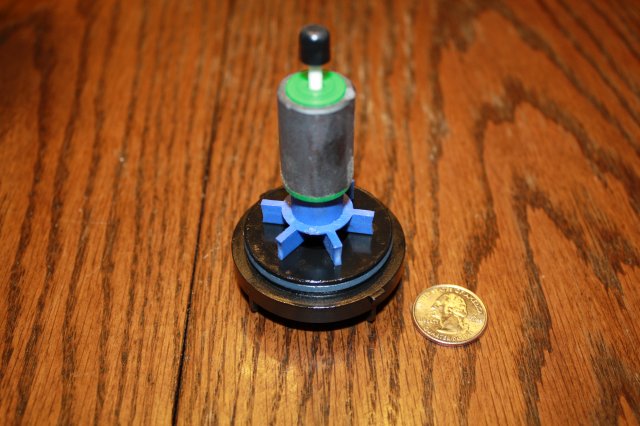
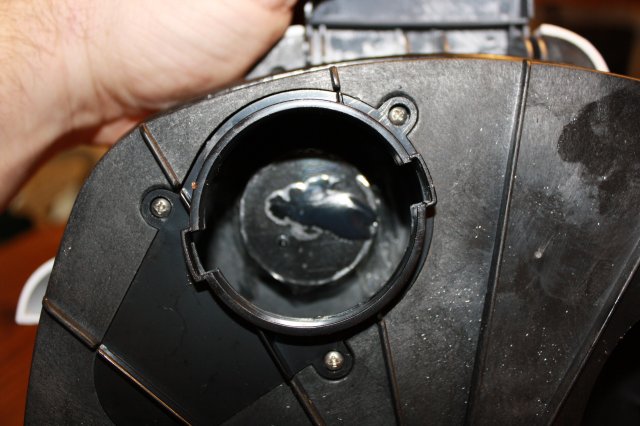
So far as I can tell, all parts are included that are needed. The product seems to be free from defects but I have yet to fully assemble and power it up. A bit later on I will be diving head first into the impeller assembly to check for lubrication. I am pleased with the construction thus far. there are 2 lever lock mechanisms on the filter body with 2 cam lock style levers on the lid/pump. It is the two levers on the lid that create the seal in my opinion while the two lever locks simply lock the whole thing in place.
If anyone has any questions that I haven't answered yet please feel free to ask. I will continue this with closeup shots of the pump and impeller unit, full assembly and further thoughts later on. If anyone would like a close up shot of any particular part that they haven't seen just ask. As long as I haven't gotten it completely assembled and running I will try to get the shot you request. Hope you've enjoyed so far and thank you for reading.


Initial purchase price was $78.99 with $20, flat rate, shipping. I used paypal and was very pleased with the sellers communication and shipping speed. Package arrived apx. 6 days later via UPS. I could not believe how large this pacage was. I read the product dimensions and thought it was big, but didn't have a real understanding of HOW big this thing is. In all the following pictures I use a standard can of soup for perspective.
I am completely new to the canister filter world so this review is not comparing the filter to other filters, rather, the ease of setup for a novice, and my general opinion as to craftsmanship and durability. This will be the main filter for my already up and running 72g tank. It has the bare minimum filtration right now with one penguin 350 H.O.B. The only other option with Sunsun was the smaller filter rated for a 100g tank but I plan on stuffing this to the gills with media for mechanical filtration. I assume this will slow the flow considerably. Also, this larger model has 4 filter trays as opposed to 3 on the smaller model. I have big plans for all 4.
These first pictures are of the packaging and contents. I am purchasing additional filter media today and will be actually setting it up on my tank later on today with more pictures of setup to follow.
Packed well in sturdy cardboard (not sure what a roadster bar is, but I assure you there is a filter inside)

Original manufacturer packaging. Attractive, dry, undamaged with a convenient carrying handle on top.

Side view has parts list, and general assembly instructions. This box indicates I received a 9w UV model which is inaccurate. I assume the box may have been misprinted. I neither ordered, payed for, or received a UV model. They are, however, available.

My first look at the hardware.

Filter unit is packed in lightweight bubble wrap, spray bars, hoses, and fittings all in the white box.

Contents of the white accessory box. Contents are divided into inlet parts, outlet parts, quick release valve, hoses and instruction manual. Instructions are written in somewhat broken English. No real assembly instructions to speak of. I can scan and include the actual instruction manual if anyone is interested. It's not that impressive but does include power consumption levels for all the different models and a trouble shooting guide. Two hoses included are apx. 6 feet in length with an outside diameter of 1 inch.

This is the 4 piece spray bar. One of which has the end cap attached.

The spay bar comes with 2 different size suction cup holders. Show here are both for comparison. Spray bar will have a total of 3 suction cups to secure it in place.

This is the curved bar for the inlet. Notice the surface skimmer attachment shown in the picture. This seems to be optional as there is a plug in that area to start with. The separation you see between the upper and lower sections in this picture is actually a ribbed riser section. Presumably to raise and lower the surface skimmer to the right height for your water level. Could also be to raise and lower the overall length of the inlet tube. Total adjustment of this section is just shy of 2".

The loosely assembled inlet riser. You can see here the adjustable section here almost fully extended. (surface skimmer not shown) You can also see the two different size suction cup holders here as well.

The unit with quick release valve installed. It is a monster. My wife asked me if we had a swimming pool we were planning on filtering. The quick release valve is pretty simple to operate. It has a swinging arm the locks the unite in place once it is fitted into the body. It only goes in one way, and has some sort of seal that prevents water from escaping the hoses when disconnected. I haven't put this to the test yet but I will, and will let you know when I do.

Overhead view of one of four media baskets. The handle pulls up for easy removal and collapses to fit snug when baskets are stacked together. This is one area I am sure I will need to be careful. If grasped in the middle when basket is installed, full of wet filter media, and snug against the body of the filter, I have a feeling it will break fairly simple. I plan on using these as little as possible and pulling from both ends, near the body of the tray, when I do.

Side view of one basket with soup can inside for perspective. There is quite a lot of room in one media basket and this bad boy has 4.

As far as filter media goes. This unit only came with 4 of these cotton pads. They are precut for the baskets and two of them together would fill the basket nicely. I am planning on buying ceramic rings for one level capped with one of these, a very course sponge for another, bioballs for yet another, and finally the top level capped with polyfill fiber. I have no plans on purchasing any more of these precut cotton pads but they are available on ebay as well. I will say, though, I am planning on making a template out of one and using that to cut all my bulk filter media from now on.

The last picture in this series shows the four baskets stacked together. Seems to be plenty of room for all the media I want.

So far as I can tell, all parts are included that are needed. The product seems to be free from defects but I have yet to fully assemble and power it up. A bit later on I will be diving head first into the impeller assembly to check for lubrication. I am pleased with the construction thus far. there are 2 lever lock mechanisms on the filter body with 2 cam lock style levers on the lid/pump. It is the two levers on the lid that create the seal in my opinion while the two lever locks simply lock the whole thing in place.
If anyone has any questions that I haven't answered yet please feel free to ask. I will continue this with closeup shots of the pump and impeller unit, full assembly and further thoughts later on. If anyone would like a close up shot of any particular part that they haven't seen just ask. As long as I haven't gotten it completely assembled and running I will try to get the shot you request. Hope you've enjoyed so far and thank you for reading.


