My 185gal build in progress (lots of pics)

  • Get the NEW AquariaCentral iOS app --> http://itunes.apple.com/app/id1227181058 // Android version will be out soon!

cvermeulen

Sucking up knowledge
May 18, 2007
405
0
0
44
Los Osos, CA
Real Name
Cam
I cut out recesses in the top for glass to sit in, and sealed the top with polyester resin. I need to flip it over and seal the bottom, then coat the whole deal with gelcoat. I also did some filling and fairing on the back of the aquarium, ad did one coat of polyester sealer. I will also gelcoat the back. Right now the overflow box is just tacked in place with a couple brads.


Rbishop

Administrator
Staff member
Dec 30, 2005
40,727
452
143
70
Real Name
Mr. Normal
Nice.
 

cvermeulen

Sucking up knowledge
May 18, 2007
405
0
0
44
Los Osos, CA
Real Name
Cam
still looking superb....any more thoughts about the warping of the front where the glass will fit?

Niko
I think I've suppressed that thought... ;) The front straightened out a bit when I stood it up properly, and when I screwed on the top. I think I may have to fill some 1/4" gaps with silicone, and then add a custom trimmed thin molding around the glass to try to hide the warp. The bottom sits very flat on the stand when it's all set up, so I don't think it will bend too much when I fill it with water. Nevertheless, the first fill is going to happen outside!!
 

cvermeulen

Sucking up knowledge
May 18, 2007
405
0
0
44
Los Osos, CA
Real Name
Cam
Nothing too exciting tonight, just some gelcoat on the back. I gelcoated the top too, but it looks pretty crappy (mostly due to me cheaping out and using exterior grade plywood on it.) I may have to do some filling and fairing and then gelcoat it again this weekend.

First coat of gelcoat on the back:


Proof that I'm anally retentive, filling screw holes and imperfections (keep in mind this part will be fully hidden)


Second coat of gelcoat. I added a touch of black pigment to this one so it wouldn't look so... "public pool" ish.


cvermeulen

Sucking up knowledge
May 18, 2007
405
0
0
44
Los Osos, CA
Real Name
Cam
I know after a thread like this goes on long enough it's hard to come up with new things to say about it after a while ;). Don't worry, this weekend the plans are:

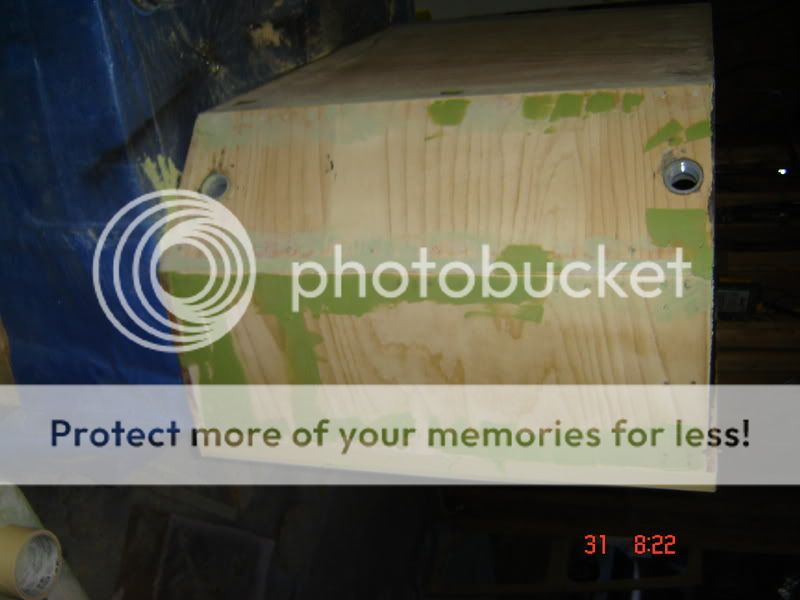
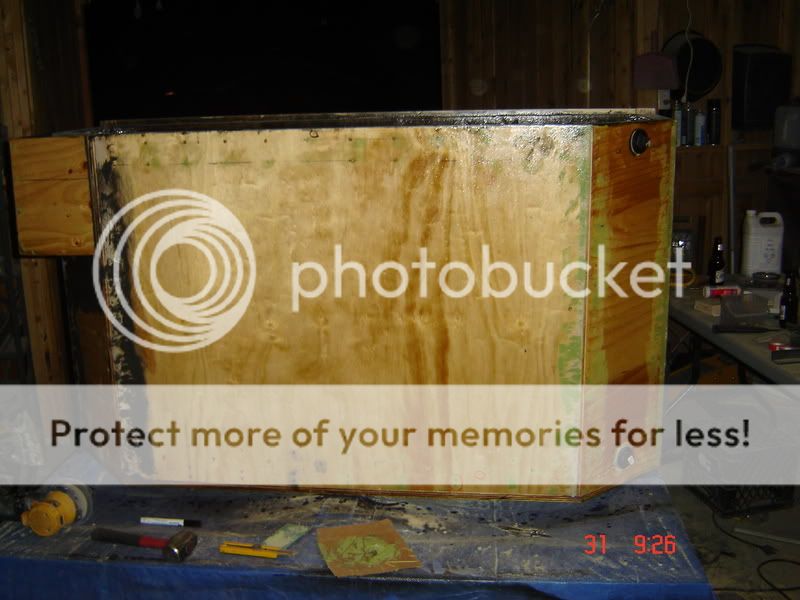
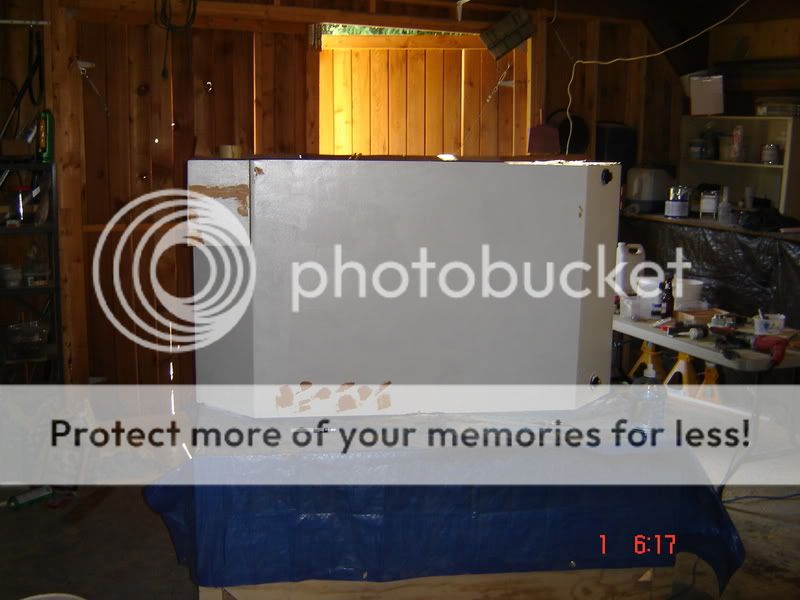
1) fill and faire the top, then re-coat, so it looks nice and smooth like the back.
2) Get windows for the top.
3) finish plugging all the holes, sand, stain, and then clear epoxy on the oak.
4) Sand down all the imperfections on the interior of the tank and do one more (careful!) coat of black, so the interior is smooth and glossy black. I also need to fasten and seal the overflow box to the back, and make sure it holds water.

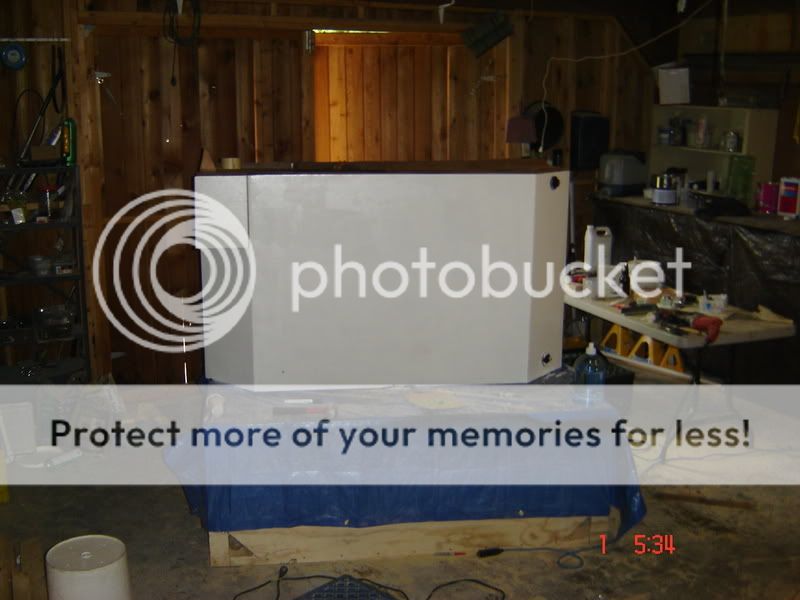
Once I have all that done I'll set it up on the stand and take some piccies. I haven't shown you guys what the stand looks like with doors and stuff on it. I think you'll be excited, so tune in on monday!
 

dkht25

AC Members
May 10, 2007
21
0
0
That is looking real nice. Post some specs of the entire setup when you post the finished pix. Eg. Filtration, dimensions, what you would do different,etc. I am thinking of building my own, and trying to soak up as much info as possible.
 
zoomed.com
hikariusa.com
aqaimports.com
Store