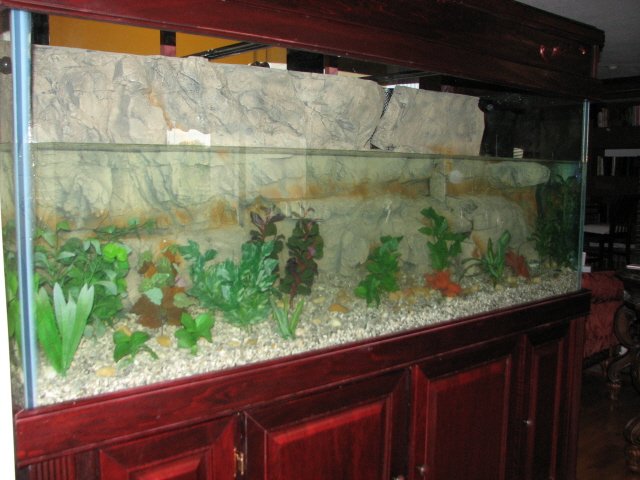
Wow, it's been awhile but I'm finally making good progress on the setting up the tank again.
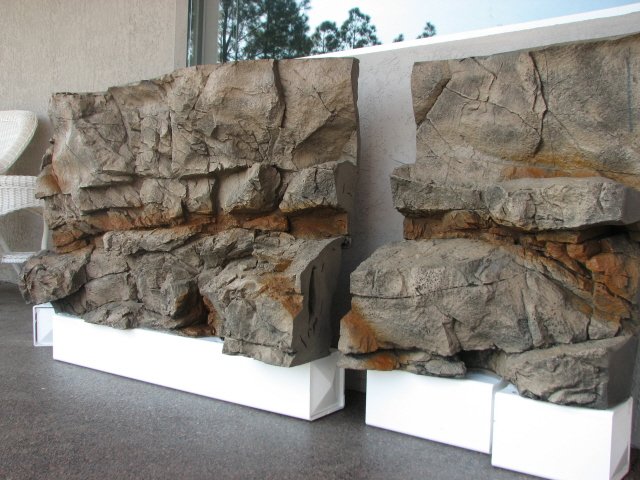
Fitting the 3D background took considerable time to figure out how to make the best of a less-than-ideal situation. Initially, I'd hoped to keep the background in one piece, sooo, I cut the cross-members of the plastic frame away to get the background in intact, with the idea that I would repair the cross-members with bronze straps - more on this later. Well, I sat the one-piece background in the tank and discovered that, because of the two overflow columns and the shape of the background, I'd be giving up about of a third of the total volume of the tank up behind the background - Not acceptable. You can get an idea of the situation from the first picture.
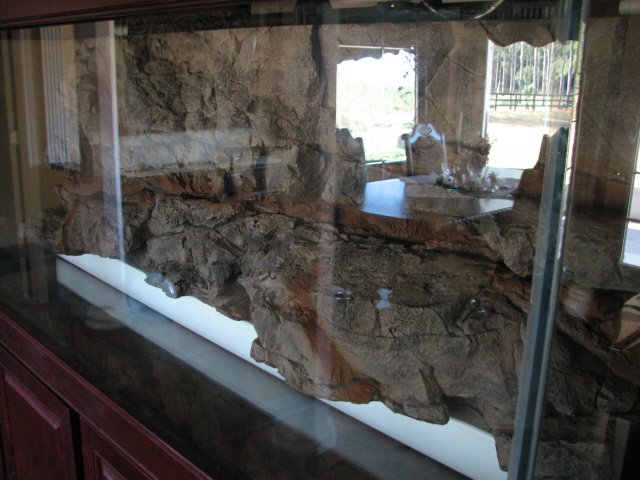
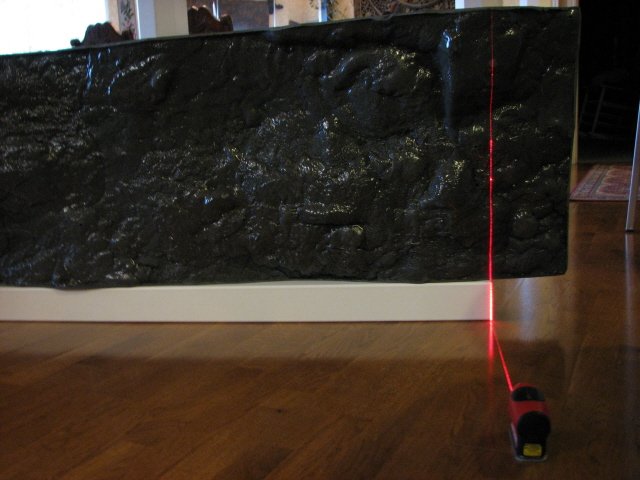
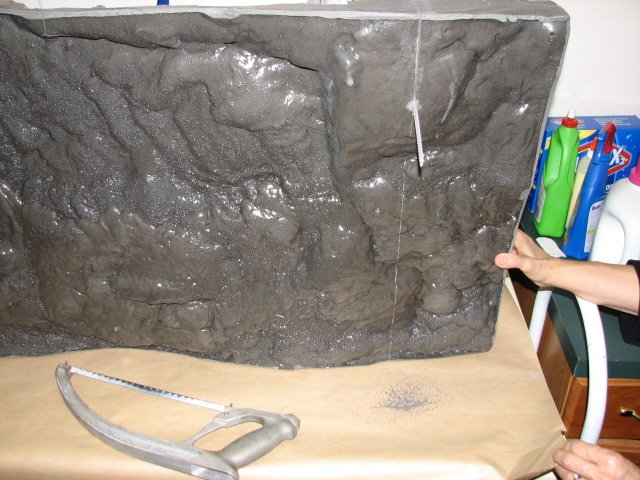
So, I resolved to cut the background into sections that I could then offset to accommodate the overflows, but sit further back in the other areas.
With the sections cut, I mounted them on 4" vinyl post sections to get the background to the right height, then used GE I silicon again to stick them to the bottom of the tank.
By now I'd had second thoughts about attempting to repair the cut cross members, so I ordered a new replacement from All Glass. Removing the old frame was fun. :silly: What worked the best for me was running a dremel tool across the top, then separating the inner/outer halves away from the tank. Finally got it all off and prepped for the new frame.
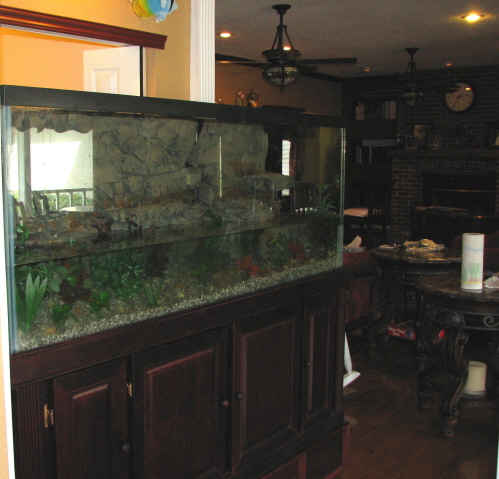
Once I finished got the plumbing underneath installed, I was finally ready to get the tank wet :headbang2: I stopped after 1/3 fill to give the new base platform, stand, (and my anxiety after reading about too many fractured tanks on this site) time to "settle". Discovered a small leak from one of the bulkheads, but that turned out to be a "newbie" mistake of mine for not tightening it enough (I had done them hand tight, then 1/8 with a wrench - the wrong way on this one) :duh: Otherwise, all is well so far - I'll be the next 1/3 fill next Saturday when I'm around to monitor for problems. Until Then..


