99 Gallon Tank Journal

Thanks all for the input.
Mindcrime, I was indeed thinking of mixing in 10 to 20% of light color. You can't see it the picture very well, but there's some of it from old setups in there. Looks indeed very nice, so likely it will be red with some light spots in it.
Quite sure that the verdict on the gravel is out.

As for the light, the CCFL's are overkill at the moment for sure.
Will take some pictures with only 8 out of 16 switched on.
The main reason for trying them for me is heat and space. If I see good plantgrowth on it then it will be put into proper arrays (like cut 4 inch PVC pipes with or some other high reflective background.
It's too concentrated, making it look worse than it really is.

Anyhow, that's for the coming weeks.

Thanks all for the input and compliments..appreciate.

Cheers,
Luc
 
Been a while, so just a quick message. Still here and working on it.
Things got a bit slow over the last few weeks, but done some work and will make pictures this weekend of it.

Chiller has been installed. See my old thread of the chiller for more details.
- I've removed the fridge-casing.
- Put all on a temporary stand
- Bend the cooling-tube into position so that its now in its water-compartment next to the pumps
- Put a temporary fan on it for now.
- It runs nicely, bringing down the temperature by 3 - 5 degrees (Celcius) which is exactly what I need. It's blazing hot right now, going up 39'C with very high humidity.

So with the temperature between 28 & 30 Celcius, I'm happy and the fish are happy with it as well.

Also started on the hood. Basically 1 cm wood frame with 2mm plywood top and bottom. Part of the bottom will be screws only to access cables if necessary, but I plan to have all service-parts inside the electricity cabinet (starters/ballast/switches etc)

Hood will then be painted high-gloss white on the inside with some clear coats for extra reflection. Not decided yet on how many tubes, but I guess its going to be 7 T8's.

Sump is doing a great job and returns very clear water back to the tank.
Initially I had a lot of brown algea build-up, but that is now breaking down and ceramic rings are starting to get back to their white color. Seems they're catching up nicely with the rubbish.

Pumps where a good choice it seems, even with all the 90' turns and twists, they're having some over-capacity that I'm running back into the sump.

Love it so far, no regrets on anything and getting 'orders' from people to make them something like it.

Cheers, pictures hopefully tomorrow.
Luc
 
Wow, pictures tomorrow became 8 months later.
Had a very busy time, hardly any time to do much on this project.
However, have started it up again and with about 3 months of running, I found quite some problems that I wanted to change.

Problems I found:
- Return Lines cause quite some restrictions
- Dirt building up in the lines can not easily be cleaned
- The amount of 90' turns in the lines and the setup made it difficult to balance water between the 4 returns.
- The CO2 reactor was building up dirt as well.
- Concrete slowly dissolving into the water.

Have started to address all those problems and tank has been dry now for about 4 months. Hope to have the epoxy soon to seal the concrete background.

Will post some pictures soon on changes made.
 
Thanks for the compliment. Getting all juiced up again with every bit of work done.
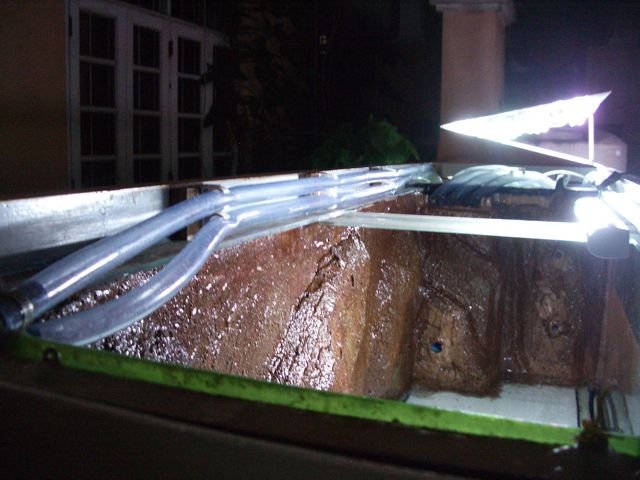
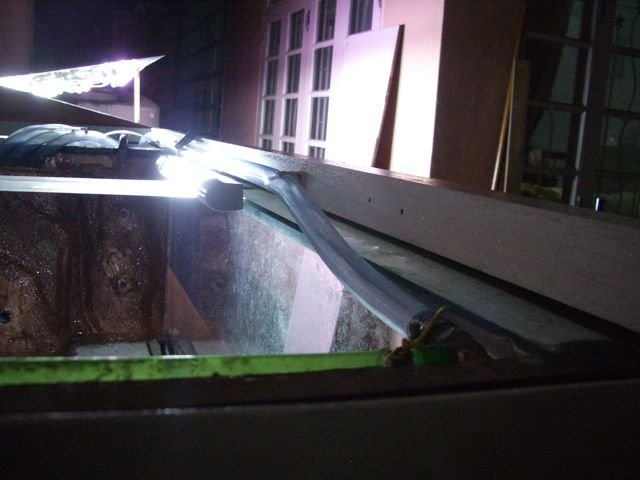
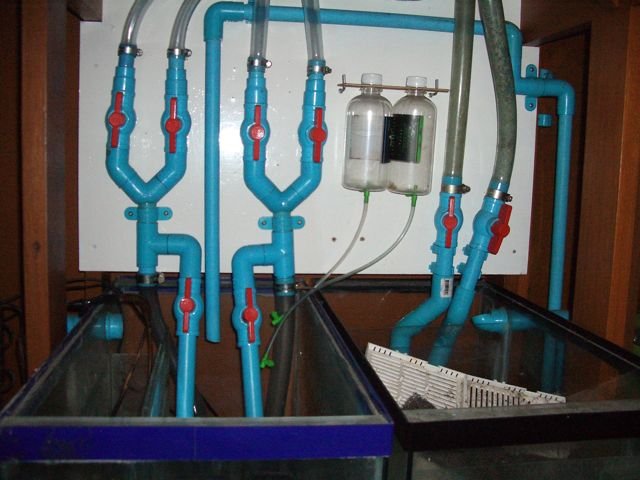
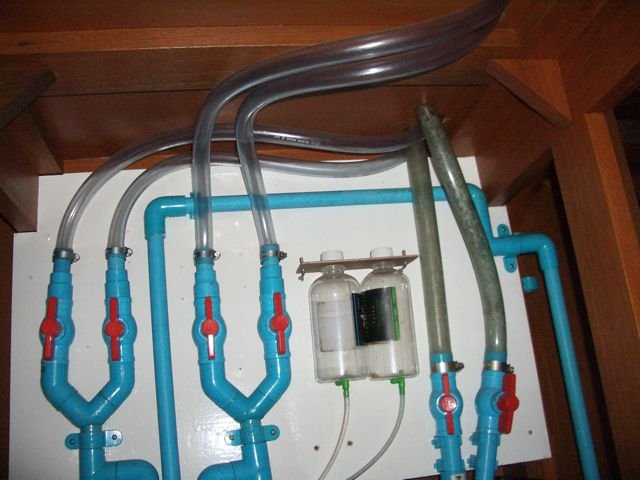
Changed all the return-lines to PVC Tubes 1". So instead of having all the 90' corners, I have no corners at all anymore except at the final outlets in the tank.
It also makes for easy maintenance, since these tubes are easy to disconnect and clean.

I've also changed the pipes right after the pumps, it's now much more optimized with all lines having same distance and angles, with water making 45' turns only.
Very curious to see it running again and the improvement it will make on throughput.
 
Well, tomorrow never comes it seems. Pictures are due...
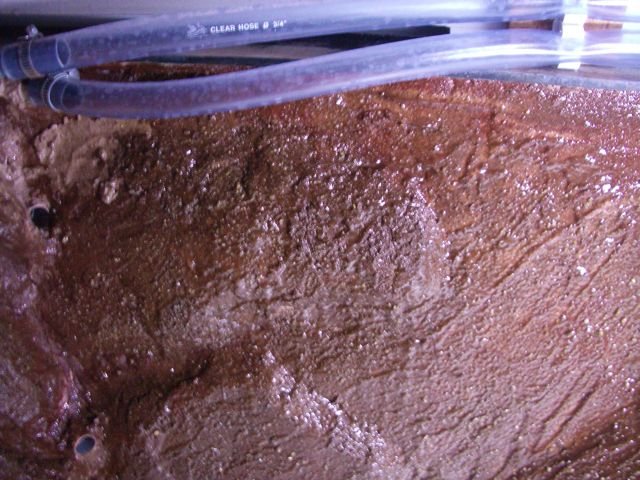
I finally got hold of a epoxy-shop, so with a couple of days off during the new year, I managed to put it all together and had my background sealed.
Very happy with the results, first layer I discovered quite some thin patches of concrete. Epoxy went right through it.
So after mixing some new concrete and patching up those places, next layer of expoxy but this time mixed with sand for better looks.
Next morning, I had a last patch up of some small spots and the last layer of epoxy which is now curing.
Not sure how long it will take curing, but everything is touch-dry with only a very light 'tacky feel' to it after about 20 hours.

Looks great, the 'reddish' color of the concrete turned brown with the epoxy coating.
Hope to have it dry today, then refill everything and test-running it.

So the very early comment of Bob Bishop is now followed up.

Hood and electric part will still take quite some time to shape up, but there's movement..getting all excited again on seeing this one through.
 
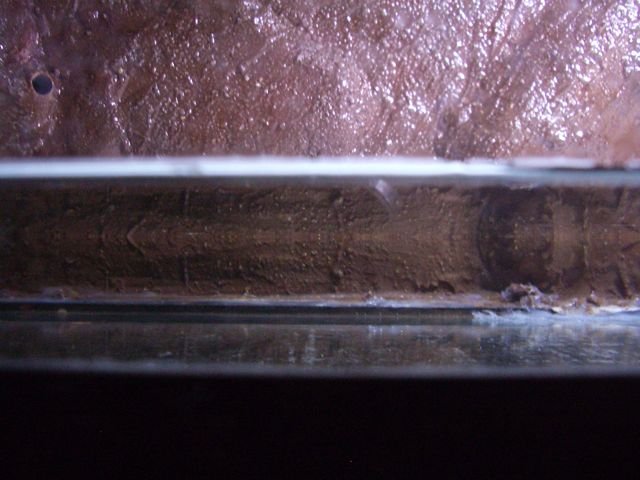
And ok, as promised, some pictures of where I am now.
I've finished the epoxy. Still drying, don't know how long it will take, but lets see.
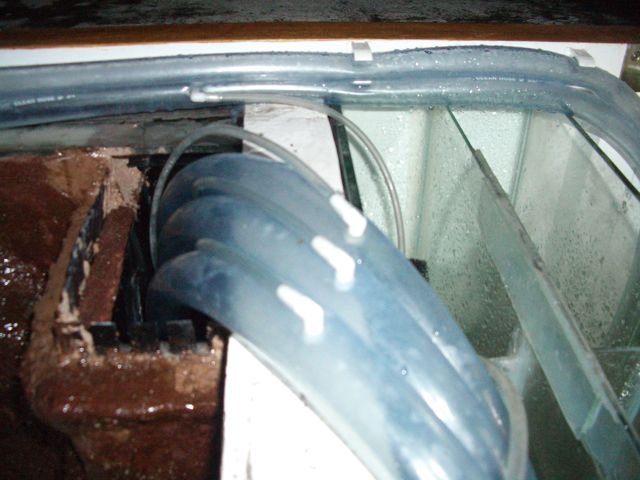
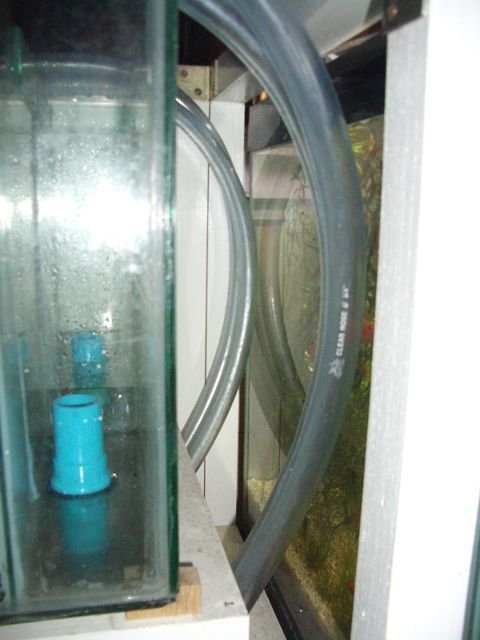
Pictures of the background, the new water return-lines and the new pump connections to those lines.

If you compare the connections with the pumps and the return lines with earlier pictures, then I think you'll notice that this looks much cleaner and easier for water flow.
As said, waiting for the epoxy to dry and then get pumping.

Cheers,
Luc

IMGP7075.jpg IMGP7076.jpg IMGP7077.jpg IMGP7078.jpg IMGP7079.jpg IMGP7080.jpg IMGP7081.jpg IMGP7082.jpg
 
Thanks for the comment Mott.
Did some water-testing yesterday. Found that one of the valves is leaking....sigh
Need to change that one and re-do some connections.
Don't have rubber O-rings available, but normally that is solved with silicone. Found some of them leaking this time however. Not too much work, only a nuisance to redo it.

The epoxy sure takes its time to fully dry. Just want to top it off and see it full glory under water...
 
Nice update! Not sure what is worse...watching epoxy dry or the removing silicone on a re-seal job.
 
AquariaCentral.com