YOU SERIOUSLY NEED TO GET RID OF YOUR BUDGET REGULATOR QUICK OR IT WILL RUIN YOUR SETUP, OR PUT IT IN QUARANTINE ASAP FOR AT LEAST TEN YEARS!! OTHER THAN THAT............. GREAT TANK!!!!
assembly page: new 150 gal freshwater
- Thread starter ghostknife
- Start date
You are using an out of date browser. It may not display this or other websites correctly.
You should upgrade or use an alternative browser.
You should upgrade or use an alternative browser.
The budget regulator is not connected to the tank so it does not operate in that capacity ;->
Seriously, I'll get a head start and tell you about the various things so far and to come.
The tank is quite heavy, even empty it weights about 600 lbs. Full it is estimated to weigh almost 3000 pounds. This necessitated reinforcing the stand with 2x4 beams and columns as well as adding a couple of beams underneath the house to support it down to the foundation. It occurred to me that a wooden house with an aquarium at its corners could better withstand a hurricane because of the weight. In my case, the tank will not improve the downforce of the house because it is not needed in that particular corner.
The tank has three ports in the base, about 14" spaced. these lead to a common hose with valves that runs to the outside of the house. It will eventually be connected to a pvc pipe that runs underneath the house and deck to the garden. That water is great for plants. It will also have a water hose hooked up and through the house near the top of the tank. The idea is simplicity itself; empty out the bottom, fill from the top. This will make water changes simple and easy and dry. It is also adaptable to connect a canister filter to the outbound hose and route it back into the tank. But for now, its going to be for water changes only, which is the most important thing. This will hopefully allow me to have a good mix of plants and fish together.
It will be equipped with an Ehiem Pro III filter, 2 whisper 100 air pumps, 4 penguin 1140 powerheads placed at the bottom, and an undergravel filter but not used in the traditional way. It will serve as an undergravel plenum to drain the water out through the bottom ports. I believe that aeration and circulation clean a tank as good or better than filtration alone.
The light im going to try is the Lunar Aqualights Compact 72" it has 2 white and two blue fluorescent strips and 3 LED moonlights. It comes with two built in fans, but Im going to have to add either more fans to my hood or vent ports. We'll see when it gets here. This is normally used for a saltwater tank so it may not work or it may work great. I figure sunlight is sunlight, whether it shines on the ocean or the lake or the river. And lets face it, the moonlights are just plain the coolest.
I drew up a plan for the aquascaping that calls for four terraces, two of which will be pure Laterite for plantings, and the other two will be foreground white crushed granite mixed with some other aggregate. The budget regulator cut a deal with me that I have to add a statue of Buddha and a japanese pagoda. Fine with me.
As for the background, there has been much discussion. I paint fine art as a hobby and it occurred to me that I could paint my own backround. So Im going to use acrylic on canvas and paint a carribean blue background with lightrays for the illusion of depth. I wanted to paint in some tree branches, etc but you-know-who didnt like that idea. perhaps it will come in time. I had thought of making a false rockscape on the outside of the tank to add depth but decided against it. A canvas can create any illusion and only take up 1" of space, plus they can be changed quickly and have several to choose from.
Last edited:
progress on the work
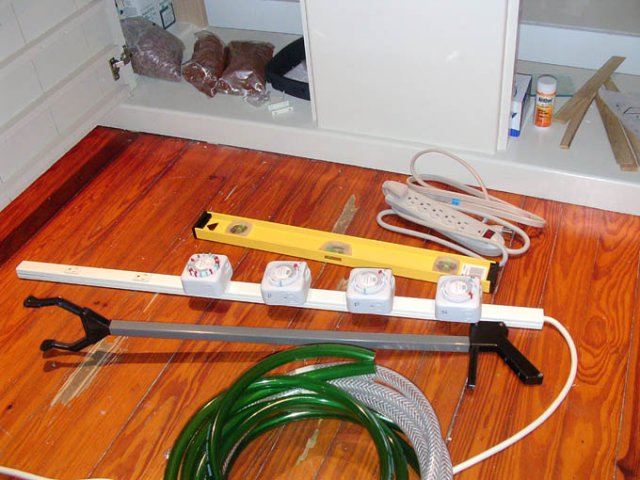
Hi again, I have made much progress and here are the pictures to show you. Here you see all of the components laid out for installation. I found that long power strip was ideal for the job because it allows enough room for the timers to be set side by side. I labeled each timer D for day, N for night and set them. The other power strip is for the four powerheads and the air pump. It is absolutely crucial to have a proper level in order to level the aquarium pripor to filling. I found the tank to be leaning back towards the wall and a bit to the left. I shimmed the stand so that it was level.
You will find that most aquariums are not more than 24" high. I was never happy with that lenght, always wanting a taller tank so that it would be more like a window into an underwater world. I quickly found out why tanks are not usually taller than that. above 24" is is very hard for one's arm to reach the bottom of the aquarium. I used that arm grip tool you see there to help out. Its still very clumsy to use, but it works with patience.
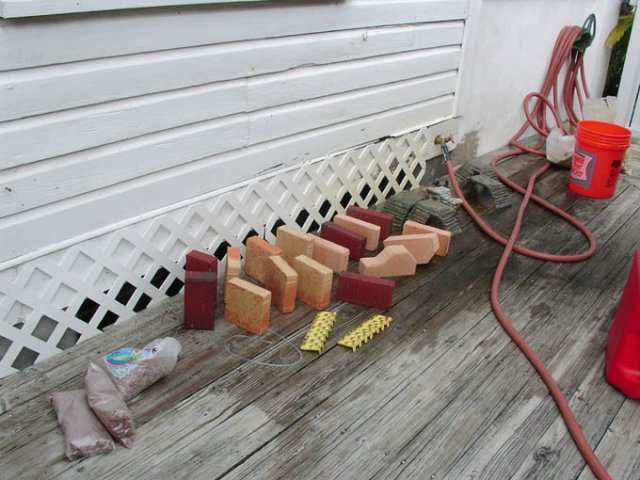
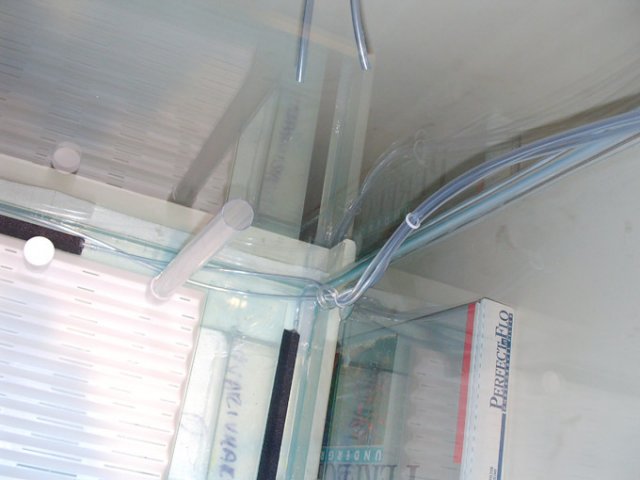
I also show the airstone and hose setup and the outside work of rinsing the gravel and bricks I used for the aquascaping.
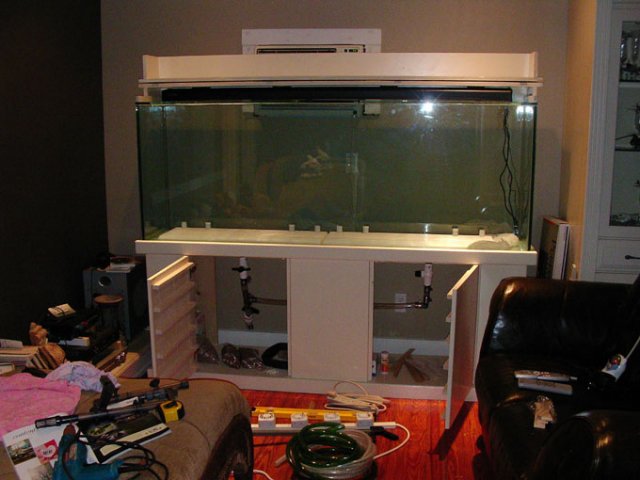


Last edited:
some more pics
This set shows the aquascaping and partial filling of the tank. A detail of the powerheads concealed in the decor. I filled the tank half way and then let it sit for a couple of hours to see if it would leak. Then while it was still half filled I placed the fake plants in the gravel and filled it to the top. Then I hooked up the Ehiem 3. Wow is that thing quiet and powerful. I have very good hearing and I have to put my ear right up to it before I can hear it.
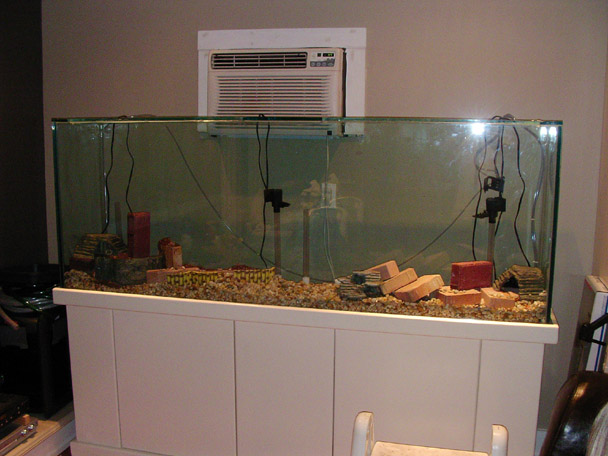
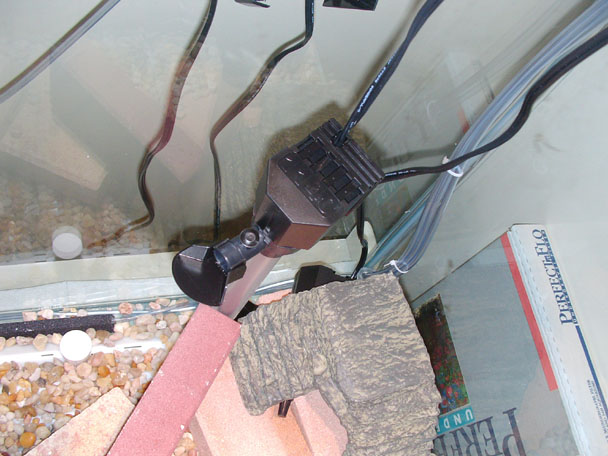
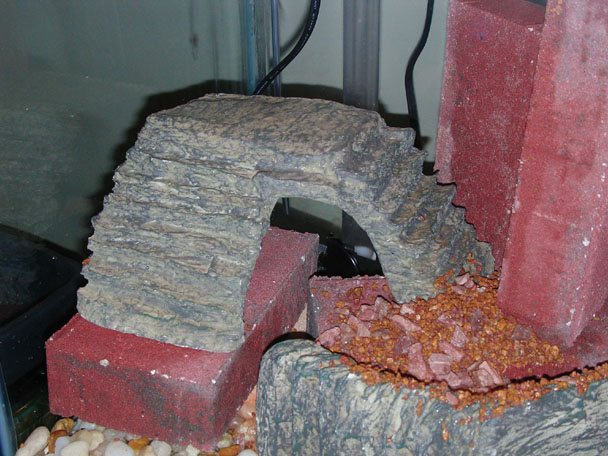
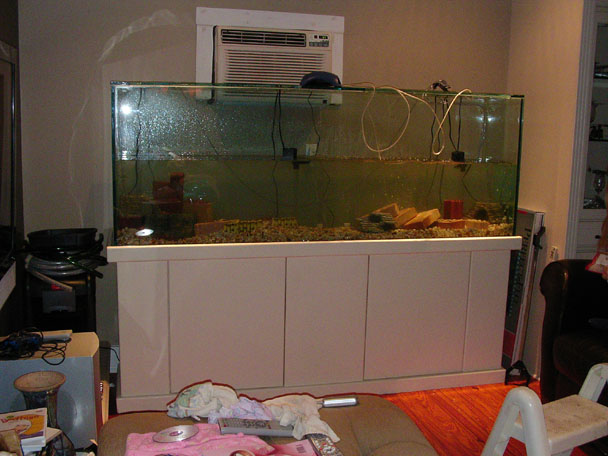
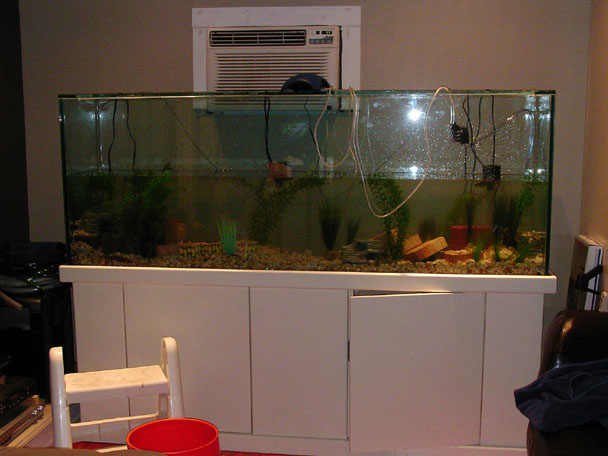
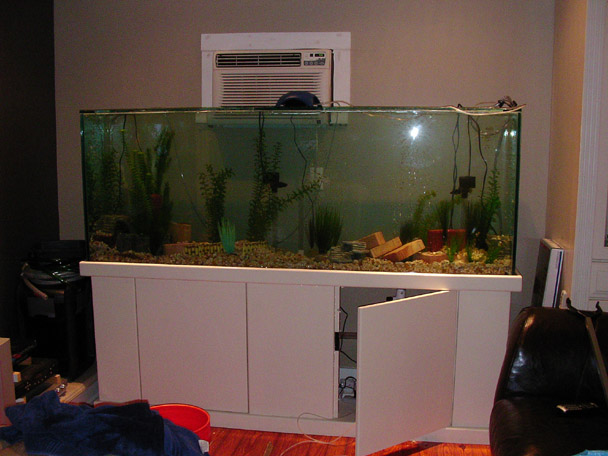
This set shows the aquascaping and partial filling of the tank. A detail of the powerheads concealed in the decor. I filled the tank half way and then let it sit for a couple of hours to see if it would leak. Then while it was still half filled I placed the fake plants in the gravel and filled it to the top. Then I hooked up the Ehiem 3. Wow is that thing quiet and powerful. I have very good hearing and I have to put my ear right up to it before I can hear it.


Last edited:
still some more pics
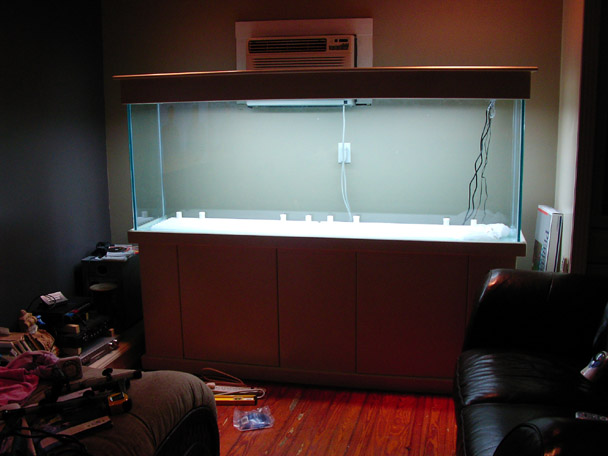
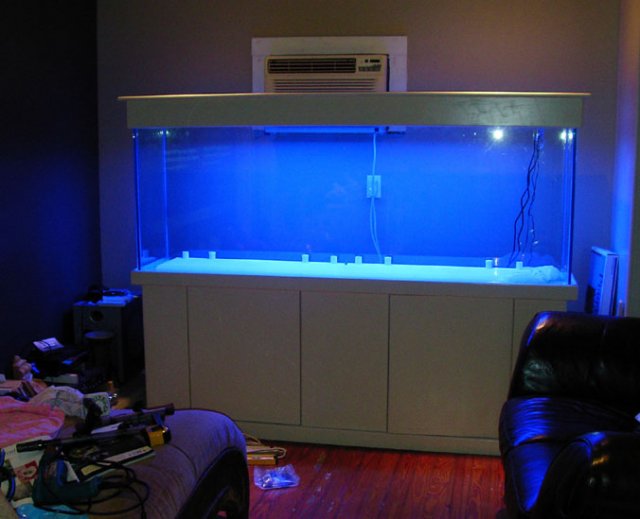
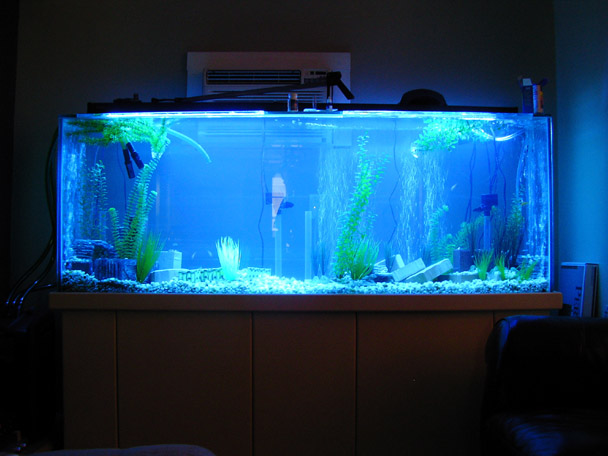
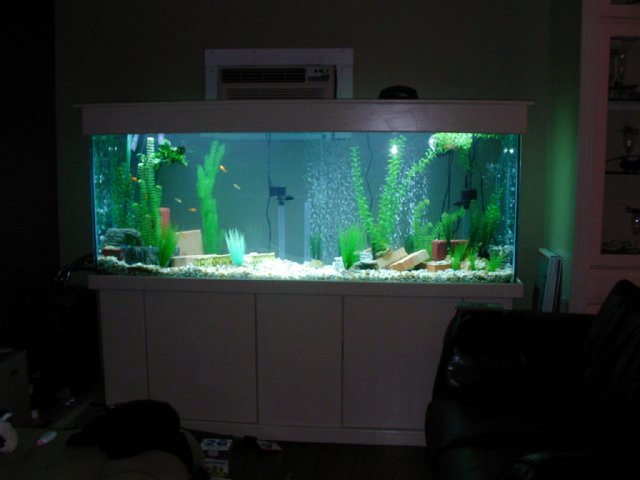
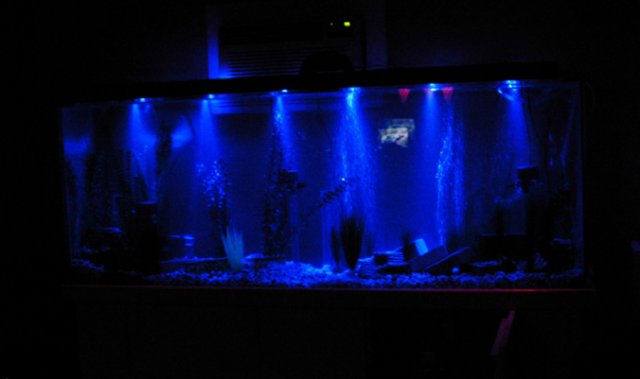
Here are the pics of the tank as it is now, with the white, night, and blue lights on respectively. I threw in the chlorine remover, dropped the ph down to 7, checked the temp, and threw in 10 feeder goldfish to begin the cycle.
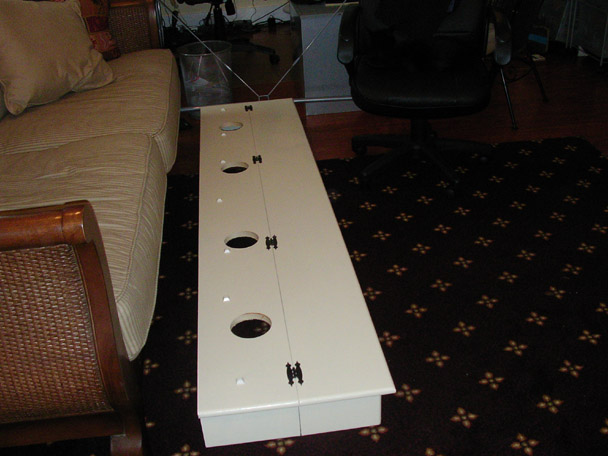
I had to modify the hood by drilling large vent holes that correspond to the fans in the light fixture. I also noticed that when the hood was open, it was putting strain on the hinges so i mounted sticky back bumpers along its length to correct that problem.


Last edited:
what comes next
While the tank is cycling I have some things to do. I want to mount and better organize the power strips and electronics. I want to label them and coordinate the wiring so that it is all neat and organised.
The Ehiem 3 hoses are too short, so I have to cut longer lengths of hose and place them in better locations within the tank. The hood needs further modification to accept the hoses properly. I need much more live-plant gravel material so Im going to order that. The bricks I used are not the finished product. They are the supporting foundation for slate rocks that I will buy and place on top of the bricks.
I will begin painting the backdrop. The wife is already pestering me about the statue and the pagoda. Of course, there is still a long way to go. The slow addition of live plants and the subtraction of the plastic ones. The backdrop will undergo revisions. The undergravel filter tubes will be capped and abandonned. There may be a need for a CO2 injector and a UV filter. All along the way i will be stocking the tank one or two fish at a time.
Last edited:


