Daily Log of Constructing a Tropical Fish Pond
- Thread starter lousybreed
- Start date
You are using an out of date browser. It may not display this or other websites correctly.
You should upgrade or use an alternative browser.
You should upgrade or use an alternative browser.
almost done!
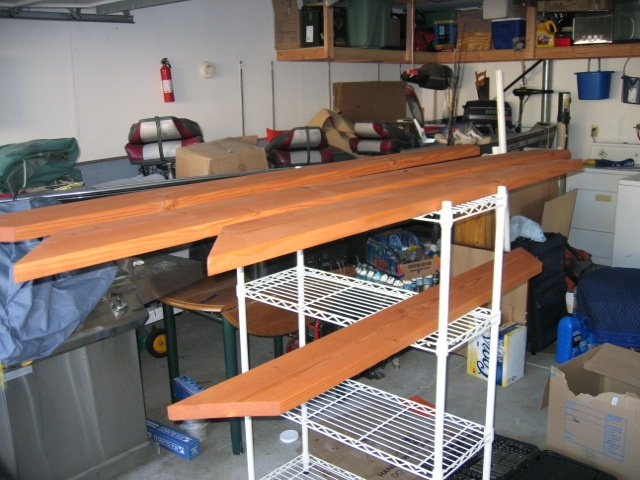
I finished sanding and staining the top wood pieces. They are still drying. After a couple of days I am going to put the water sealer on them. I plan to fill by this friday or maybe thursday!
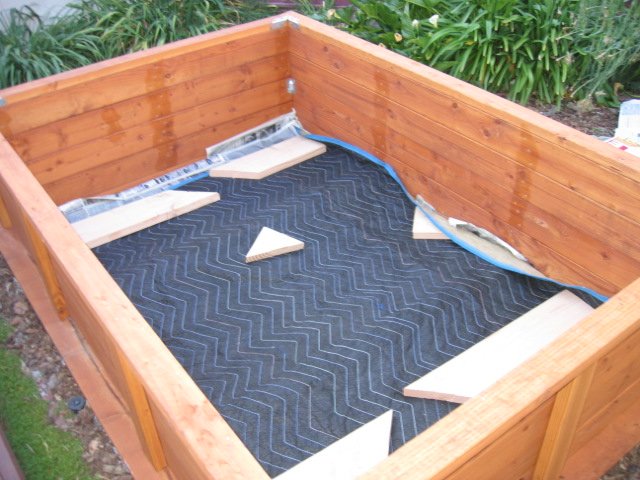
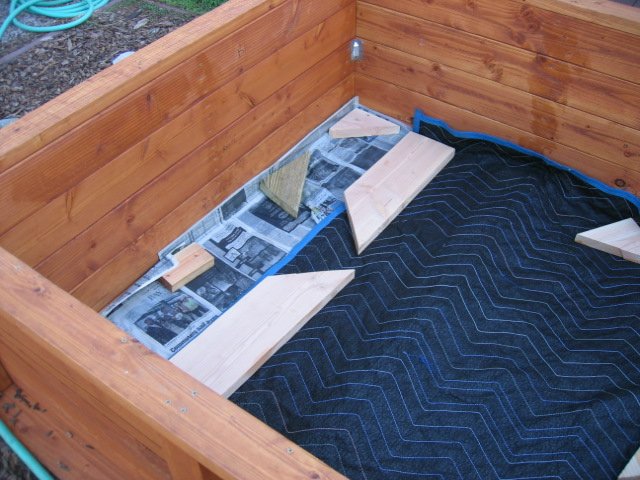
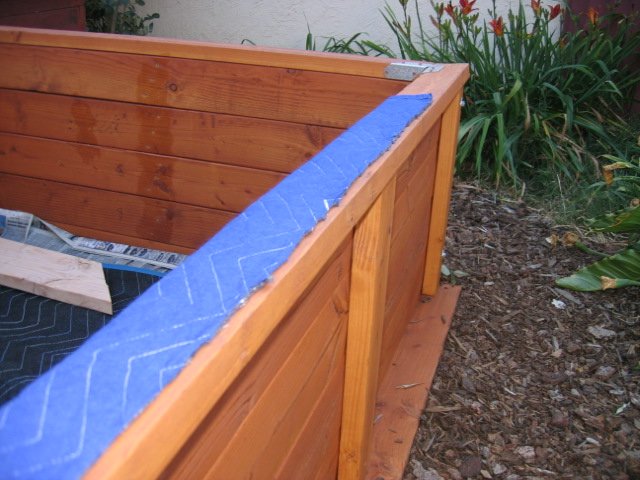
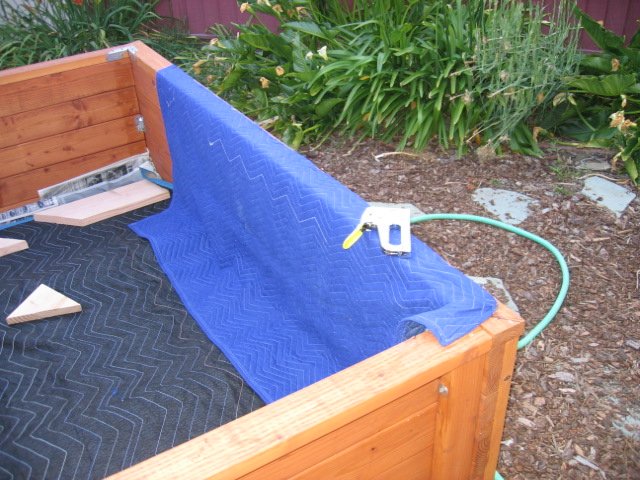
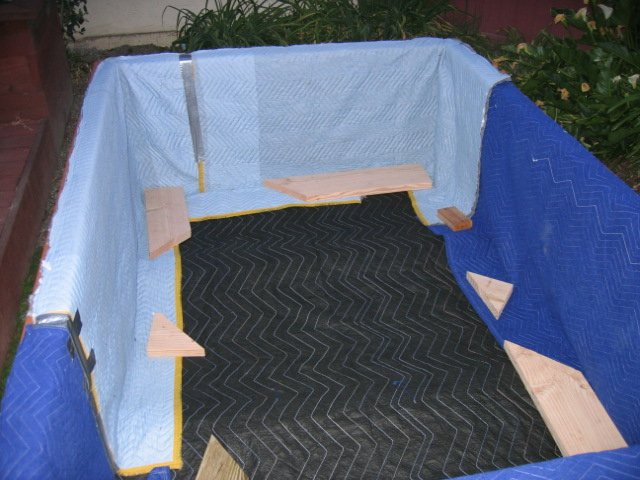
I was debating on what to use as a barrier between the wood and the rubber liner. I was moving stuff around in the garage yesterday when I saw 3 moving blankets. They are pretty thick and dense. I cut 2 of them in half and used them for the sides of the pond. I bought an industrial stapler and it worked great for securing the blanket to the wood. The third blanket was used for the bottom of the pond, this was put on top of newspaper. The blankets were a perfect fit and will protect the liner and also help hold the heat in during the night.
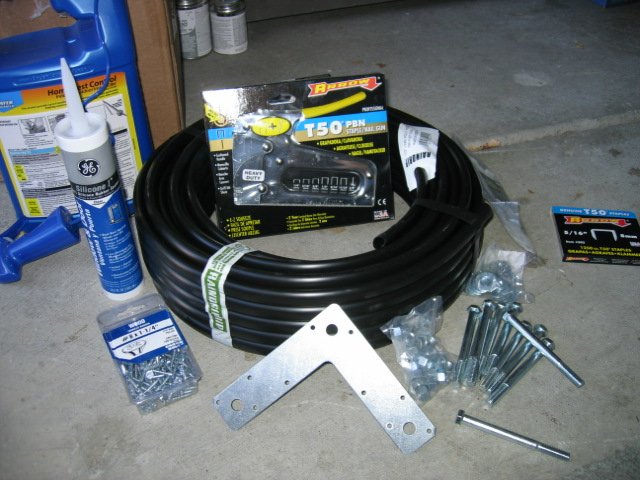
The black hose was poly tubing that they use for lawn irrigation stuff. It was only $6 for 100ft instead of the $20 for 20 ft of pond hose. Poly is inert so it wont have any effect on water quality. This will be hooked up to the powerheads and piped to the water fall. I got zip ties to make sure that the hose stays on the powerheads.
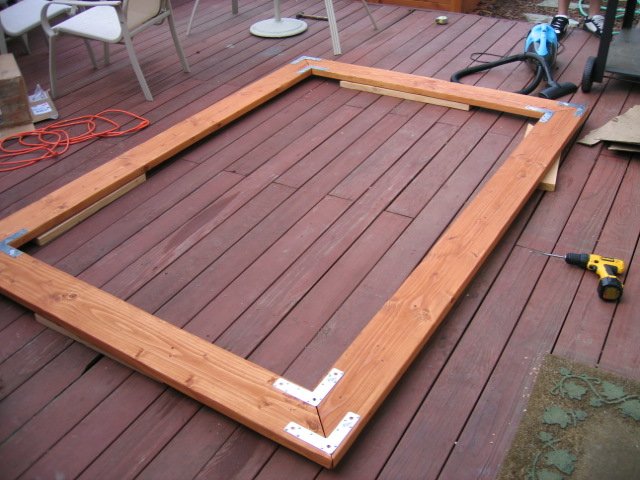
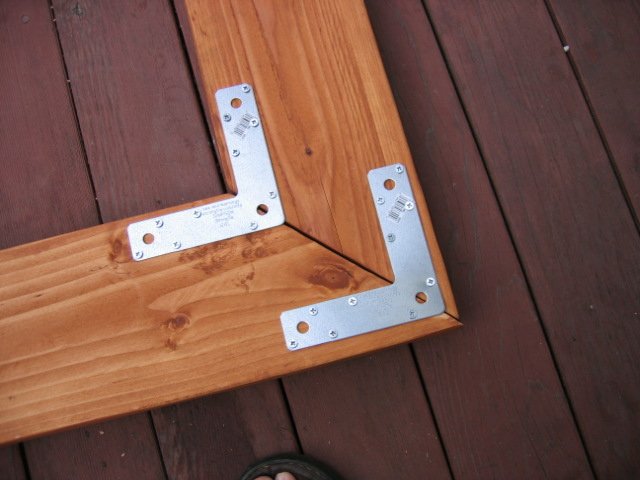
The GE silicone 1 is going to be used for attaching lining to the redwood planter box and to seal the hoses going to the planter box. I bought all the bolts, washers, and nuts for securing the top wood pieces to the pond. I also bought metal framing angles to attach the top wood pieces together for strength. This thing should be bomb proof!
Last night I had a BBQ and all the guys were looking at the pond. At first they thought it was a hot tub! I then explained what I was doing and they thought it was cool. One guy gave it the "strenght" test (you know go up to something and give it a shake to see how strong it is) and he said "Man that is the strongest box I have ever seen!" So it was pretty cool that other people had complete belief that it will hold water and wont fall apart. Now one of my neighbors wants to make one for his backyard......


I forgot to take pictures of the holes I drilled in the main frame. I did those several days ago. These holes are for the top shelf attachment. They are attached with 3/8" bolts. These are used for two reasons: to pinch the liner so it doesn't fall out and to add rigid support to the frame.
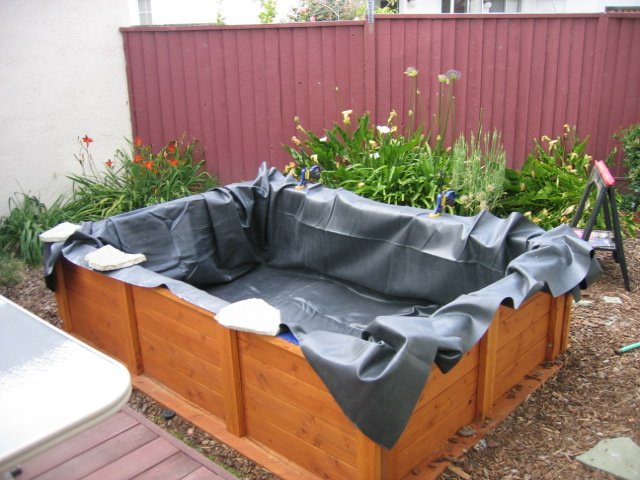
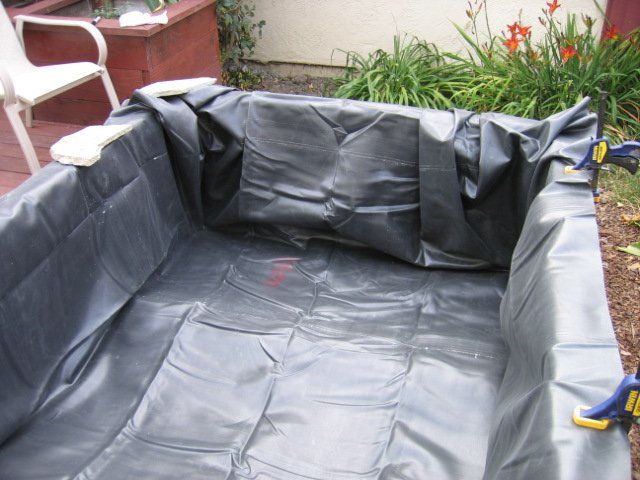
Setting the liner in the pond was a major pain in the a$$. It took my brother and I at least 30 minutes to get it right. There were some wrinkles that never left. Hopefully it won't be too distracting! The holes on the top shelf lined up pretty good with the holes from main frame. On the 5 foot sections there were two bolts (equally spaced from the ends) and for the 8 foot section 3 bolts were used. For a couple of the bolts I had to re-drill the hole but for most I just used a hammer to get the bolts in. The final pick the pond is full and ready for fish. (Well not really). The firestone liner said to wait 1 week until fish are added. I still have to trim the liner so it isn't 100% done so don't yell at me yet!
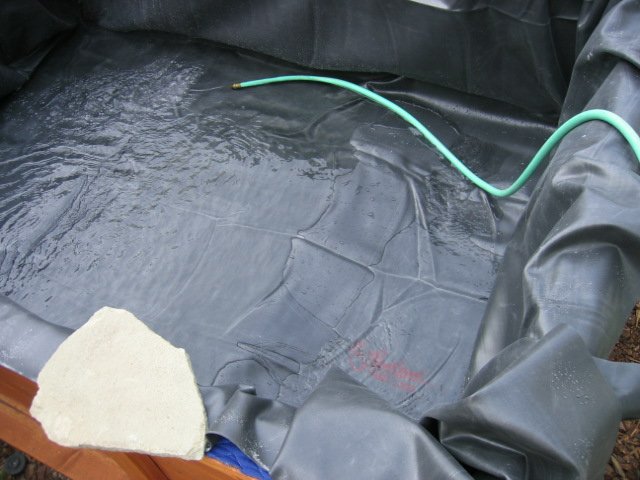
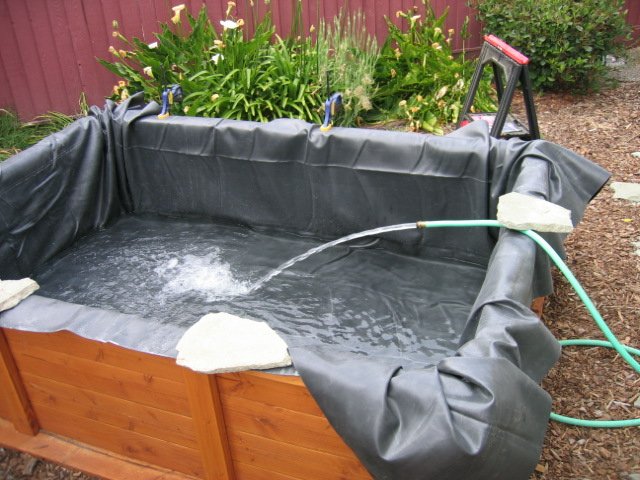
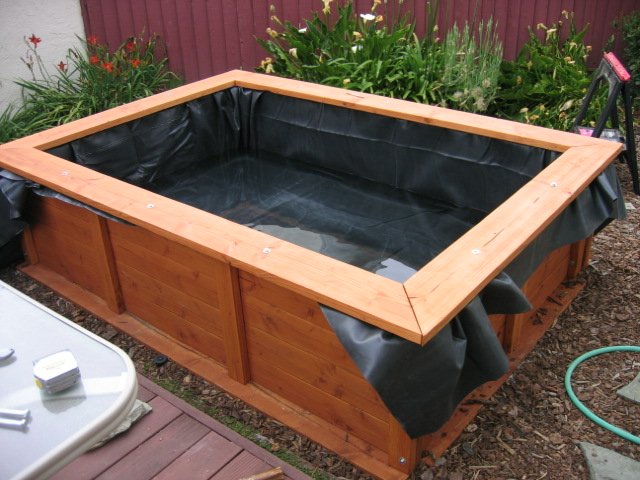
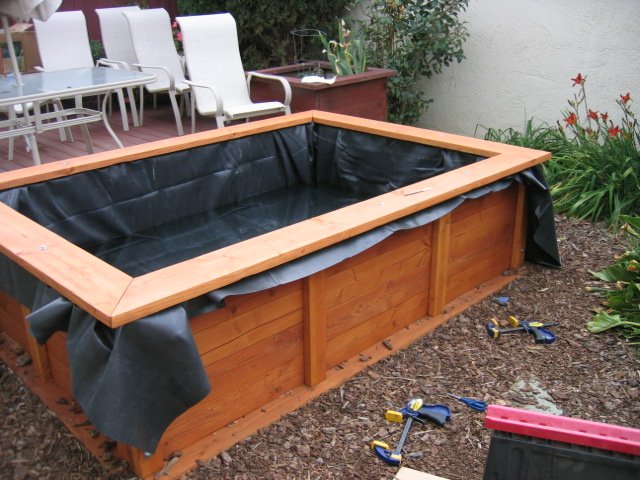
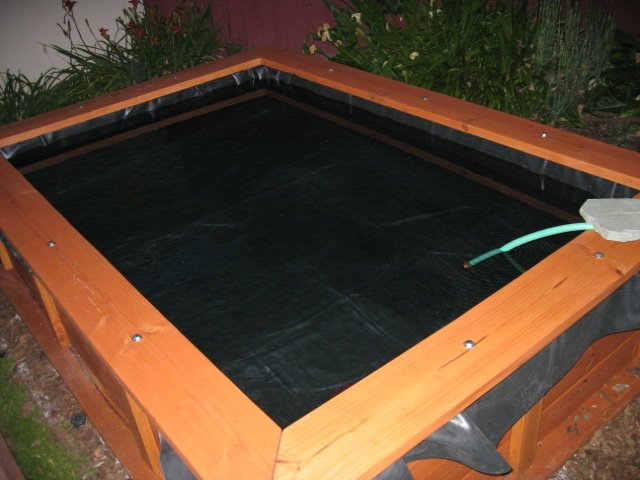
Setting the liner in the pond was a major pain in the a$$. It took my brother and I at least 30 minutes to get it right. There were some wrinkles that never left. Hopefully it won't be too distracting! The holes on the top shelf lined up pretty good with the holes from main frame. On the 5 foot sections there were two bolts (equally spaced from the ends) and for the 8 foot section 3 bolts were used. For a couple of the bolts I had to re-drill the hole but for most I just used a hammer to get the bolts in. The final pick the pond is full and ready for fish. (Well not really). The firestone liner said to wait 1 week until fish are added. I still have to trim the liner so it isn't 100% done so don't yell at me yet!


Last edited:


