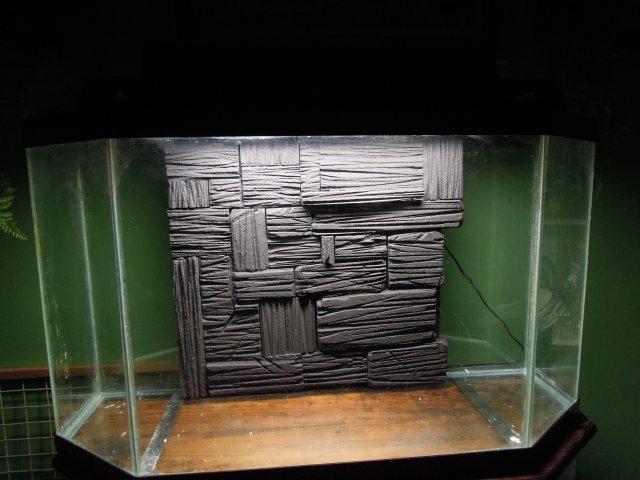
DIY 3D Background - Too Much Detail?
- Thread starter Jumko
- Start date
You are using an out of date browser. It may not display this or other websites correctly.
You should upgrade or use an alternative browser.
You should upgrade or use an alternative browser.
I didn't think I did either until I tried it--a lot of the time we find out we're better at things than we think. Go for it and see what happens!
There are a couple of things about this build that are easy to do and saved me time:
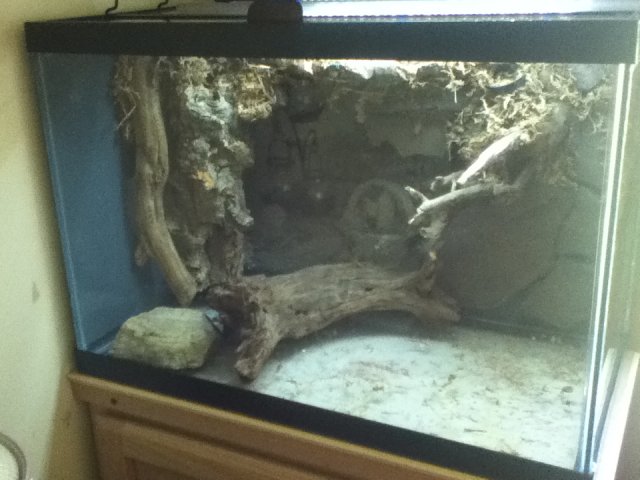
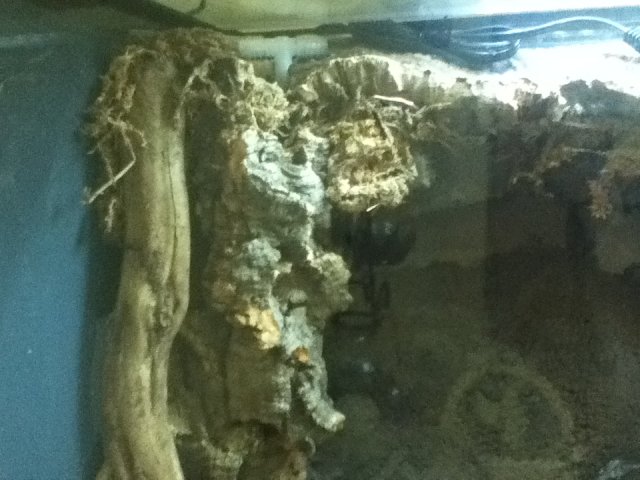
Most of the background is layers of foam siliconed together, but the left wall is a piece of curved cork and some driftwood siliconed to the glass (hides the pump and tubing), with sphagnum moss over the visible silicone seams.
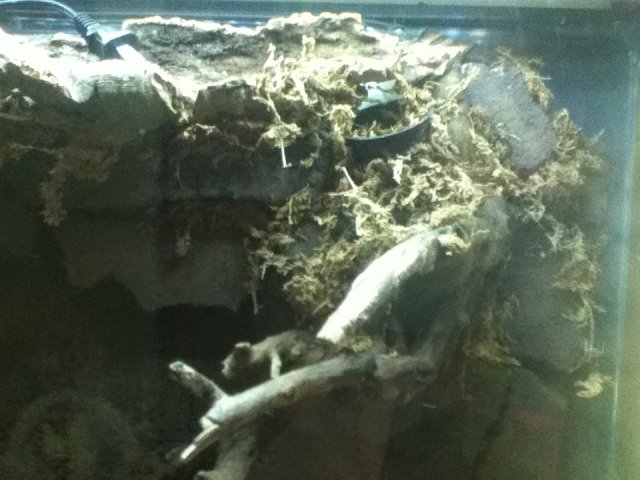
The driftwood on the right side of the back wall is siliconed directly to the glass (more stable than attaching to the foam) and then the foam is built out around it. There's a small mesh planting basket in the curve of the driftwood that's siliconed in and covered with sphagnum.
The overhang at the top (which provides the spraybar channel) is layers of foam and then a couple of pieces of cork to form the "channel." The cork is siliconed to the glass along the upper edge and is supported by the foam layers (and siliconed to it) along the lower, so it's in there pretty tight. Eventually the plants will root into the cork (I hope) and completely hide the tubing.
The pump tubing and spraybar are pieces of flexible plastic tubing (1/2" ID, size to fit the pump) and a "T" junction. I cut the drip holes into the tubing with an x-acto knife (watch out for fingers, those knives are sharp!). I made the channel just wide enough to hold the tubing, but did not silicone it in--you never know when you might need to take it apart!
Rather than cut the layers of foam into pieces (giving a square edge), I broke it (this came back to bite me in the but later--the nooks and crannies along the edges were hard to get the drylock into). I roughed up the foam with a wire brush and knocked off the sharp edges with a rough sanding block (messy but fun) to give it some texture.
I laid all the pieces out and did a dry run before I started siliconing. I probably tweaked things here and there for the better part of a week before I actually started to seal it together. Even once I had started with the silicone, I still tweaked the design by adding layers or reshaping pieces as I went. I spent a lot of time at each stage just standing back and looking at it to decide if there were any changes I needed to make.
Hope this helps a bit!
Wow, those do look great! I've decided not to even attempt hiding any of the tubes. Since I do a lot of maintenance in my tanks, ease of access was more important than aesthetics. I did decide to spray paint all of my canister filter tubes black, however.
Krylon Fusion is tank safe and can be used to cover tubing, foam, etc according to the folks on monster fish keepers. I didn't try it with this tank as I didn't think I would be able to keep it from getting on the driftwood.....
There is plenty of room behind the cork to access the pump (a microjet) any time, and the channel is even big enough that I can add a submersible filter. I went with the microjet figuring that the plants on the trickle wall would provide plenty of filtration. We'll see....
It's also possible to hide the equipment behind foam as well, with mesh openings for water flow, but I went with the easy way out and found a piece of cork instead.....
If you want to see some incredible builds, there's a member on monster fish name of hx67 who has done a streambank paludarium and a mudskipper tank using concrete over foam that are on the site. Both look incredibly real, including the driftwood which is also concrete over foam. I am in awe of his skill!
Gorgeous! It reminds me of the way the sandstones weather here in Ohio with the cracks and ledges. Bet it'll look even more like it when you get the final coats on!
Did you use the Krylon for the base coat?
Did you use the Krylon for the base coat?
Actually I just used cement coloring and mixed it into the drylok. It's a little trick I've learned from reading other DIYs. Using a different color for each drylok layer will let you know if you've missed a spot in between layers.
Looks really good--nice coverage on the first coat! I found that going a little lighter (go for more contrast than you think you need--if the colors are too close the variation won't show up) on each coat produces the sort of subtle variation you see on a lot of rocks.
Keep us posted on how your build turns out!
Keep us posted on how your build turns out!
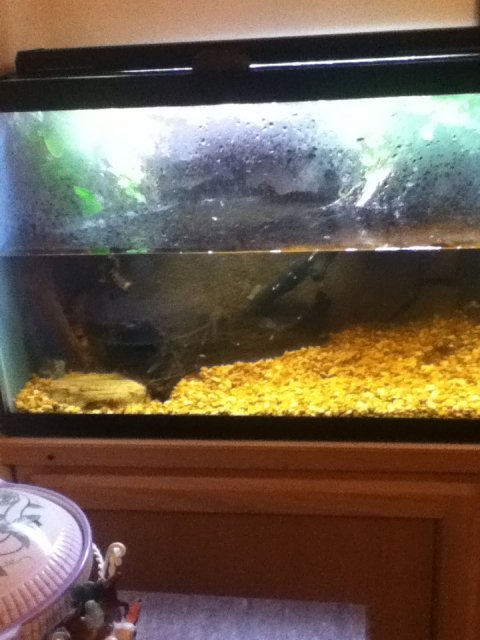
Well, changed my mind last second and decided to keep the background black. This tank will be the home for a couple of gold veiltail angelfish (http://www.aquabid.com/cgi-bin/auction/closed.cgi?view_closed_item&fwangelfish1337137745) and I really wanted their color to pop out with a black background. Substrate will be white sand, however. I added the last coat of drylok last night and siliconed the background in this evening. I'll let everything cure for a couple days and fill with water on Monday. That'll give me a day or two to check parameters before the angelfish arrive.
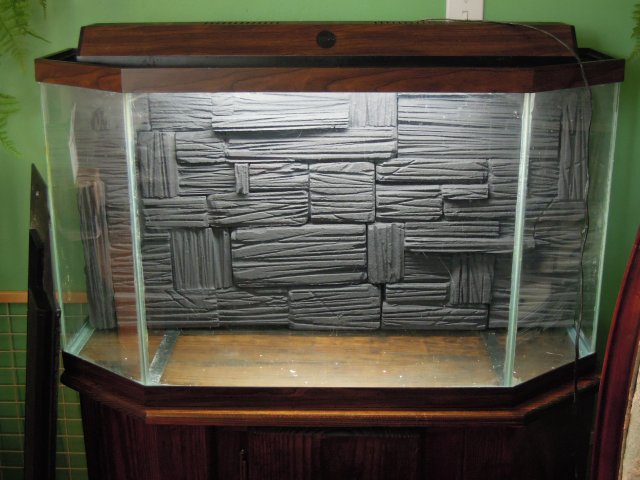
Word of warning to anyone planning on doing their own background, be careful of the silicone fumes. The smell is STRONG, much like of pure ammonia.


Word of warning to anyone planning on doing their own background, be careful of the silicone fumes. The smell is STRONG, much like of pure ammonia.


