DIY Light Upgrade
- Thread starter trigiver01
- Start date
You are using an out of date browser. It may not display this or other websites correctly.
You should upgrade or use an alternative browser.
You should upgrade or use an alternative browser.
Yeah that's what I'm trying to avoid, but I hit a snag today: the 3-loop ones I ordered are all broken in the warehouse, so I had to cancel that order. I'm going to prowl around Gainesville looking for them this week. The sockets come in on Friday. Anyone know where to go to find 3-loop CFs? Lowes and Wal-Mart don't carry them here. 
No problem.
I Didnt look all the way through your thread but only at the first page but is there anything preventing the bulbs from getting wet.
Step-by-step
Ok so I finally did it! Here's a little step-by-step of the process. The only major deviation from the plan was the foil - I used a metallic silver spray paint instead, and foiled over the vents to more quickly dissipate heat and block light from spilling outside. I also couldn't use triple tubes because they're too wide for the light cans.
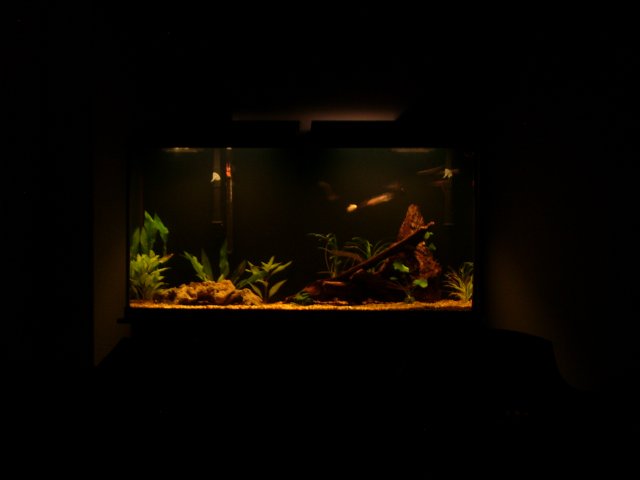
1) Here's a before shot of the tank, with stock 2x 15w T8 tubes. That's 0.5 watts/gallon.
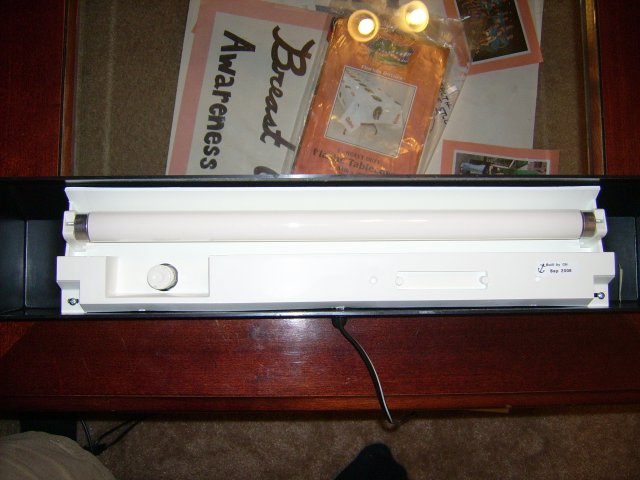
2) Here is the light can before I did anything to it. There were three screws per can, simple philips head. Remember to unplug them before you do anything!
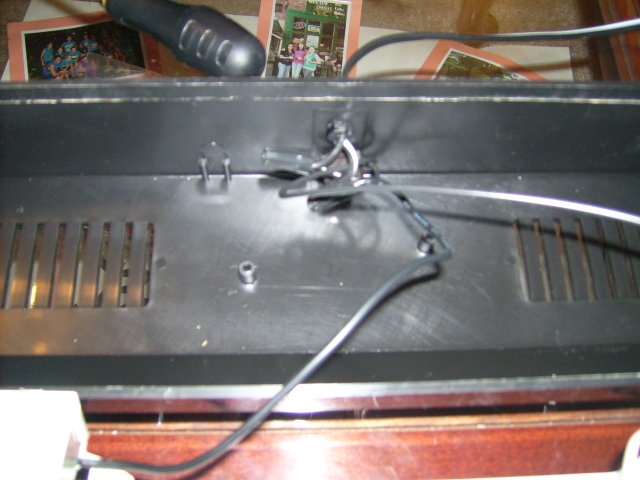
3) Here is a can without the fluorescent socket, but the switch is still in and wired to it. The switch just unscrewed and the twist splicers came right off.
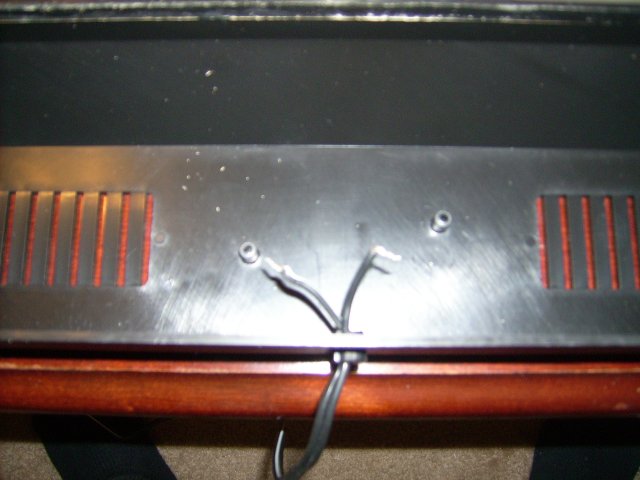
4) Just can and wires, after I removed the twist splicers, completely disconnecting the T8 socket.
5) Here I taped up the exposed ends of wire before I painted the cans.
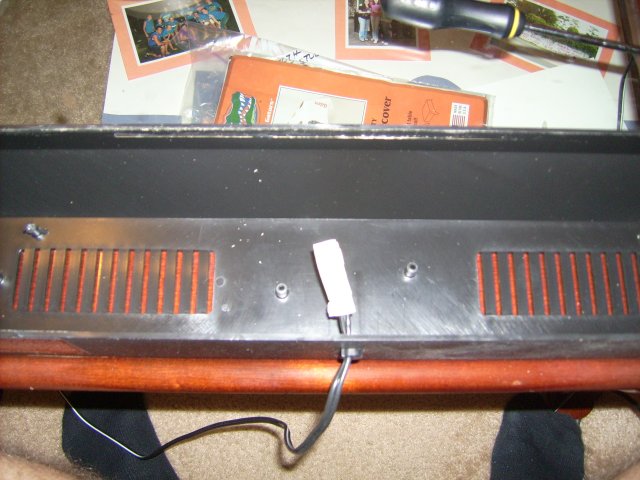
6) I screwed in two eye hooks to tie the light sockets in. In this picture, the hooks are turned 90 degrees from what they are supposed to be (you'll see them completed later). I screwed them in until they just started to discolor the plastic on the other side. No dangerous points, plenty of anchorage.
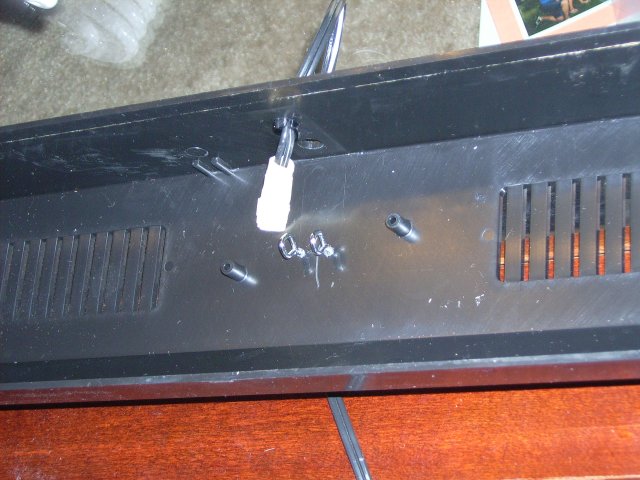
7) I taped the inside of the vents to prevent paint from getting on the outside.
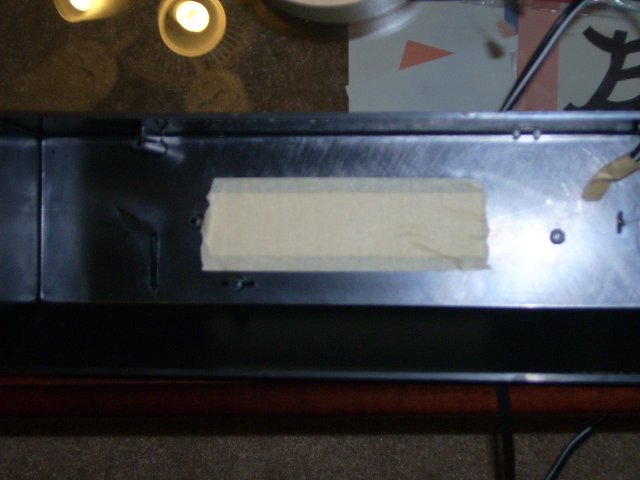
8) Then I taped up the rest of the outside of the can.
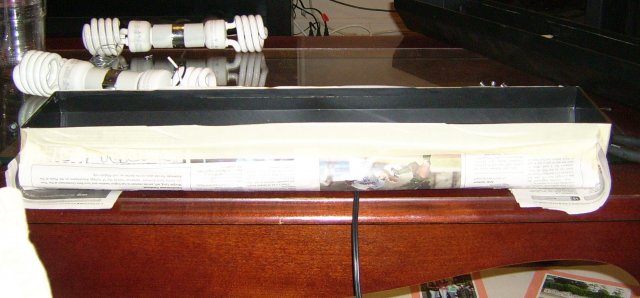
9) Here they are with dried paint (I used rustoleum specialty metallic silver). Notice the hooks are turned properly to tie in the sockets.
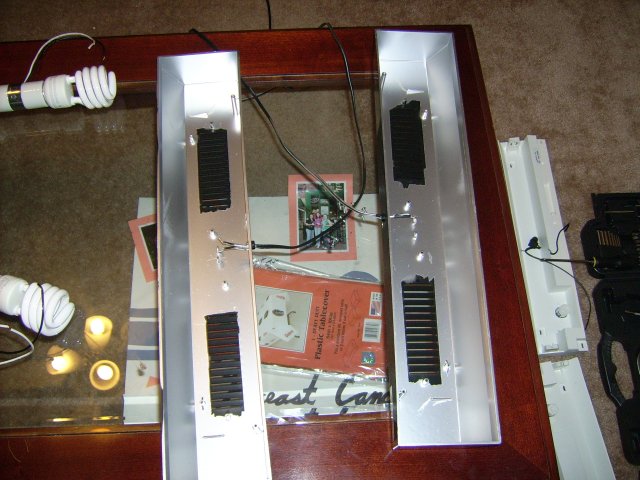
10) I used electric tape (for the heat tolerance) to tape foil to the insides of the vents. The aluminum vents heat very quickly and reflects light back that would normally spill out into my living room.
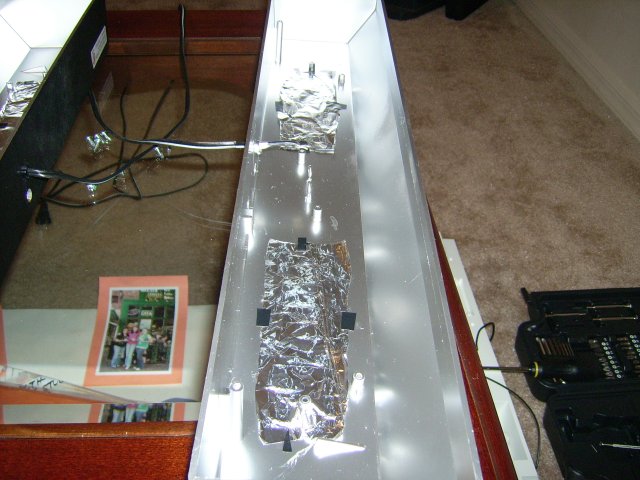
11) Here they are with sockets tied in (I used frame hanging wire and twisted them on. I tucked the wires under the socket before installing. To splice, I used 18 AWG (both the pigtails on the sockets and the main power cord is 18 AWG) crimp splicers and sealed them with electric tape after the crimp.
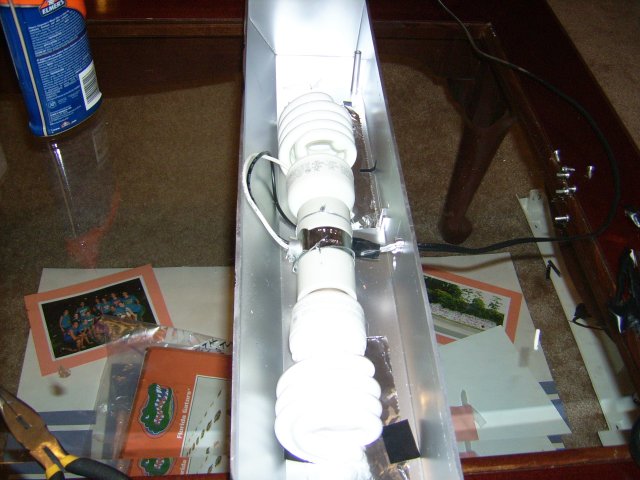
12) After shot. 4x 26 watt 6500K CFs. Just over 1.7 watts/gal.
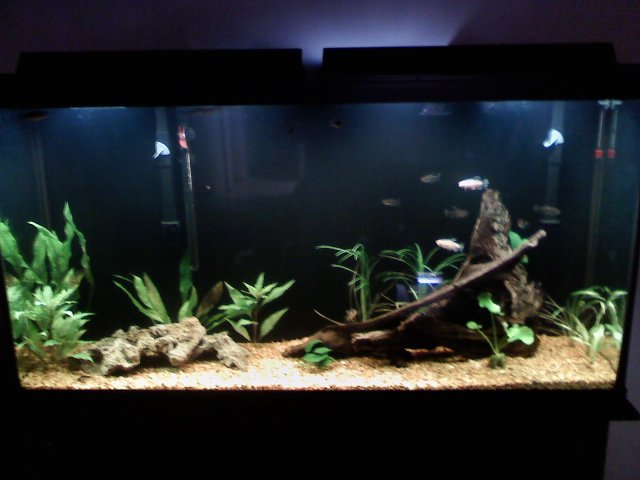
Note that the inside temperature of the cans (there is a sealed glass barrier under them) has never reached greater than 125 F, which means the paint and the wire insulation are safe after 10 hrs of continuous light. Thanks for all of your help, guys!! You can see my amazons needed the illumination!


Ok so I finally did it! Here's a little step-by-step of the process. The only major deviation from the plan was the foil - I used a metallic silver spray paint instead, and foiled over the vents to more quickly dissipate heat and block light from spilling outside. I also couldn't use triple tubes because they're too wide for the light cans.
1) Here's a before shot of the tank, with stock 2x 15w T8 tubes. That's 0.5 watts/gallon.

2) Here is the light can before I did anything to it. There were three screws per can, simple philips head. Remember to unplug them before you do anything!

3) Here is a can without the fluorescent socket, but the switch is still in and wired to it. The switch just unscrewed and the twist splicers came right off.

4) Just can and wires, after I removed the twist splicers, completely disconnecting the T8 socket.

5) Here I taped up the exposed ends of wire before I painted the cans.

6) I screwed in two eye hooks to tie the light sockets in. In this picture, the hooks are turned 90 degrees from what they are supposed to be (you'll see them completed later). I screwed them in until they just started to discolor the plastic on the other side. No dangerous points, plenty of anchorage.

7) I taped the inside of the vents to prevent paint from getting on the outside.

8) Then I taped up the rest of the outside of the can.

9) Here they are with dried paint (I used rustoleum specialty metallic silver). Notice the hooks are turned properly to tie in the sockets.

10) I used electric tape (for the heat tolerance) to tape foil to the insides of the vents. The aluminum vents heat very quickly and reflects light back that would normally spill out into my living room.

11) Here they are with sockets tied in (I used frame hanging wire and twisted them on. I tucked the wires under the socket before installing. To splice, I used 18 AWG (both the pigtails on the sockets and the main power cord is 18 AWG) crimp splicers and sealed them with electric tape after the crimp.

12) After shot. 4x 26 watt 6500K CFs. Just over 1.7 watts/gal.

Note that the inside temperature of the cans (there is a sealed glass barrier under them) has never reached greater than 125 F, which means the paint and the wire insulation are safe after 10 hrs of continuous light. Thanks for all of your help, guys!! You can see my amazons needed the illumination!


I Didnt look all the way through your thread but only at the first page but is there anything preventing the bulbs from getting wet.
Yes - they are sealed off with glass from below.
Yes - they are sealed off with glass from below.
Yea I was going to say the same thing. Essentially you're just using the existing stock set up re-wired for different bulbs.


