ok, folks... since it does not appear anyone has documented this, I figure it might be helpful for others.
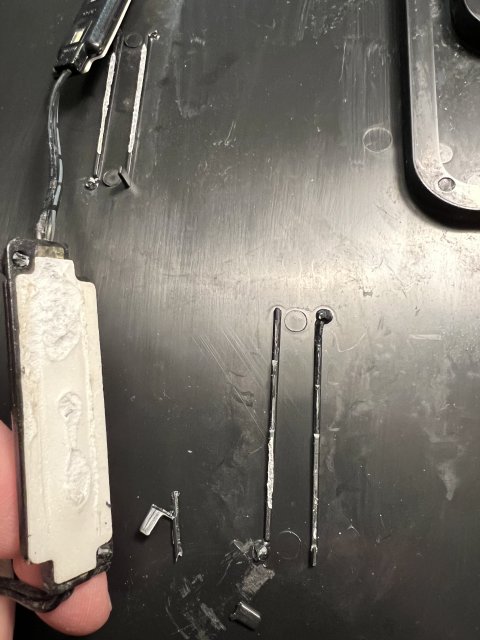
The hood in question is an Aqueon 30" x 12" LED Econo Hood. It has 5 of these LED modules:

The LED are held on with double-sided adhesive foam and attached to 2 mounting rails with a small heat stake on opposite corners:

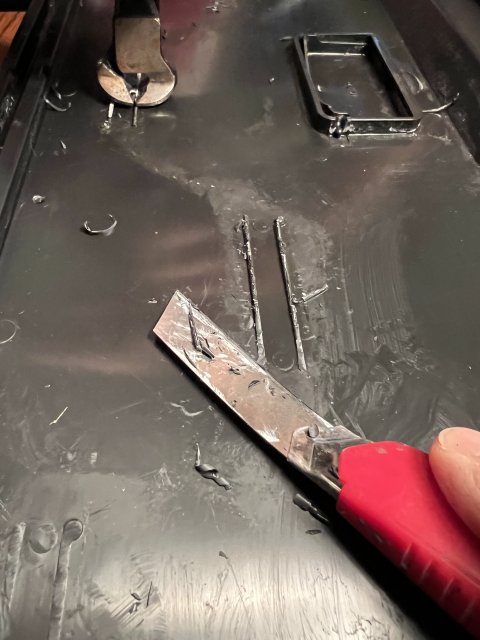
I clipped the bulk of the rails with nippers:

and then shaved off the remainders of the rails with a flexible razor knife so the surface is flat and relatively smooth:

The new LEDs are from LEDSupply. They are the Cool White, waterproof IP65-rated. I went with the high density version, which has 60 LEDs per meter.
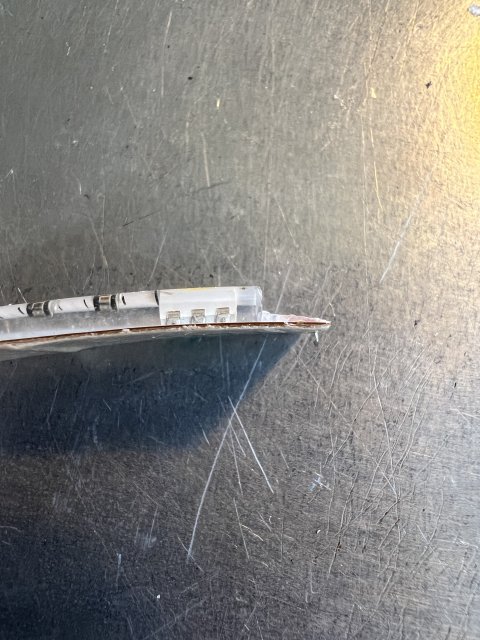
Here's the end of one of the LED strips:


The LED strips are waterproof, so they are encased in a protective polymer, which needs to be removed at the ends in series, so the copper pads are exposed. This is perhaps the most challenging part, as the polymer was very tough. As you can see in the photos above, I cut half way between the LED and the pads to remove the protective polymer. Be careful not to cut too deep - you don't want to damage the white paper covering o the copper tape. I cut down to ~ 1/16". I then only cut over the exposed copper pads to remove the polymer from those areas. The polymer was not adhered to the copper pads, which made for easier removal. Once exposed, I was able to tin the pads and attach wires.
While I do not have picts of all steps, once the strips were wired, I coated the exposed areas from the vertical cut in the strip polymer to past the stripped wire and to the insulation with silicone to re-waterproof the area. Following the cure, I shrank heat shrink tubing over all connections. Please keep in mind, it can be a bit tricky to solder and not accidentally shrink the tubing with very short wires (and the heat shrink needs to be applied before soldering the next strip). You probably could use liquid insulation, but I like the heat shrink, as it is neater.
The LED strips were cut into 4 sections, as they have a flat back and do not bend in-plane - so if you want to make a 180-degree turn, you need wires to make the bend:

The strips can be cut every few inches, which is a great feature!
The strips were attached to the hood with the adhesive tap they came with. I also put dabs of hot glue every 6" or so and on the ends and to hold the wires in place.
I reused the grommet which secures the plug as it exits the hood. It did need to be shaved a bit internally, as the wires I used were thicker than the wires of the original LEDs.
I purchased various connectors, but only used the 2.1mm barrel connector which came attached to the strip. HOWEVER, whoever stripped the outer insulation also cut the insulation of the internal wires. Had I not needed to lengthen the wires on the connector to reach out the back of the hood, I would have had a potentially dangerous situation once condensation reached the wires.
Here's the new hood lit up:

and the old hood lit up:

And here is a comparison between the old LEDs and the upgrade - old on the left:


I'll update in a few weeks to follow the plant growth.


