how big is the sump 15 gal? lol thought it mite just be a bit bigger... and those worm things look nasty!
150g build from start to finish
- Thread starter krytan
- Start date
I'm going to reseal the tank so i will have to clean it thoroughly.I wouldn't bother removing that stuff on the overflow. It will make a fine base for whatever else wants to cover it up.
The sump is 35g (36" x 15" x 15").how big is the sump 15 gal? lol thought it mite just be a bit bigger... and those worm things look nasty!
Well after days of scraping and scrubing i've cleaned the tank and sump, I've also removed the trim off the bottom of the tank. Once I've moved the tank next weekend I'll be giving it some fresh silicone and cleaning it again.
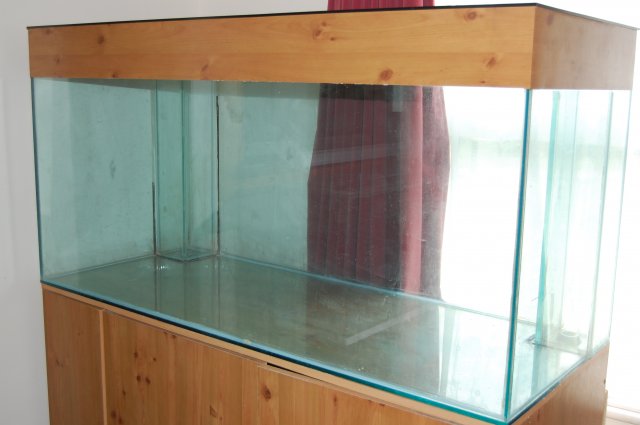
The sump needs a lot of work so i'll be removing the baffles and starting afresh with it.
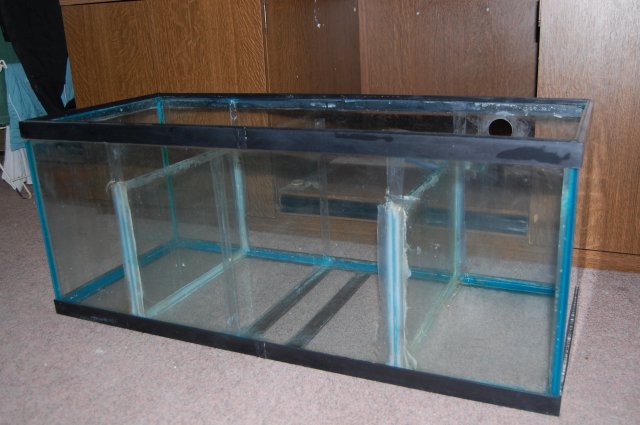


The sump needs a lot of work so i'll be removing the baffles and starting afresh with it.


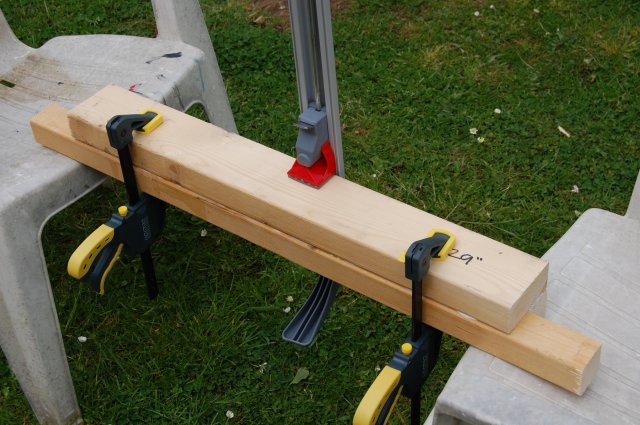
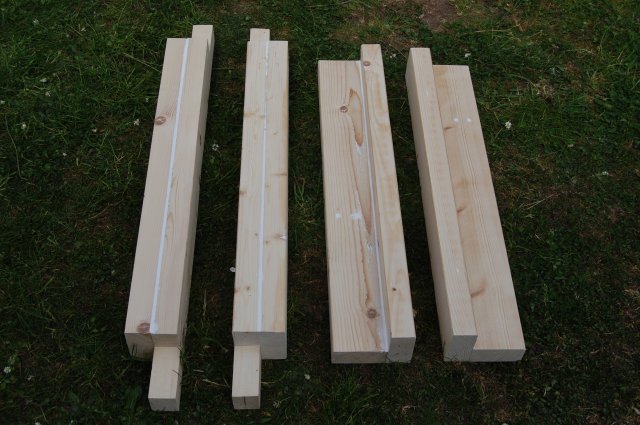
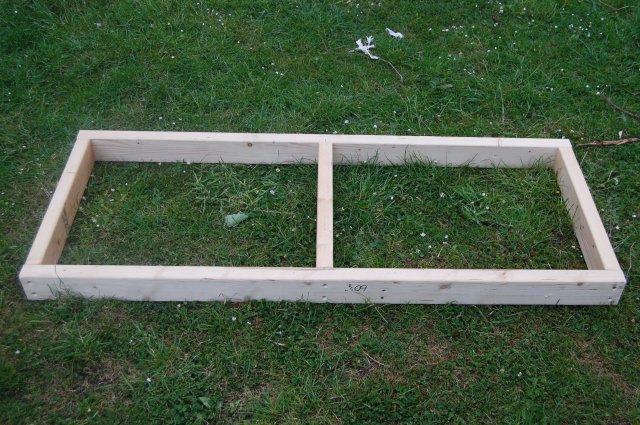
I haven't had much progress recently but i new this was going to be a slow project. I have cut the wood for the stand and removed the silicone from sump and display tank. I haven't removed the silicone from inside the overflows yet, i've been putting that of because it's awkward to get my arms to the bottom of them.
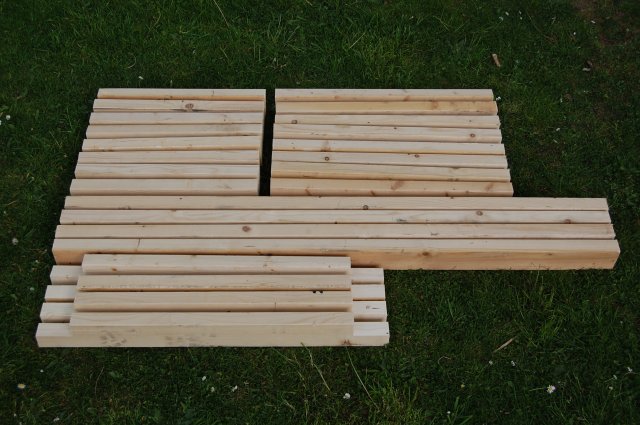
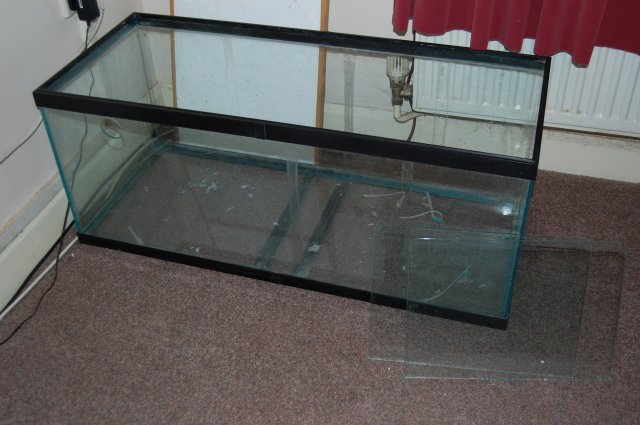
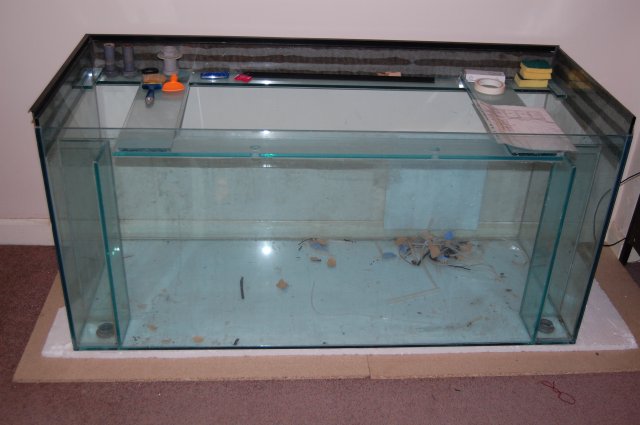


ooh ooh ooh, Im doing the same thing on my 55 and 25gallon sump, but Im outta money, so Ill live vicariously through your build, K, THKS. lol
Good luck keep us updated.
Good luck keep us updated.
wow! Can't believe thats the same tank! Looking great, hopefully I can remember this 'before and after' next time I see a nasty looking tank for sale (and forget about how much hard work it would be to get it looking that good  )
)


