Arapaima Pond Build

  • Get the NEW AquariaCentral iOS app --> http://itunes.apple.com/app/id1227181058 // Android version will be out soon!

Luc

AC Members
Aug 25, 2008
703
0
16
54
Thailand
For the wire frame, some more checking. THB 100 for 60x120cm. Much cheaper and serves the needs.
for the bog area, I planned to buy PVC pipe, but still have flex PVC hose lying around. Using a small torch, it's very easy to burn 3/4" holes in it, so I will put like 5 meter of it in each bog-area in a spiral shape on the bottom.
openeings facing side-ways and with some valves to be able to reverse the flow for cleaning clogged debris out.
once our fish is in his new pond, first thing will be to get the bog area done. At least a couple of plants in to help eat the dirt. Then slowly fill it up with water lily and other stuff.
 

Luc

AC Members
Aug 25, 2008
703
0
16
54
Thailand
Started working on the mid level drain. New type epoxy I found, like clay. You just cut off what you need and knead it thoroughly. Then apply it. So in this case, same duct again, put a 3" connection inside and filled in with epoxy.
Now only need to glue an elbow PVC inside with a female adaptor. Then use the old dinner plate with male adaptor to cover the hole with only 1" clearing around it.

And yes, I do realize that the afore mentioned text is not suitable for young readers...lol...
pot make it worse, also got some female adapter for the airline. Have to dril a hole in it, fit a nipple on top and connect to the air pump.
now still need to check for paint for the dome.

Got some plans forming for the skimmer, need to find suitable parts for that soon.
cheers,
Luc
 

Luc

AC Members
Aug 25, 2008
703
0
16
54
Thailand
Lot of small stuff done.
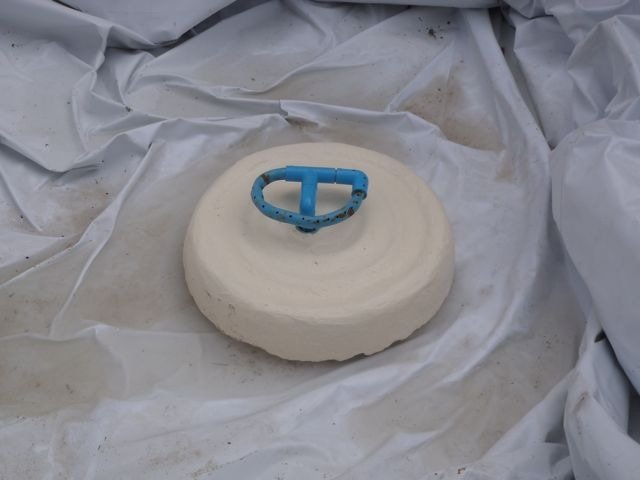
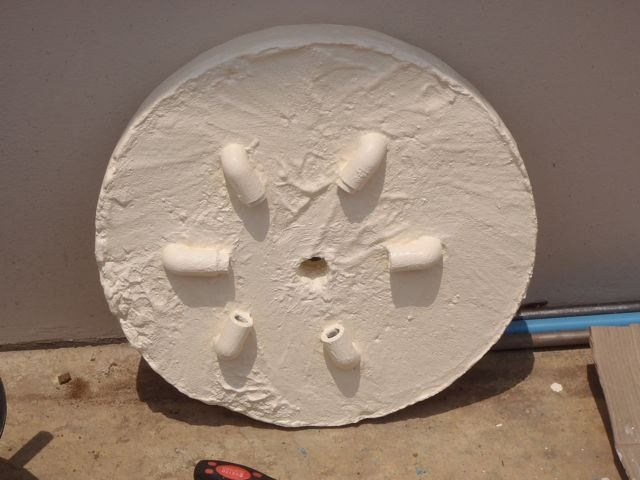
Got the dome for the bottom drain finished and installed.
weighed it before installing it. 33kg, there won't be any fish in the pond moving that...
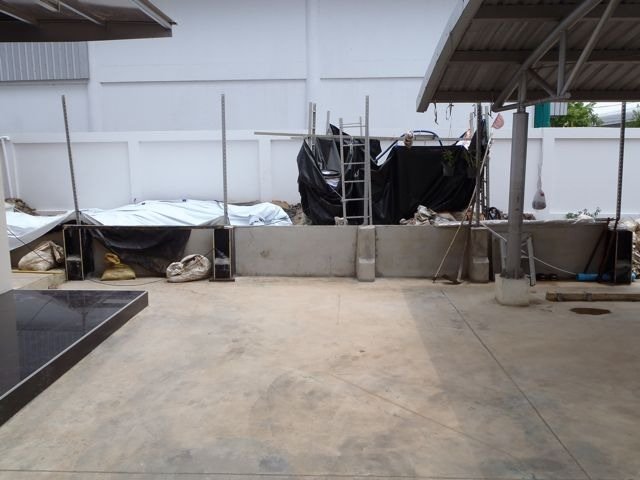
also cleaned the area in front, makes it easier to see the size of the new pond compared to the 2x2 meter temporary pond.

Moving Mr.T likely to the concrete next week.
Just pump out a lot of water, lift the liner and then ower it in front.
Build frame and sandbag support around it, should be good for a while.
can then slowly fill up the new pond and finish it.

Finished the ducts for the other drains.
Mid level will get the dinner plate with 1" clearance around.
for skimmer I likely use a bucket wit slits at the top and 90' elbow in the bottom connecting to the drain.

Auto fill in the settling tank will be an old toilet assembly connected to city water.
overflow will be another part of that same toilet assembly
 

mykidsmylife

Princess of Peons
Aug 26, 2005
925
0
0
Indiana, U.S.A.
Moving right along. I love how you are re-purposing different things to do this. The old toilet is genius. I don't understand exactly what you are talking about doing with it, but find it very clever that you are using different items to suit the needs of project :clap:

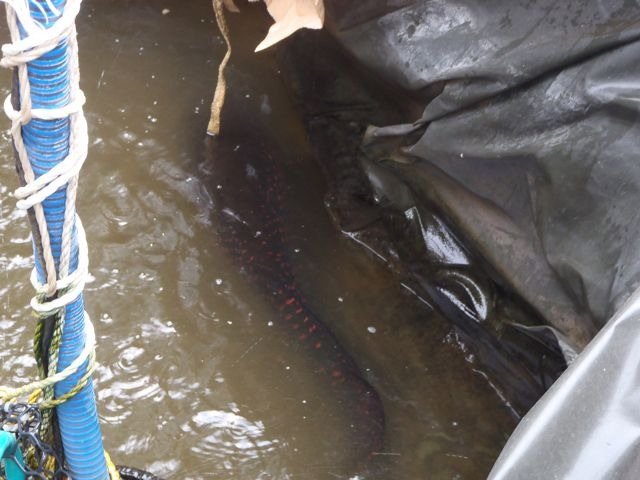
I can't wait to see Mr. T in his new home. It's amazing what your find in a storm drain has grown into.
 

Luc

AC Members
Aug 25, 2008
703
0
16
54
Thailand
Thanks MyKidsMyLife, toilet part are just the top off valve after you flush and the valve that opens when you flush, releasing the water into the toilet.
Using that kind of scrap makes it fun. Low budget, but with the best possible output so the fish don't suffer.
 

Fozzybear

wocka wocka wocka!
Mar 16, 2011
818
0
16
36
Alaska
Real Name
Ellis
My god this has been such a cool read. Been tracking your progress since Mr. T first came swimming into your life...lucky dog.
 
zoomed.com
hikariusa.com
aqaimports.com
Store