Stand build journal for 125 gallon tank

  • Get the NEW AquariaCentral iOS app --> http://itunes.apple.com/app/id1227181058 // Android version will be out soon!

JAY973

AC Members
Dec 24, 2005
1,133
13
38
NJ
As good as this build looks I'm ashamed I didn't put more effort and planning into my stand build. Mostly because I didn't know what the heck I was doing. Everyone told me I over did it but I was just happy the darn thing didn't buckle from the weight of the 120g tank. By the time I was done I used so much wood the stand weighed more than the tank....LOL 2yrs later it still doesn't have doors, add it to the list of other projects I didn't finish...:hitting:

I did learn a lot from the DIY attempt, it would've been cheaper to purchase the stand....
 

CWO4GUNNER

USN/USCG 1974-2004 Weps
As good as this build looks I'm ashamed I didn't put more effort and planning into my stand build. Mostly because I didn't know what the heck I was doing. Everyone told me I over did it but I was just happy the darn thing didn't buckle from the weight of the 120g tank. By the time I was done I used so much wood the stand weighed more than the tank....LOL 2yrs later it still doesn't have doors, add it to the list of other projects I didn't finish...:hitting:

I did learn a lot from the DIY attempt, it would've been cheaper to purchase the stand....
For me it was just the opposite. For my 210 tank the 1.5"X2.5" studs only cost me $20, the trim about $6, the nails about $3, the stain & Polyurethane about $5 worth. Although I used a electric hand saw and nail gun, I could have build the same stand with a hand saw and hammer. $34 for a new stand that is 85"LX31"HX24"W and weighs only 85 pounds is the best price I ever paid for a new all wood finished stand with no doors that is also overbuilt but using a very simple and clean design. It can be done:thumbsup:.
 

NewObsession

AC Members
Aug 27, 2007
575
0
16
54
I still think you're stand looks so slick Cwo gunner. I must admit that mine is overbuilt and weighs a ton. For the next one (for the 100 gallon) I think I'm going to have to take a look at where I can reduce either the dimensions of the amount of wood used. Maybe cut back to 2x3 rather than 2x4's and maybe plane then down to 1" thick rather than the 1-1/4" I used on this one.
 

verbal

AC Members
May 4, 2010
883
0
16
Northern Virginia
Real Name
Jesse
As good as this build looks I'm ashamed I didn't put more effort and planning into my stand build. Mostly because I didn't know what the heck I was doing. Everyone told me I over did it but I was just happy the darn thing didn't buckle from the weight of the 120g tank. By the time I was done I used so much wood the stand weighed more than the tank....LOL 2yrs later it still doesn't have doors, add it to the list of other projects I didn't finish...:hitting:

I did learn a lot from the DIY attempt, it would've been cheaper to purchase the stand....
If you learned a lot and enjoyed the experience, then I would say it was a good choice even if cost more than buying a stand. I think it is typical to have issues with the first few builds and to get better results as you gain experience.

From my stand builds, I definitely will use 2x3s. Although if my next tank is a 180, I would likely re-consider :)
 

wespastor

AC Members
Feb 28, 2010
533
0
0
...
From my stand builds, I definitely will use 2x3s. Although if my next tank is a 180, I would likely re-consider :)
What about using 5/4 stock? Typically used for brick moulding.

Best whishes,
Wes
 

CornBreadjiffy

AC Members
Sep 8, 2009
154
0
0
42
Memphis, TN
Man you have done a great job with everything and you have gave me s0me helpful advice for when I build my 80 gallon stand thank you very much
 

Rbishop

Administrator
Staff member
Dec 30, 2005
40,727
452
143
70
Real Name
Mr. Normal
Great work! Can't wait to see a finish put on it.
 

NewObsession

AC Members
Aug 27, 2007
575
0
16
54
Great work! Can't wait to see a finish put on it.
You and me both! lol.
Thanks all for the comments. I'll keep you all posted with updates.
 

NewObsession

AC Members
Aug 27, 2007
575
0
16
54
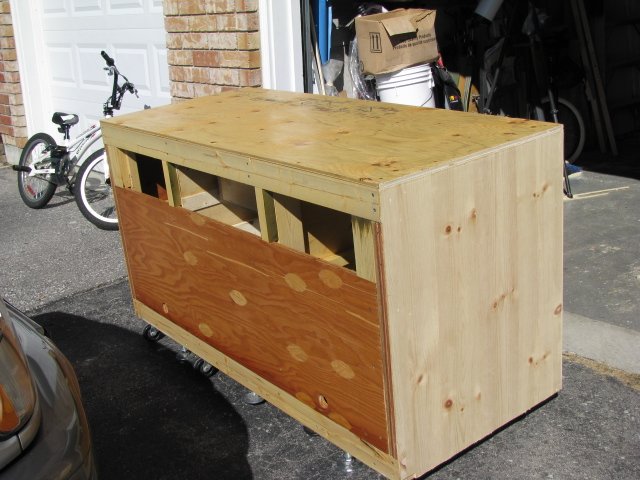
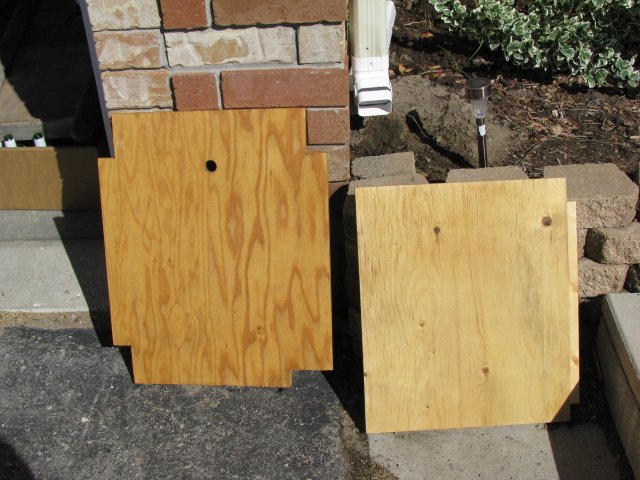
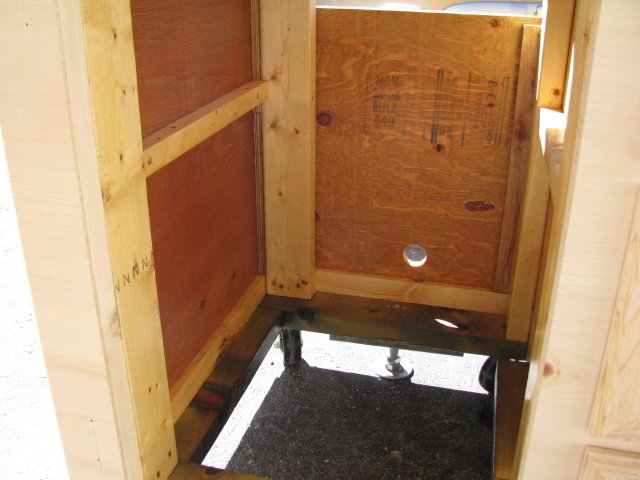
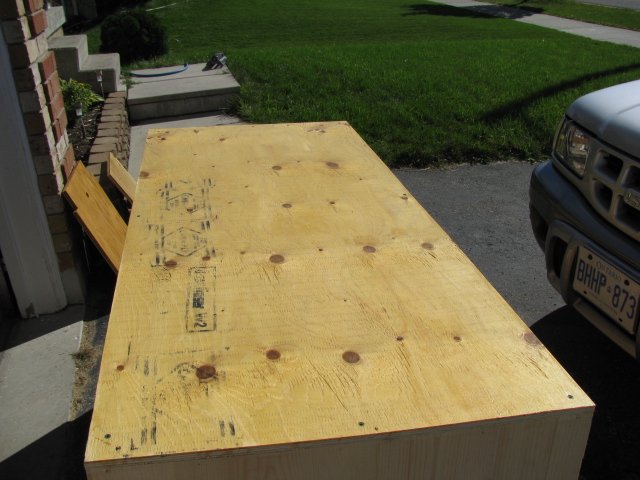
I wasn't going to bother everyone with too many pictures until this was all done, but then realized this is AC and there doesn't seem to be such thing as "too many pics" lol so here's where the uh..stand stands.

Did the top, back and insides of the cabinets with deck sealer. meant to take a picture of the can but it slipped my mind. AS mentioned earlier in the thread, I had hallf a can in the garage anyways and it will help with any spills etc without the expense ( and time) of using the poly stain on the parts no one is really going to see.

IMG_0472.JPG IMG_0473.JPG IMG_0475.JPG IMG_0476.JPG
 
zoomed.com
hikariusa.com
aqaimports.com
Store