29g LED Lighting system build thread

"LED technology isn't here yet, wait a few years". I beg to differ, that may be the case in the marine side (almost) but thats a battle between LEDs and MH, something MH is going to lose in about 5 years. For a planted tank the battle is typicly between PC, T5HO and LEDs. LEDs already hold an advantage over PC, but is about twice the cost for a nice system.
i think part of the problem is its 100% diy right now a lot of people just want to buy stuff. also finding the right led isnt easy right now....

good luck ill be looking for the updates.
 
Further money saving. After consulting with a fellow electronics guru, we both agree that using a constant current source is great if using just a few, but for the 15 I want, it would be more expensive than what its really worth. A constant current power supply such as a computer PSU would probably do the job quite well, assuming of course I use the proper resistor, which I will do.

Also, I hate to say this but this region may be suffering from gas shortages, I had hoped to start next week, but that looks to be scrubbed till this mini-crisis is over. I have no idea the costs of gasoline and would much rather make sure I'm covered should it go to insane highs. I've already heard reports of $5 at some pumps, and its CHEAP here.
 
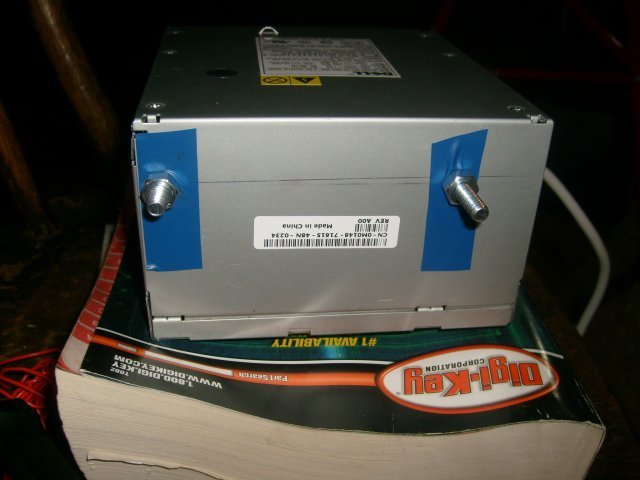
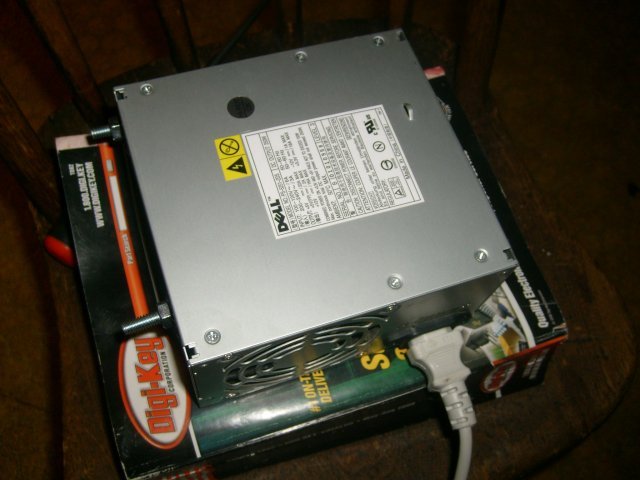
Power supply has been finished. I retrofitted a spare PSU from my sisters Dell (which she managed to fry the motherboard some how, the PSU checked out fine) to power it. Ring Terminals will connect to the bolt and a nut will fasten it down. This should power all the LEDs required for all three tanks (should I turn the 10g into a farm down the road) and save power doing it.

I may wind up having to drill another hole to move the ground lead (left side) further to the right. Right now its resting against the case, however IIRC the case is grounded, so just another path to ground I believe.

But anyways, pics

LED PS.jpg
LED PS Top.jpg

Oh yes, and the total cost, $4

LED PS.jpg LED PS Top.jpg
 
Last edited:
Great news, I just finished the final touches on the PSU, 16 amps of pure 12v DC power :grinyes:

I've also completed a draft schematic and parts list. I'm hashing out minor details, such as resistor values that I want, circuit layout, but otherwise complete. here is a quick pic of my drawing, yeah I know, I suck.
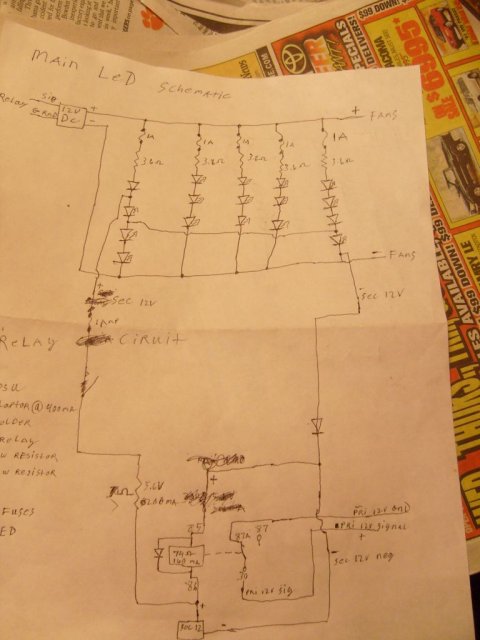
LED schematic.jpg

Oh, and a semi-completed parts list

1 12v PSU
1 12v wall adapter @ 400+mA
1 5 pin automotive relay (BWD P/N R3112)
1 SPST switch (on/off switch)
1 27 ohm 2w resistor
1 timer
2 glass fuse holders
3 standard diodes
4 80mm computer case fans (super cheap)
5 3.3 ohm 2w resistors
6 1A fast acting fuses (cheap at any automotive store)
15 Luxeon Rebel LEDs

I don't have a total cost

Now to explain the relay/timer/wall adapter/switch thingy

I want something rather automatic on the cheap, without buying like 3 timers, I also don't want the computer PSU on 24/7, and since it doesn't plug into the timer, I need something that will. If you will look on at the pic, the sec 12 box actually stands for Secondary 12v supply (wall adapter). This will power the relay coil. The 12v PSU signal wires connect to the relay so that when the coil is disengaged the circuit is completed and the PSU turns on. When the coil is engaged the contacts switch to 30 and 87, since nothing connects to 87, the circuit opens, and the PSU powers down. The wall adapter also connects to a secondary circuit so the two LEDs at each end of the tank will be lit, but dim (207mA), thus giving me a practicly dim tank, night lights in other words. simple and effective. A switch is also connected to this ciruit to allow me to turn off power to the LEDs but keep the coil engaged and the PSU off.

You may be asking, don't I have that backwards. Tis what I thought, but there is no way to do it without a third 12v source, since the secondary 12v is plugged into the timer, if its off, there is no way its getting power and relays don't really work off of 110 AC.

Anyways, its still gonna be about 2 weeks till I actually place the order for the LEDs, and another 2-4 weeks till I actually get them. Though on the bright side this will give me time to finish perfecting things.

LED schematic.jpg
 
Last edited:
Ok, quick update, no pics.

Things that HAVE been done

canopy has been built, painted on the inside, door missing
Fans and resistors have been purchased.
(not much I know)

Things that need to be done.

Door installed and painted
holes for wires, bolts and fans cut and drilled
PSU mounted and secured to the canopy
strips installed for the hood to sit on over the tank
acrylic panel installed to prevent water and condensation from damaging the LEDs
Fans mounted
LEDs need to be purchased
LED strips put together and installed into the tank.


Thats just what I can think of at the moment. still have a lot of work to do.
 
will you do a complete how-to once done for the rest of us who may want to take this task own but aren't quite sure where to start.
 
good concept for "night lights" remember to get some capacitors... just in case.. also, if you's like, you can put the 2ndary power supply into the PSU body
 
Last edited:
Ok, long over due update time.

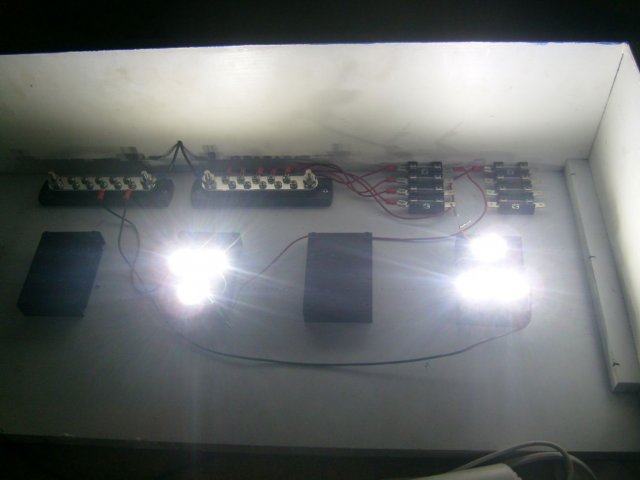
I have gotten some bus bars to make wiring easier, and got the fuse block mounted, and wired in from the bus bar. I have made a "power cord" leading to the PSU so I can leave the PSU in a more central location in case I make more LED systems

I got my heatsinks and LEDs. Heat sinks are mounted and I started drilling and tapping threads to mount them, however hit one snag..... I broke the drill bit. So untill I find another #43 drill bit, I'm out of commision. (this is why I wanted thermal epoxy, though screws allow replacement). On the upside I got two mounted. I just wish I got the third in to see how it looked over the tank.

I still need to cut the wood stops for the hood to sit on the tank, as well as do something concerning the door.

In about 2 weeks I'm going to start working on a duct for the air to go through so it cools the LEDs the best way possible. Its going to be made of acrylic, should be interesting. In about a month I may order about 3 to 4 (depending) for my 5g hex, Its gonna be super cheap to light that tank. Probably in all under $40.
 
Finally got around to doing some work on this sucker. I must say its finally coming around.

I got access to a drill press and drilled into the heatsinks. Very very tedious too. I found hand drilling risked breaking bits, not to mention, rather inaccurate.

Also got 2 sets wired up, however had problems getting a good connection, it seems that it just saps the heat away if you use a 15w iron. I started using a 25w iron (and different solder as well) and things went much smoother.

However, much to my dismay, they are only operating at about 400mA-450mA which is still bright, but.... ehhh. I'm currently using 3.3 ohm resistors, gonna drop to 2.2 and see if that won't bring it up a bit.

Door is going to be routed, sanded, painted and then finally mounted, hopefully within the week.

Tomorrow I plan to have a pic of the tank with all 15 LEDs, even at half power its still gonna be bright :D

Oh yes, some pics.

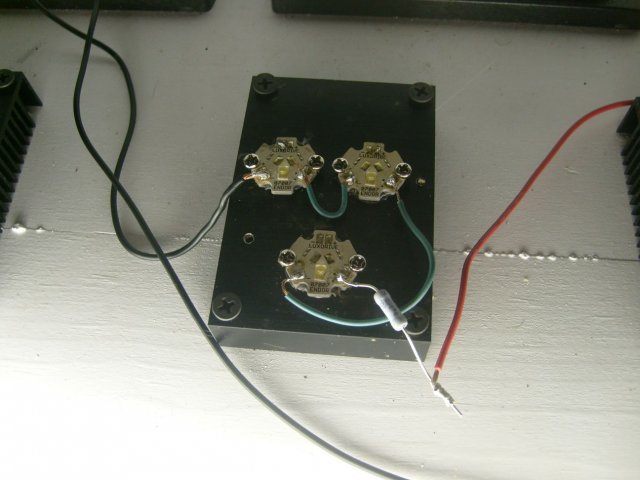
note the horrible soldering, that was from the 15w
LEDs off close.jpg

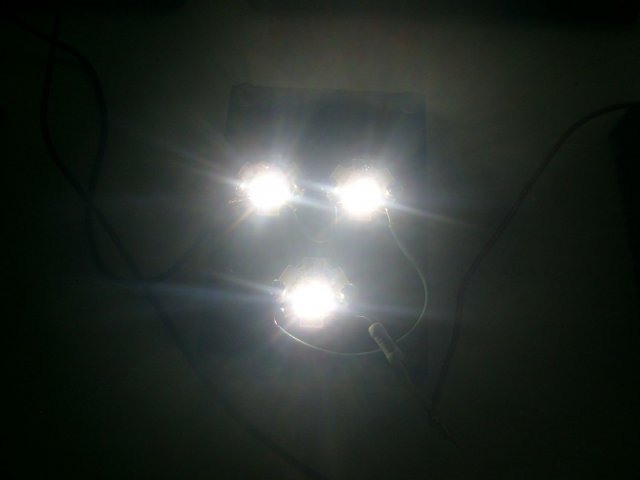
leds on close.jpg

LEDs on.jpg

LEDs off close.jpg leds on close.jpg LEDs on.jpg
 
AquariaCentral.com