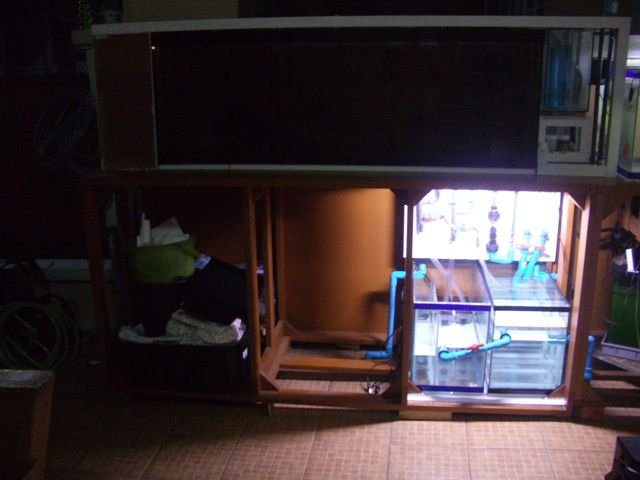
99 Gallon Tank Journal

Thanks for the compliments. I do feel like I'm rushing to much still.
Nothing compared to the time and dedication that Coy is taking with his 150Gallon build thread...lol.
Most time goes into waiting for a part to complete so that I can measure/adjust the next part to it. Only a general plan, but many details that have to be adjusted to the final layout.
Makes it fun as well though.
 
Very neat work. Thanks for the update!
 
Finally, I'm now waiting for the last bits to dry.
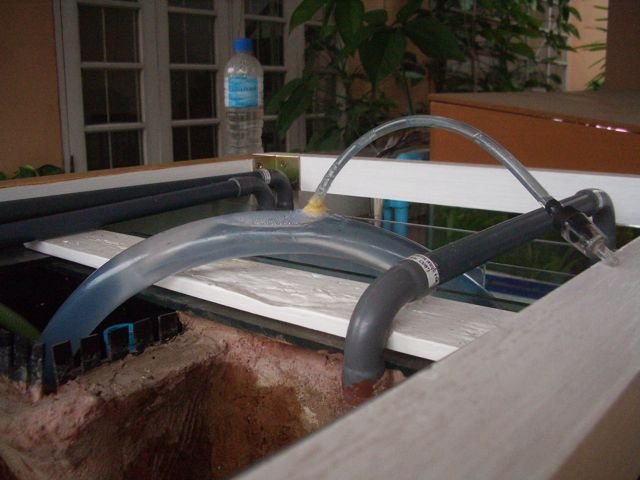
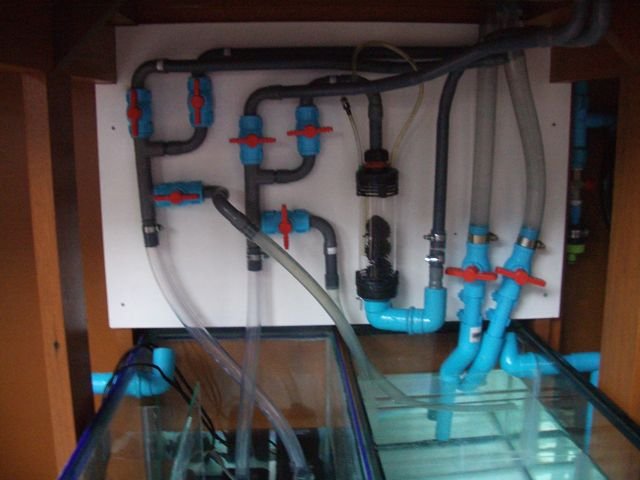
Once done, I can switch on the pumps. A lot finished today and I'm quite happy with it. The overflow box and the 1" hoses used for that are working. To get them running, I've used small garden-hose sprinklers. You know, those small plastic screw-fittings that go into a hose, connect it to a tap and you're ready. Not sure how you call them again, but you'll find them in any home-DIY shop.
I took one, take off the plastic top, and you have a nice opening where you put a airline on. Take a plastic check-valve and you have a perfect syphon-starter.

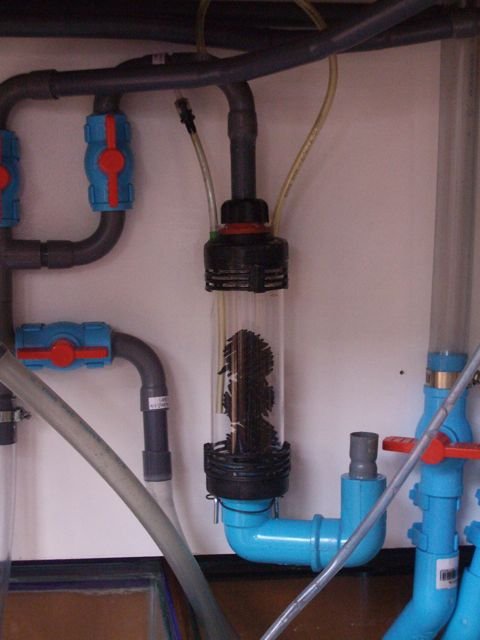
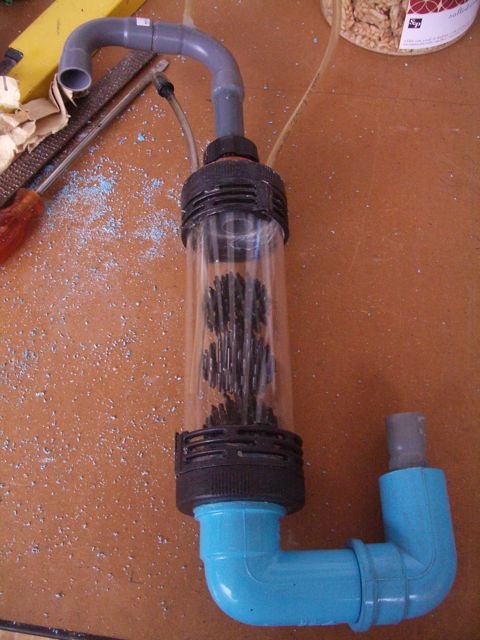
Next, I finished the CO2 reactor and hooked it up. Follows the same principle as all those DIY and commercially available reactors. I used whatever I had lying around and with silicone and glue, the end-result looks acceptable.
Two L-shaped screws in the board and a metal wire around the bottom-outlet and it's stable, secured and ready.

I've tried some with the overflow-pipes and bits and pieces of pvc-pipes to reduce the noise. Looks ok now, but will work on some improvements.

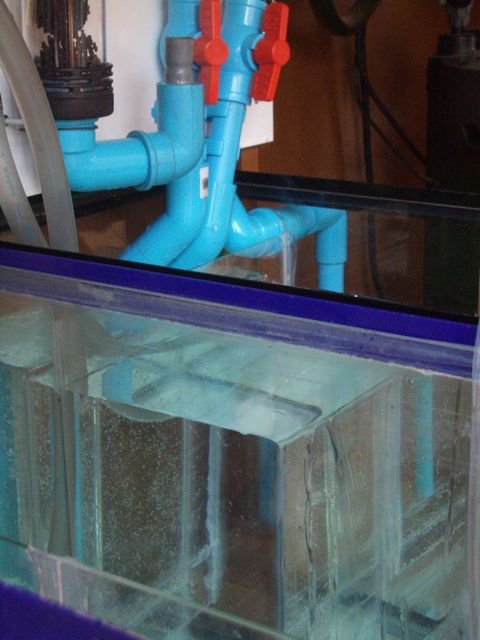
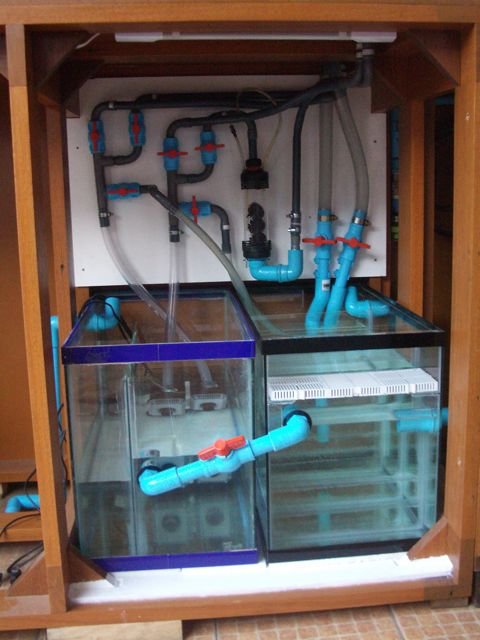
Then, I've at least done half of a wet-test. Water in the overflow, through syphon and down to the sump. Then through the sump into the equipment tank. Some small leaks at first between 2 compartments, but solved in no-time with silicone.
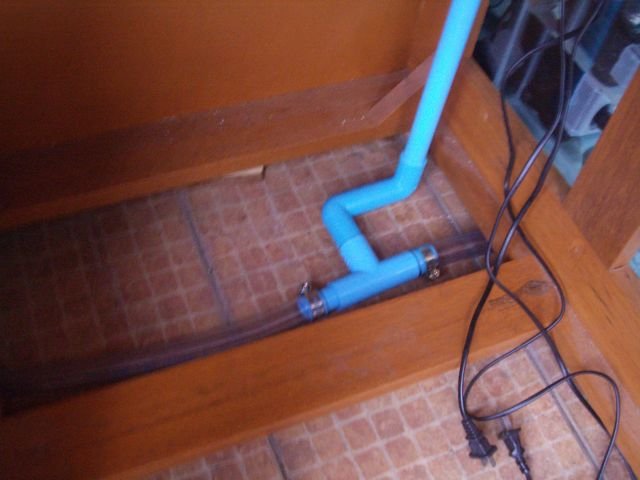
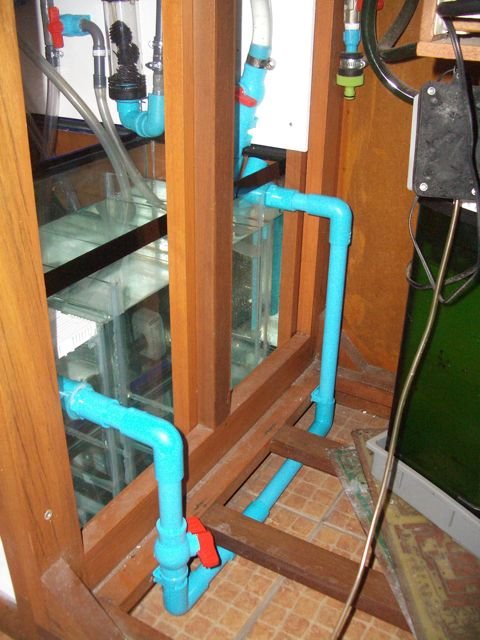
Another problem was a seal leaking on the front connection between the two tanks. Since changing water is going to be done by tap water in the equipment-sump and draining from the filter-sump, I thought better to put a valve between the two so that there's no 'bleeding' in the process and it'll speed up the water-changing. So, seal-leak solved, valve in-between, reconnected and water-proof this time.

Now, I also had 1 pump running for a couple of minutes and I found:
1. The pump seems to have no problem with any head-loss. Water is really pumping like crazy though it is into an empty tank so that will reduce a bit once testing on a full tank starts.
2. A small leak on the return-drain of the pump. Repaired .and waiting for it to dry.
3. I have a generous over-capacity from what I saw on that couple of minutes running. Good, better safe than sorry. Water will be pumping around and get filtered like crazy.

What more? Oh, yes, I've installed a small T8 light over the sump-compartment. Looks sweeet...Love it, never mind the display-tank...lol

Ok, let's have the pictures first.
IMGP6299.jpg IMGP6307.jpg IMGP6305.jpg IMGP6311.jpg IMGP6312.jpg IMGP6313.jpg IMGP6314.jpg IMGP6316.jpg IMGP6321.jpg IMGP6323.jpg
 
Once the testing is done, water-change pipe and tap will be added.
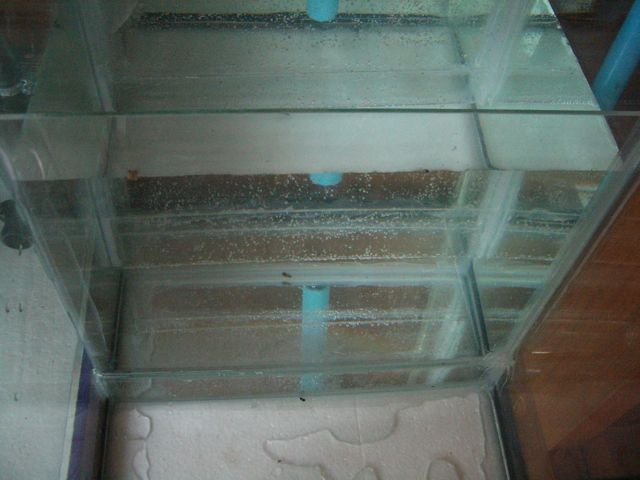
I forgot to mention, you can see the smaller compartment in the sump with the return-pumps. You can see it's separate from the tank-water (level is lower).

This is where the fridge cooling element will go in to bring water-temperature down.
Check my thread on the dorm-fridge / chiller project for more details, but my aircon-guy seems to come over for maintenance on...you wouldn't believe it...the aircon..
So might as well get him to help me bend and install the stuff.
No more plastic hose and big fridge-cabinet. Only a thin piece of glass in between.
 
Looking good!
 
Thanks for the compliments..still a lot to do before I start on the electric-side.
Hope I can finish the bottom of the second compartment (middle) this week. That's where the compressor and wet-electric sockets will go.
Tomorrow afternoon I'll switch on the pumps I guess, see how that goes.
Cheers, night time here. Work tomorrow.
 
Looks really nice, but this has got to be the single most complicated setup I've ever seen, lol!
 
I'm a complicated person but simple of mind...lol
One of those that loves bells, whistles and rambam.
Serious, it was a trade between custom big square sump or some extra plumbing.

Had my first wet-test yesterday. No big issues, everything is still dry, which is good.
But one (rather stupid) mistake: 1" diameter connection between the two tanks surely is not enough to drain the water from the incoming side to the outgoing pump-side.
So I'll start with 2 extra syphon-hoses over the top, see how that keeps up and then drill some more on the front to get that water running based on the findings with the syphon hoses.

Another find: The small hole in the returnhose with the spray-head works just fine and breaks the syphon instantly upon powerstop and water-level below the hole. 2mm hole, plenty enough. No more worries on that.
Same for the inflow, though the emergeny-overflows need some adjustment, just a tad too high...
 
Last edited:
AquariaCentral.com