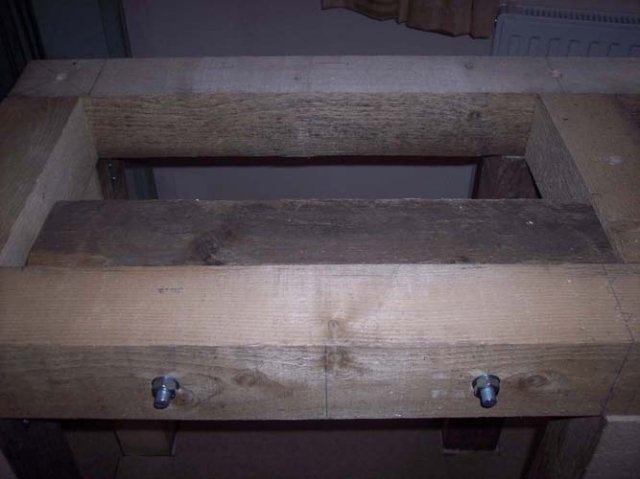
Looking really good. I hope you dont mind, but I planned on using your stand design to build the stand for my 135G. One question, what are the bolts being used for? I see the ends of them just under the top in 1 of the pictures above.
Building a full Setup...Part 1
- Thread starter Reefscape
- Start date
You are using an out of date browser. It may not display this or other websites correctly.
You should upgrade or use an alternative browser.
You should upgrade or use an alternative browser.
Hey there..not a problem at all..That is the main reason why i posted this thread, so others may use it and change if neccesary..
The bolts provide extra support for the tank in the middle area as i purposly built the stand wider than what my tank is to accomodate my sump tank. Normally, on a stand, the tank actually sits on the outside edge of the stand, cus my stand is wider, it sits just inside on one edge, so i put in the extra wood to give it some extra..just to be sure..see pic below..
any questions about it, just ask..
Niko

Well, at the moment, i am parking my sherman tank on it, as space is at a premium..holds out well !!!!
he he he he
Niko
he he he he
Niko
Well, even though it not 100% complete yet but i brought everything i need, it cost me about £80 or $158 ....so not that expensive really..
Niko
Niko
Hello people...A few picture updates now for you..Pics are not brill as i taken them on my mobile...The numbers refer to the pictures...
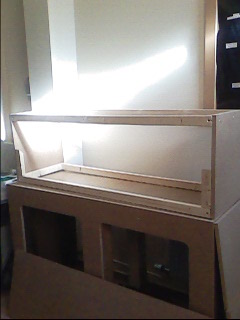
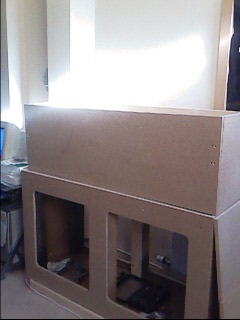
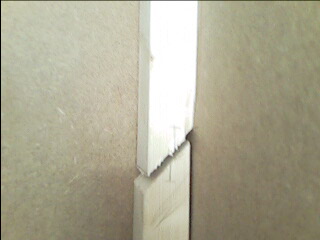
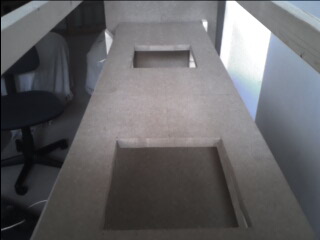
1) + 2) + 3) constructed the frame that is going to become the canopy..Just use 2 x 1 wood for the frame work. Covered both sides in 18mm MDF board. The front is completly removably, it just lifts up and away from the frame of the hood..You will see in a picture that i have just used a length of wood, cut at 45 degree angle and used that as the front retainer..So simple and works an absolutle dream..Fitted two wooded handles to the front piece for lifting it off..
4) Next job was to make the shelf inside the hood to house the 2 x 250w metal halides. Cut out the oblongs where the actual light will be shining through in to the tank.
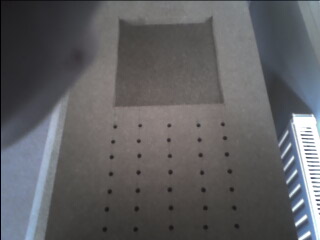
5) Next i have drilled lots of air holes that will be in effect on the underside of the light unit. I did intend to strip the halides out of their casing's and mount it all on the board, but, they will go in quite nice. Just got to make a little frame around the light boxes so they dont move. The shelf that the lights sit on lifts up on hinges which makes access into the top of the tank just great. The shelf lifts up vertical if you want it to.. I have also made two different hights available to me for the shelf..Set one height at 9 inches above water level for normal running and a spare set of brackets set at 12 inches high for when new bulbs are installed, and can then be lowered down to 9 inches when run in...Just got install my actinics in the hood now and then lighting is done..
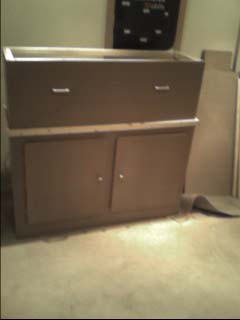
6) And here we are at the end of today...am knackered.........................As you can see in picture 6, all handles are on, doors fitted, push barrier fitted for the tank to push up against...Oh, got asked about this on a forum in the UK..Its a signed Real Madrid Football Shirt in the frame above the tank..
So...Had a good day at it today..Next little job is to install some fans into the hood for coolin, then use wood filler and fill in all the screw holes, wait for that to dry, sand off, then its stain and varnish time...
Niko


Germanman
My fish are my babies
wow looks like your getting there now. Are you going to be building the tank out of glass or do plywood with a glass front?


