Stand build journal for 125 gallon tank

A little from column A, a little from column B. The threaded feet were originally a back up plan for the casters. While they could take all the weight, my intention is once the stand is in place to lower the feet to the point of just barely taking the weight of the casters. With it being on carpet obviously once there is more weight added it will sink a bit but in general the casters and the feet will both be taking the weight, with a bit more emphasis on the feet. I did some math today and figured that at 125 gallons you're looking at 1400 lbs. 200 lbs for the stand (and that is probably generous) + 100 lbs of gravel + 100 lbs just for incidentals and you're looking at 1800lbs. With 8 casters and 6 legs/feet each support is only taking 1800/14 = ~130 lbs ea so all should be good.

lol, I guess this is what happens when I don't pay attention to the login on the computer when I sit down. I didn't realize it posted under her account , not mine. sorry for the confusion
 
Heavy duty metal feet with threaded adjusters and what basically amounts to a metal base-plate platform will make balancing the aquarium on an uneven surface a breeze even when full, a pricey and more tedious build but certainly deluxe and user friendly. If this happens not be be your last stand build or refurbish, you might consider making the wheels a removable-portable option rather then permanent.

Im currently in the same situation setting up my DIY stand and 210 tank but Im using the cheaper option of a hydraulic jack to place and remove my temp wheel-trucks and carpenter wedges to level my stand while filling.


Yes, I've been following your thread. Very impressive. And I must admit that as much as I enjoy the building process, I still look at yours and think to myself **** that's so straightforward, what was I thinking? lol. You do very nice work Gunner.

As for the feet being a pricey option, I should have pointed out when I said it was over $200 of hardware that I got it all through work for a fraction of the cost, otherwise I would have just shelled the extra coin for the heavy duty casters required. I will admit though, on future stands (ie the 100 gallon that I have to build as soon as this one is done for the other tank) even with the proper heavy duty casters I do like the threaded feet, even if it were just one in each corner to help with stability. Because of the nature of swivel casters and the swivel radius you can end up with a stand footprint that is actually 3" less per side, meaning 6" overall less and that can be a very big deal on something like a stand for a 55 that is only 18" wide to begin with.
 
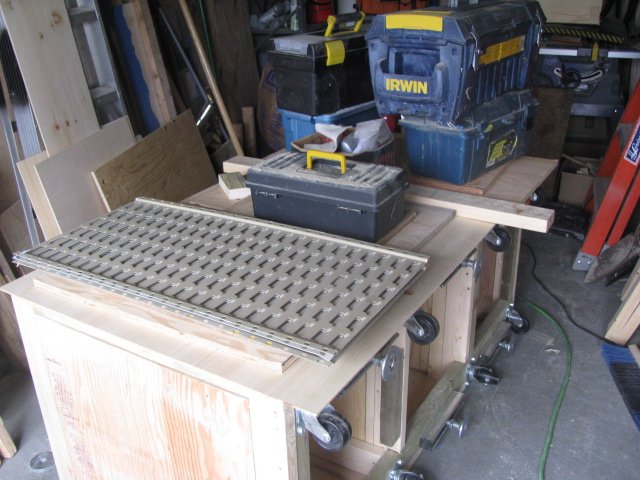
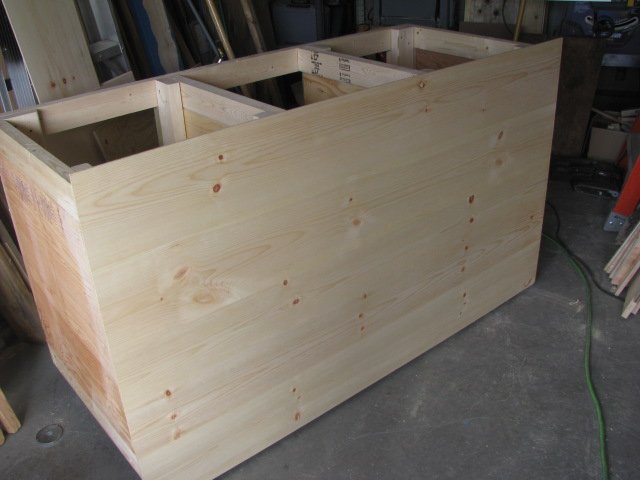
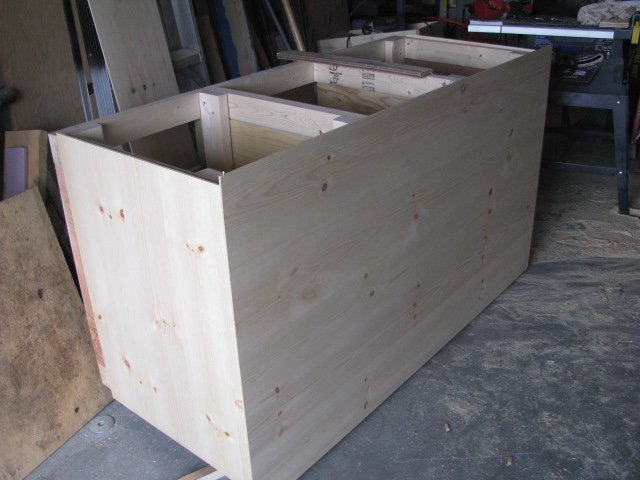
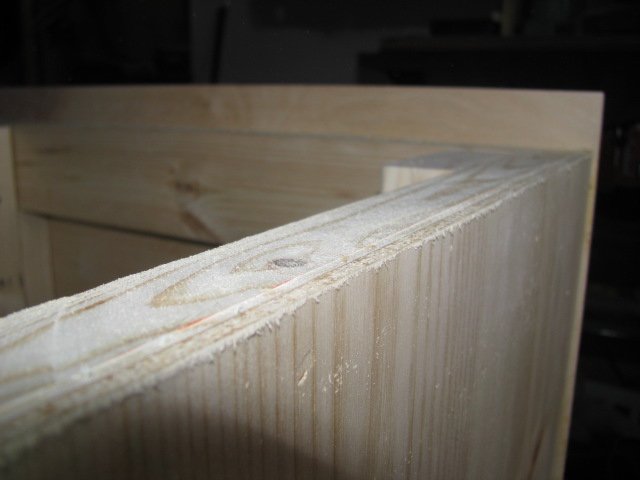
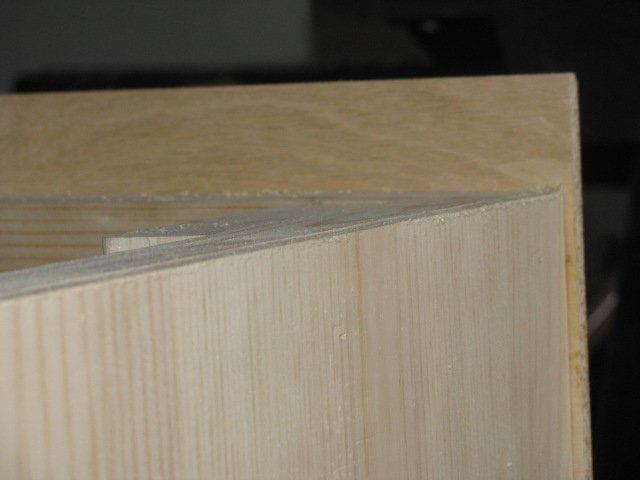
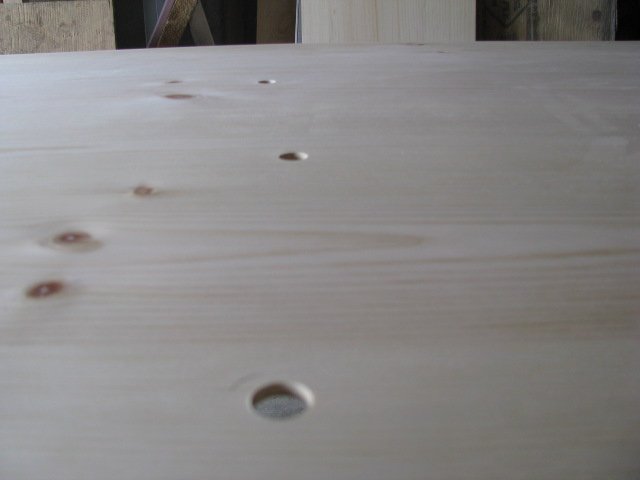
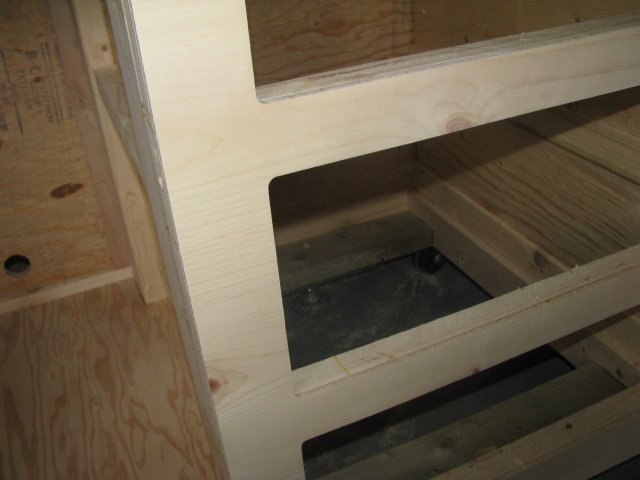
managed to get the paneling on today. Covering the stand with 1/4 knotty pine. Had the pieces cut over size so I can trim them afterwards. The pic with all the stuff piled on top was my way of making sure it was pressed flat and there were no gaps between the framework and the panel

tank stand build 001.jpg tank stand build 002.jpg tank stand build 005.jpg tank stand build 006.jpg
 
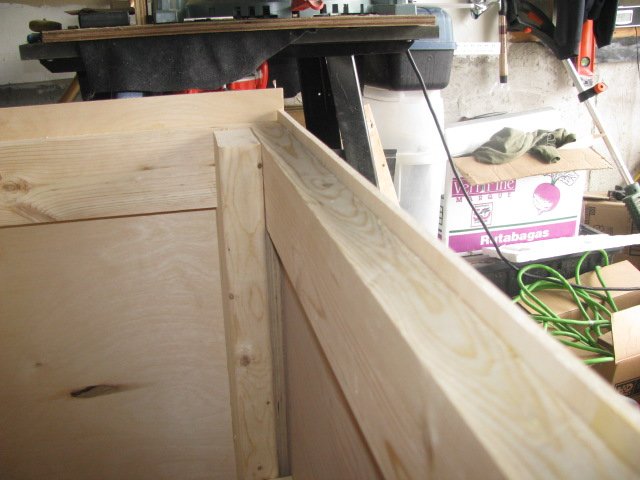
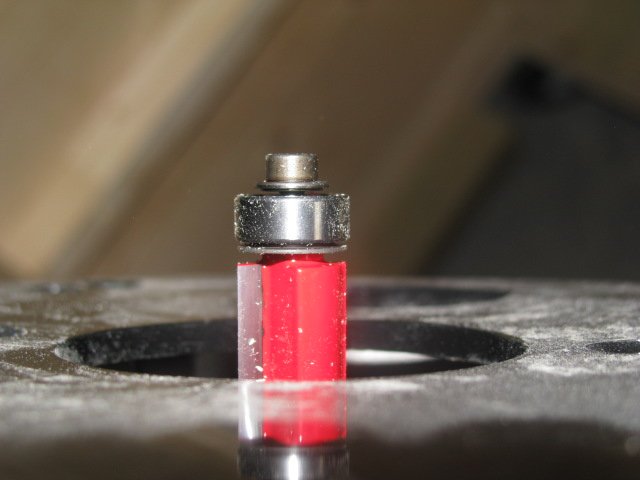
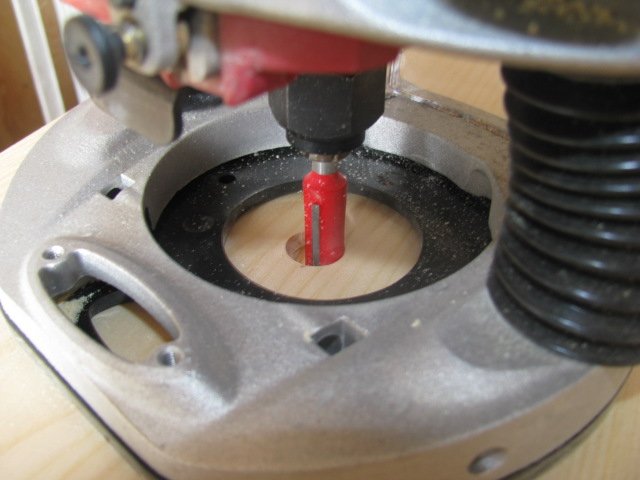
Then with a flush trim bit on the router cut the panels to size

tank stand build 010.jpg tank stand build 012.jpg tank stand build 014.jpg
 
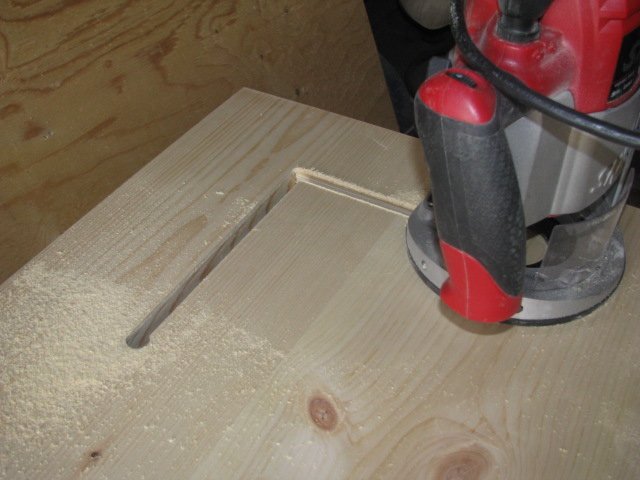
for the cupboard and drawer openings I drilled holes at the edge of each opening. Then it;s just a matter of dropping the router into the hole ( again with the flush cut bit) and running it along the edges. As long as the framework is straight and square, so will be the cut outs. I labeled which piece came out of which hole because I am going to use the cutout for the door panels and by labeling them the grains will match up.

tank stand build 015.jpg tank stand build 018.jpg tank stand build 019.jpg tank stand build 020.jpg tank stand build 023.jpg tank stand build 024.jpg
 
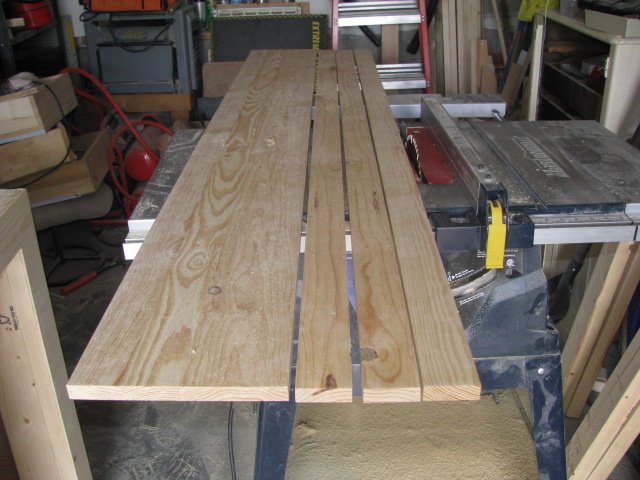
Today was Door day. Yes I know you can buy premade doors, but with the panels I cut out from the door openings these ones will have cost me a whopping $11 for a 1x12x6ft piece of pine at home depot (actually 11/16, but who's counting)

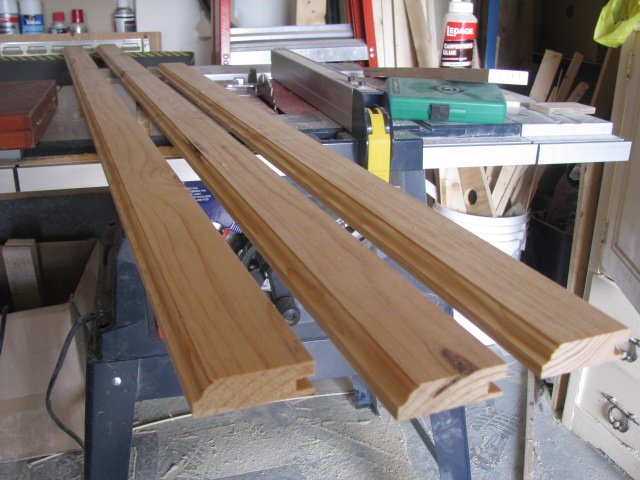
Started off by running it through the table saw to get 3 pieces of 2-1/4" strips

tank stand build 001.jpg
 
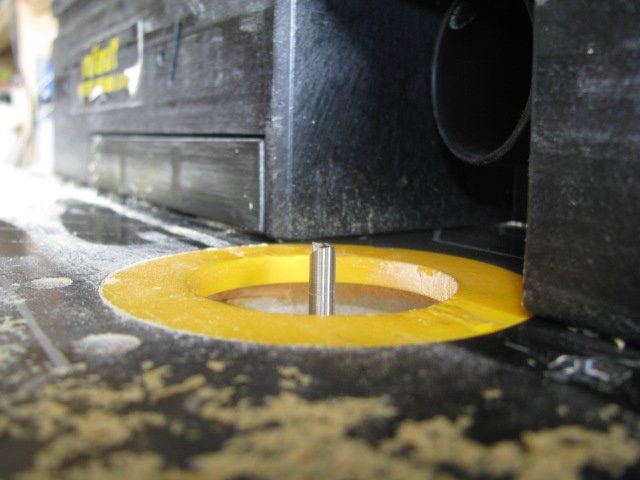
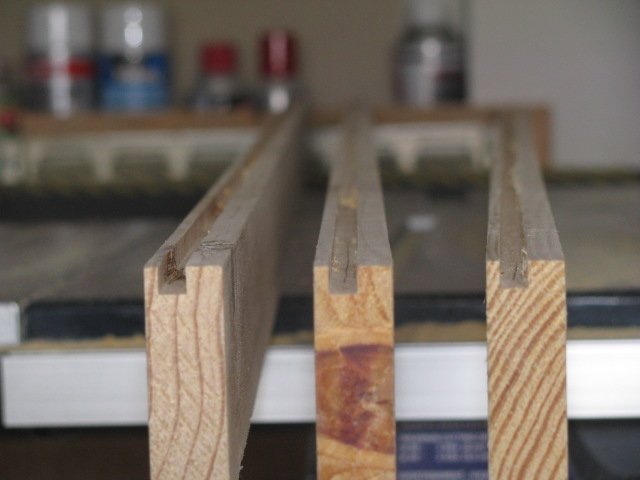
then onto the router table to cut a groove in one side for the middle panel and a little detail around the outside edge

tank stand build 003.jpg tank stand build 004.jpg tank stand build 006.jpg
 
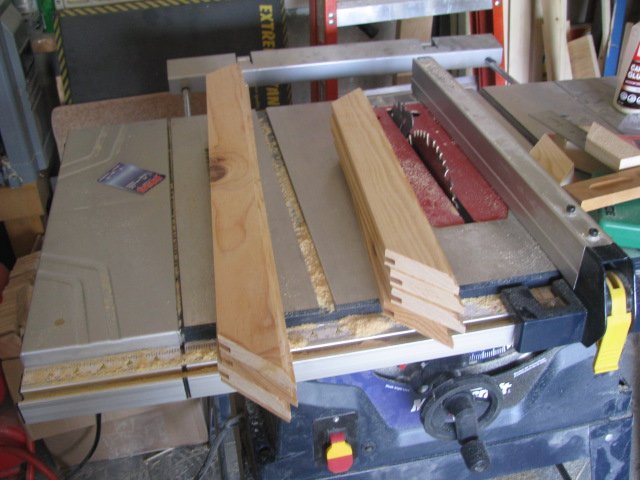
and finally cutting the pieces for the doors. The biggest pain besides getting an accurate 45 degree cut is making sure they all line up but I realized I could solve this part by cutting them in pairs. Tops an bottoms of each door and both side of each got cut together. That way they were identical and even if they were off by a hair from the other door it wouldn't be noticeable.

tank stand build 008.jpg
 
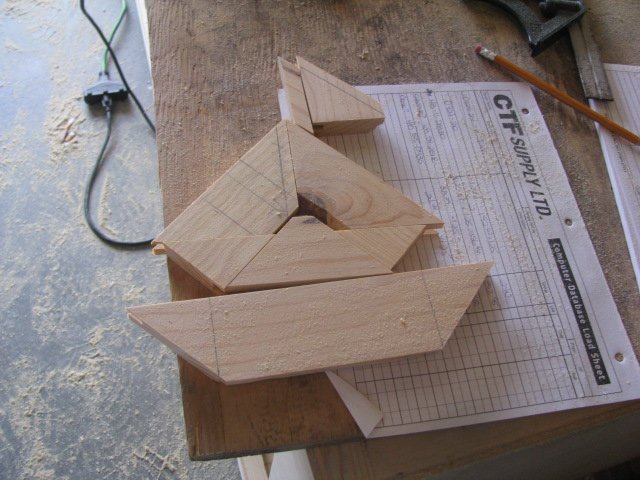
aaaand the sailboat that Hisnewlove made with the off cuts..( so far my favourite part of the build considering she didn't cut any of them and just managed to piece this together..)

tank stand build 010.jpg
 
AquariaCentral.com