Cool, be sure to let us know how it works for you. Did you get a silencer to go with it?Ok, just submitted an order for the LifeReef nano prefilter box
(posting as a reminder to myself)
Joel's 1st Marine Build
- Thread starter joel.uejio
- Start date
I didn't order the silencer -- although probably will if that turns out to be an issue....
Actually, it turns out I goofed up on the sump front, so....will try to fix.........................................please stand by.................
Actually, it turns out I goofed up on the sump front, so....will try to fix.........................................please stand by.................
Sump SNAFU (part 1)
Ok folks, here's the situation:
After more research I decided that making a DIY sump was going to be a pretty hefty amount of work and cost -- key moment was calling for estimates on cut acrylic and getting quotes of $12/piece...so I think materials + tools was going to end up being close to the cost of a pre-made sump.
So then started looking online, but realized cost to ship would add a lot to the expense. I then found a retailer with sumps based here in SOCAL: vividaquariums.com. I went there, found they had 30"x12" sumps on hand for a good price -- done deal.
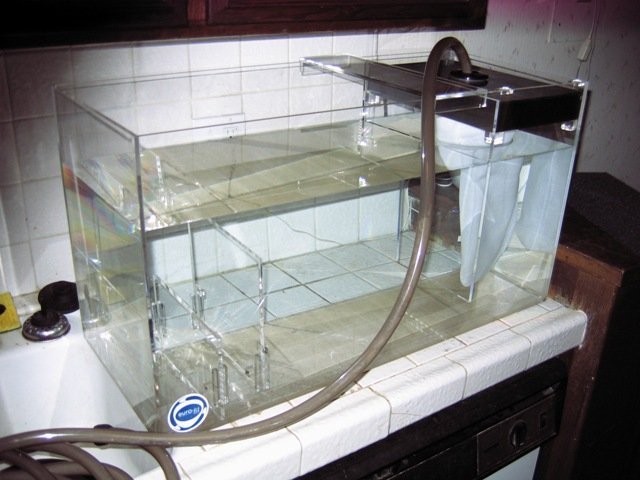
The sump is a Euro-fil, which looks good, but I think might need some tweaking. The baffles between the center and return area aren't siliconed in place. so water can pass freely between them. It seems like this could be a problem, yes? In a situation where the overflow fails I don't want to pump the entire volume of the sump into my tank, right?
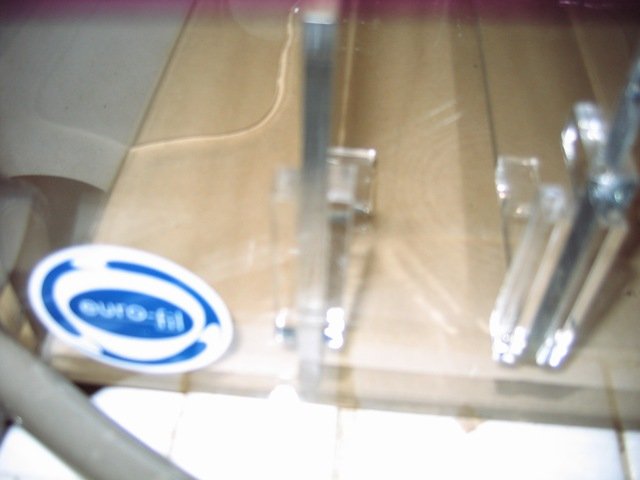
Here is a pic of the sump and the return area (blurry, but you can see the water seeping)
....next up, the SNAFU part :rant2:.........


Ok folks, here's the situation:
After more research I decided that making a DIY sump was going to be a pretty hefty amount of work and cost -- key moment was calling for estimates on cut acrylic and getting quotes of $12/piece...so I think materials + tools was going to end up being close to the cost of a pre-made sump.
So then started looking online, but realized cost to ship would add a lot to the expense. I then found a retailer with sumps based here in SOCAL: vividaquariums.com. I went there, found they had 30"x12" sumps on hand for a good price -- done deal.
The sump is a Euro-fil, which looks good, but I think might need some tweaking. The baffles between the center and return area aren't siliconed in place. so water can pass freely between them. It seems like this could be a problem, yes? In a situation where the overflow fails I don't want to pump the entire volume of the sump into my tank, right?
Here is a pic of the sump and the return area (blurry, but you can see the water seeping)


....next up, the SNAFU part :rant2:.........


Sump SNAFU (part 2)
...ok, so the big mistake I made was getting a sump that theoretically fits in my stand, but finding that I can't get it through the door to the inside!! Feel pretty stupid about that, since I've read articles specifically warning against that...doh.
I came up with a few possible solutions:
1. Run sump next to stand --> requires too much space and would probably put strain on the pumping systems
2. Get new stand --> last resort if all else fails
3. Exchange for a 24" model --> sump that small doesn't seem like it would help much
4. Cut sides to make door wider --> seems like it would weaken the stand strength
5. Cut out bottom and slide the sump up inside --> bottom has braces that I would have to remove and then rebuild
6. Remove top and drop sump inside --> ...uh...yes, let's do it!
So I did #6: Popped off the plywood piece that functions as the top using a screwdriver and now sump can be slid inside. In order to do that, though, I had to empty out the tank and remove everything. So for now all of the water is split between 2 buckets, a 10g tank, and a 20g. The rocks are sitting on a mat and the equipment has been put aside.
Yorf....so I'm at a point now where I can place the sump, re-attach the top, and then re-assemble everything. Does this sound like a good plan? Anyone have any suggestions or comments?
I've added some pics below. Thanks for any help!
Problem:
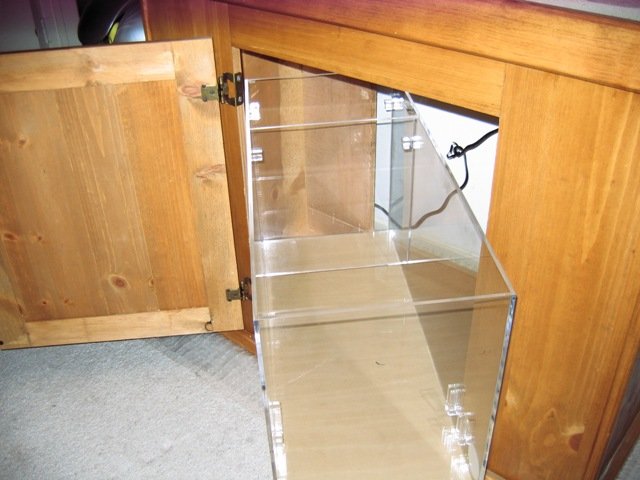
Re-homing water here....
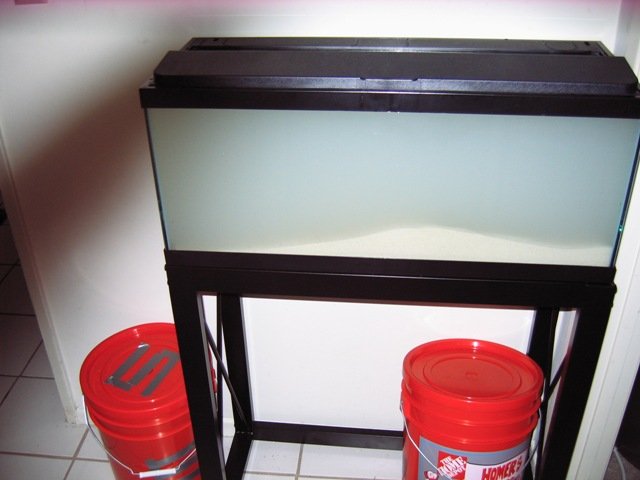
...and here:
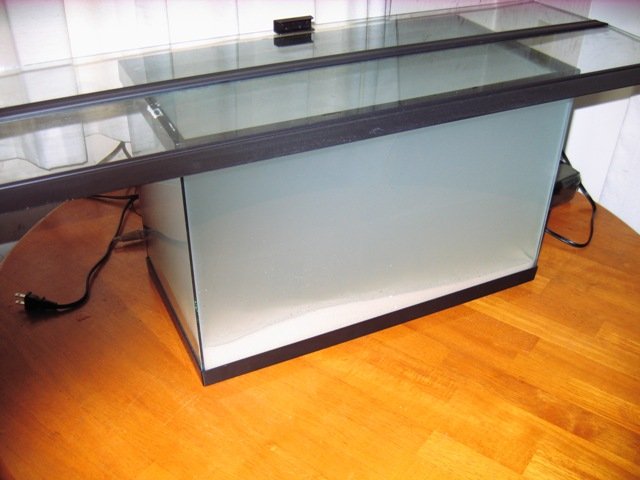
Not getting in through the bottom.
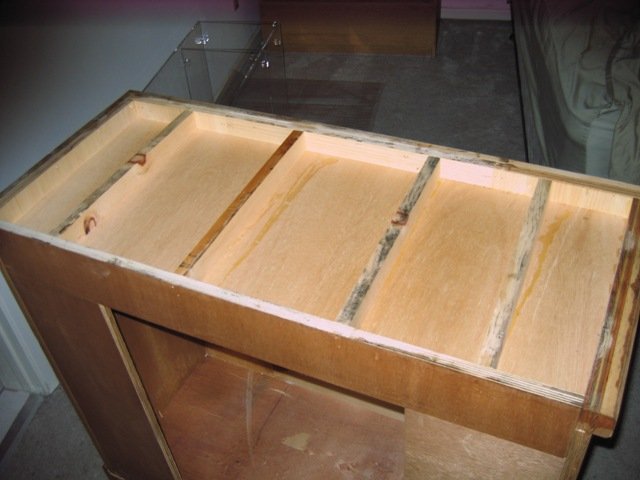
Pop the top!
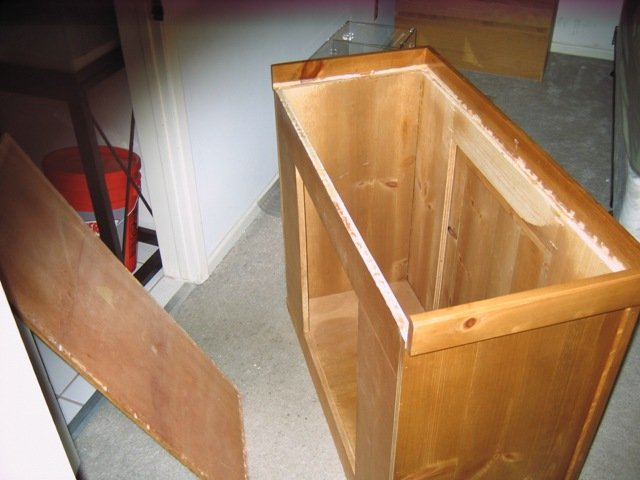
Solved
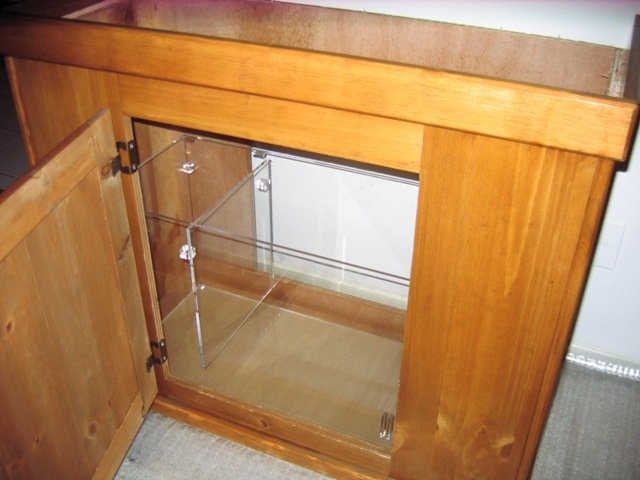


...ok, so the big mistake I made was getting a sump that theoretically fits in my stand, but finding that I can't get it through the door to the inside!! Feel pretty stupid about that, since I've read articles specifically warning against that...doh.
I came up with a few possible solutions:
1. Run sump next to stand --> requires too much space and would probably put strain on the pumping systems
2. Get new stand --> last resort if all else fails
3. Exchange for a 24" model --> sump that small doesn't seem like it would help much
4. Cut sides to make door wider --> seems like it would weaken the stand strength
5. Cut out bottom and slide the sump up inside --> bottom has braces that I would have to remove and then rebuild
6. Remove top and drop sump inside --> ...uh...yes, let's do it!
So I did #6: Popped off the plywood piece that functions as the top using a screwdriver and now sump can be slid inside. In order to do that, though, I had to empty out the tank and remove everything. So for now all of the water is split between 2 buckets, a 10g tank, and a 20g. The rocks are sitting on a mat and the equipment has been put aside.
Yorf....so I'm at a point now where I can place the sump, re-attach the top, and then re-assemble everything. Does this sound like a good plan? Anyone have any suggestions or comments?
I've added some pics below. Thanks for any help!
Problem:

Re-homing water here....

...and here:

Not getting in through the bottom.

Pop the top!

Solved


Nice job! Now that's dedication for you. Very nice looking sump too!
I think you've done just about as good a job as you can without placing the sump elsewhere. I would just make sure that the floor of your stand can support the weight once filled and that the floor is in fact even. If it cracks you will have a tough time getting to it once the tank is on top.
I think you've done just about as good a job as you can without placing the sump elsewhere. I would just make sure that the floor of your stand can support the weight once filled and that the floor is in fact even. If it cracks you will have a tough time getting to it once the tank is on top.
Yes, this has become quite a doozie 
I think sump in the bottom should be fine. The supports across the base seem very solid and the sump would span all 4 of them.
I think I'll wait till I assemble all of my components before I put the stand back together -- want to make sure the overflow, skimmer, pump all fit.
Woot!
I think sump in the bottom should be fine. The supports across the base seem very solid and the sump would span all 4 of them.
I think I'll wait till I assemble all of my components before I put the stand back together -- want to make sure the overflow, skimmer, pump all fit.
Woot!
What'sump
I decided to order an Eheim 1250 return pump. I read many good reviews of those and, even though it's on the large side, I couldn't pass up the reports of reliability and quiet. So now I'm tinkering with my sump, trying to plan things out.
The problems are (1) the 1250 is too big for the allocated return area, and (2) the baffles are not siliconed, so they leak. Although (2) actually makes (1) less of a problem, because I can remove the baffle that's in the way.
Basically at this point I have 2 ideas:
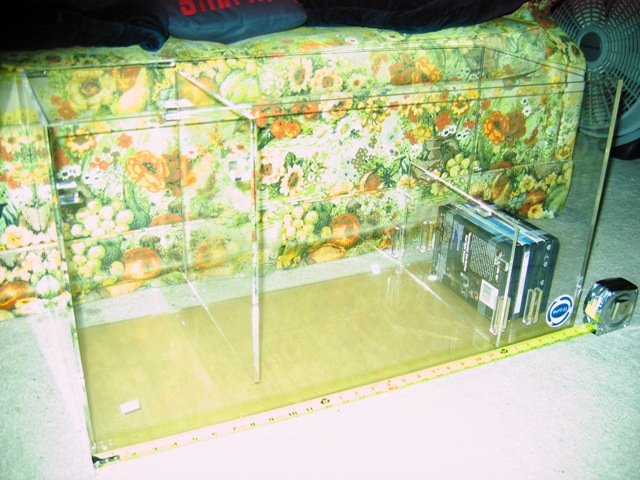
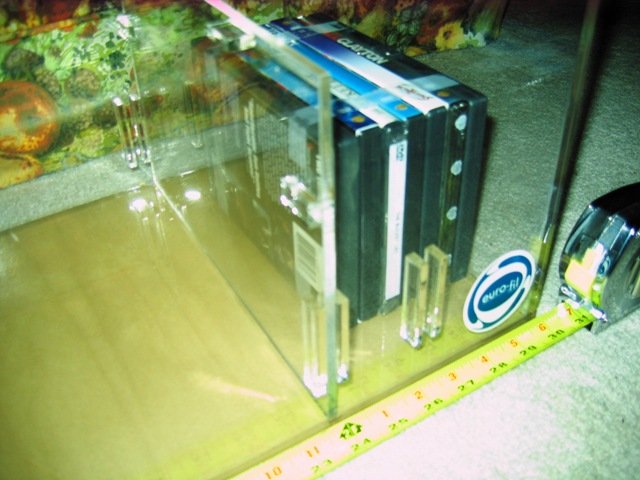
[I1]: Use only one baffle, set it up so that it touches the sump bottom and runs 8" high. If I do this I can either silicone or not -- although the panel is not quite wide enough so I would have to kind of build a little gummy span of silicone I think.
[I2]: Toss all the baffles, drop a "Kritter Keeper" or 2.5g tank into the sump and run the return pump in that. So the walls of the KK / tank would sort of act as baffles.
Here are some pics of how [I1] would work (bundle of DVD's is about the size of the pump.
Thoughts?


I decided to order an Eheim 1250 return pump. I read many good reviews of those and, even though it's on the large side, I couldn't pass up the reports of reliability and quiet. So now I'm tinkering with my sump, trying to plan things out.
The problems are (1) the 1250 is too big for the allocated return area, and (2) the baffles are not siliconed, so they leak. Although (2) actually makes (1) less of a problem, because I can remove the baffle that's in the way.
Basically at this point I have 2 ideas:
[I1]: Use only one baffle, set it up so that it touches the sump bottom and runs 8" high. If I do this I can either silicone or not -- although the panel is not quite wide enough so I would have to kind of build a little gummy span of silicone I think.
[I2]: Toss all the baffles, drop a "Kritter Keeper" or 2.5g tank into the sump and run the return pump in that. So the walls of the KK / tank would sort of act as baffles.
Here are some pics of how [I1] would work (bundle of DVD's is about the size of the pump.


Thoughts?


Ok, I my non professional opinion Id use both baffles, and silicon them in. Leave the one you have installed where it is, but raise it off the bottom one inch. Then use the second one in front of that one(to the left in your picture), and have that one touch the bottom. This will make the water go over the first baffle, and under the second one creating a bubble trap. That way you dont get micro bubbles in your display. The only problem is that the top of the second baffle(the one you left in) will have to be higher than the top of the first baffle.
The water level in the middle section will be set by the top of the baffle that touches the ground. I can make an illustration if that doesnt make sense.
The water level in the middle section will be set by the top of the baffle that touches the ground. I can make an illustration if that doesnt make sense.


