Stand build journal for 125 gallon tank

  • Get the NEW AquariaCentral iOS app --> http://itunes.apple.com/app/id1227181058 // Android version will be out soon!

NewObsession

AC Members
Aug 27, 2007
575
0
16
54
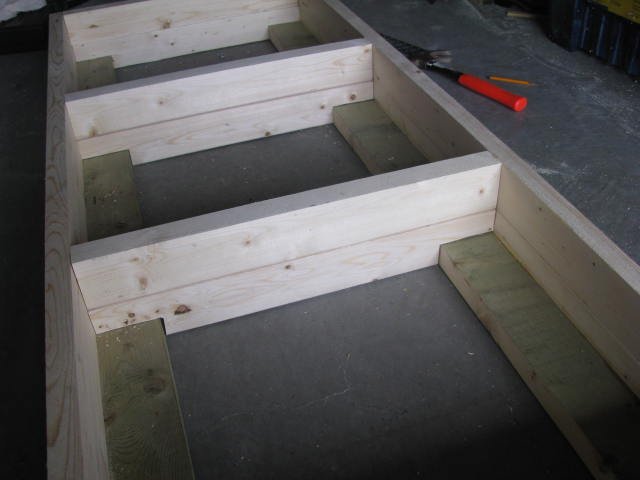
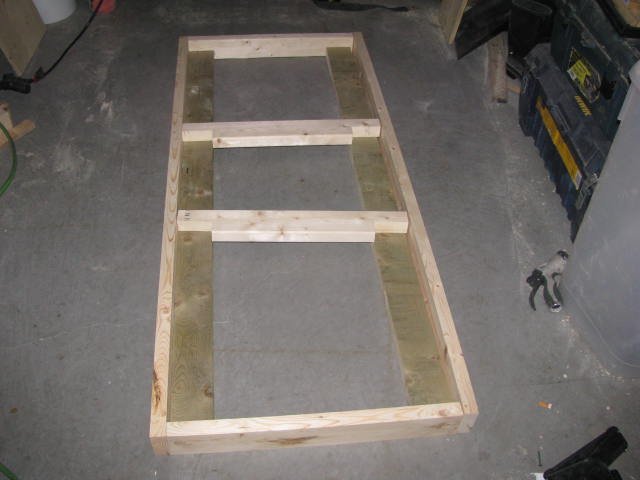
Same layout for the bottom frame with the exception of the 2x4 inserts running the length of the bottom which will be used to attach casters to. the reason for hte colour difference in the pic is because they are pressure treated lumber..for no reason other than I happen to have a p.t 2x10 that I ripped down size to use.

The only hiccup was when I realized that it would be in the way of the cross members. I didn't want to put the "caster rails" (for lack of better description) on the bottom of the fram as it would then add an extra 1-1/2 to my plans so I ended up running the caster rails from inside face to inside face of the end pieces and notched the middle crossmembers with a jigsaw to straddle them.
IMG_0089.JPG
 

NewObsession

AC Members
Aug 27, 2007
575
0
16
54
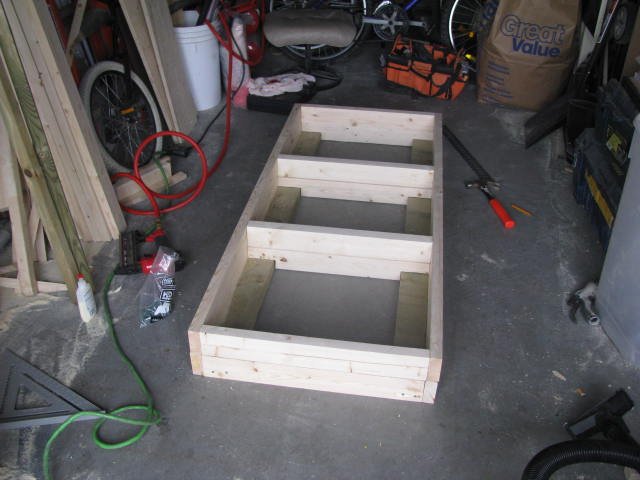
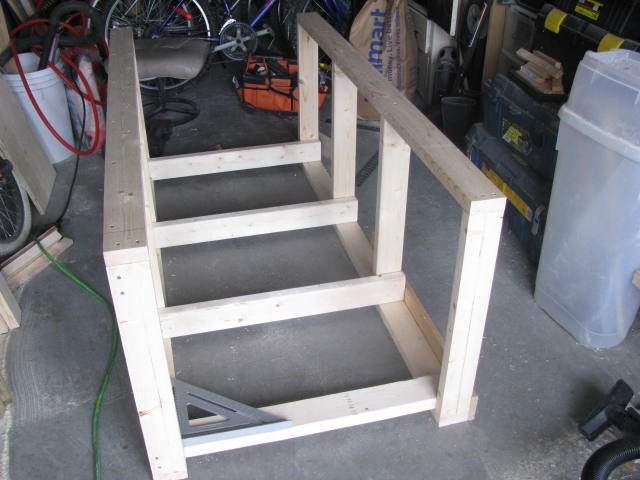
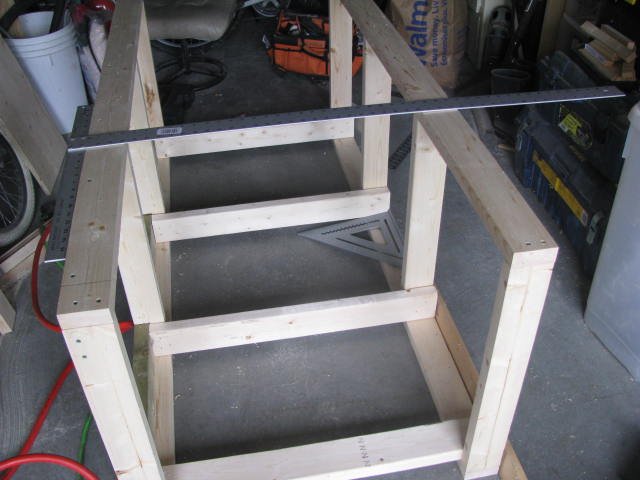
Since the vertical supports are going to be runing from cross member to crossmember ( as opposed to frame to frame) it was important to make sure they lined up exaclty. Rather than rely on measurements I simply laid the completed top frame on top of the bottom frame to line up the 2 middle braces on the bottom unit.

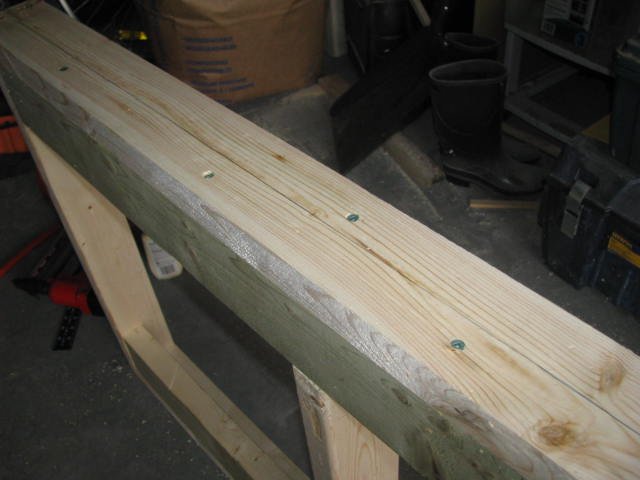
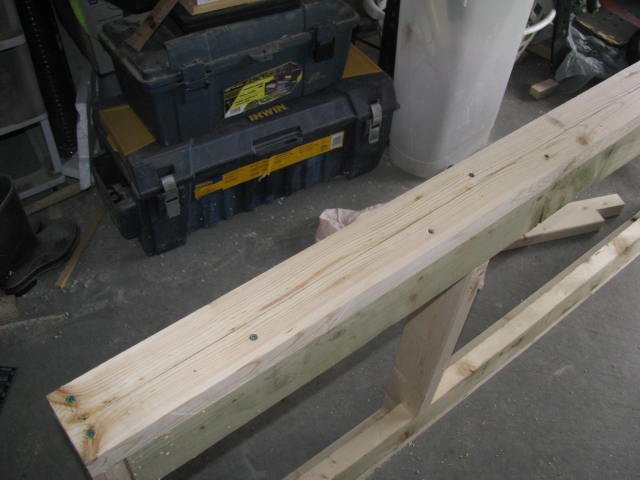
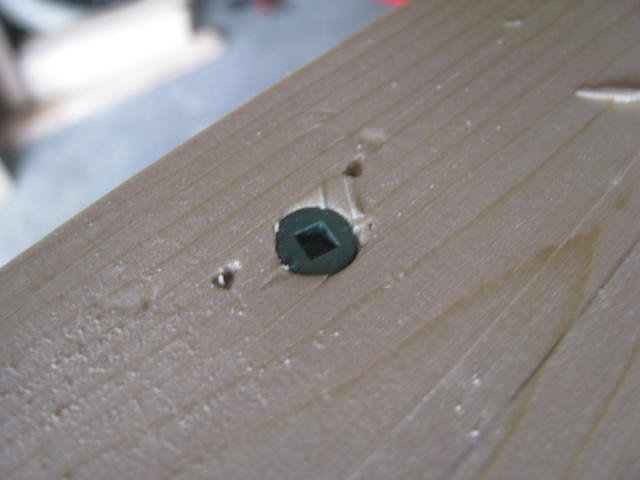
Also since the weight of the tank will now be supported on the casters I didn't want the bottom rails to bow so not only are they glued and screwed at the end of the frame, but also screwed roughly every 8-10 inches along the side of the frame.

How you guys in the US manage with phillips screws for building things is beyond me. Thank god for Robertson screws.. lol

IMG_0091.JPG IMG_0094.JPG IMG_0095.JPG IMG_0096.JPG IMG_0098.JPG
 

NewObsession

AC Members
Aug 27, 2007
575
0
16
54
Last thing to do ( at least in this chapter of the build..) was to join the top and bottom frames. Laid on the floor and again lined up to keep them square. The legs were cut taking the 1-1/2 bottom rail into account for height Pilot holes drilled, parts glued, nailed and finally screwed together. Once the "bottom" was done, which is actually one of the sides once it's upright, the top was done in the same fashion, measuring to make sure everything was kept square.
The only shoot myself in the foot momment was when I realized that the to middle pieces needed to either both be on the inside of the cross members or both be on the outside for the design i have planned (there will be a set of drawers down the middle of the unit)
Thankfully I realized this 10 minutes after I had joined them so I unscrew the parts and hammer them apart. had I left them until the next day it would have been a nightmare to correct

IMG_0100.JPG IMG_0102.JPG
 

NewObsession

AC Members
Aug 27, 2007
575
0
16
54
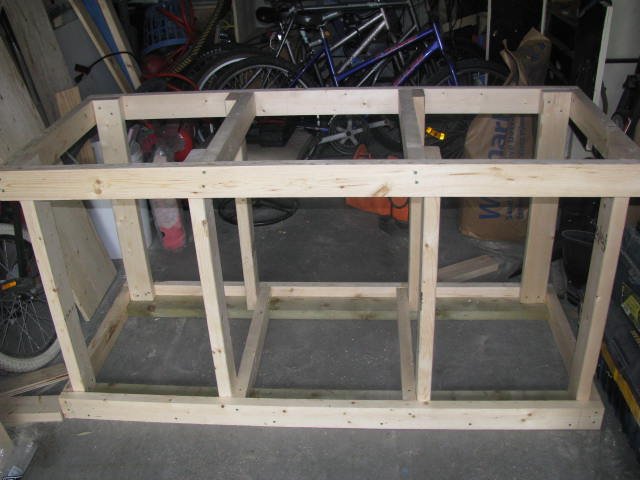
and here is the finished frame..at least one of them. Next part of the project will be filling out the frame and adding some plywood , both for structual purposes as well as giving me nailing surfaces for the panelling the will eventually go on. ( oh and adding casters..... oh, and building drawers.. oh and making trim........)

IMG_0103.JPG
 

fishorama

AC Members
Jun 28, 2006
12,701
2,132
200
SF Bay area, CA
Wow, moving right along, nice. I want to see the casters, I think if they're strong enough to hold all the weight they'd probably dent my wood floors.

BTW- my brother used to deliver newspapers on a unicycle
 

NewObsession

AC Members
Aug 27, 2007
575
0
16
54
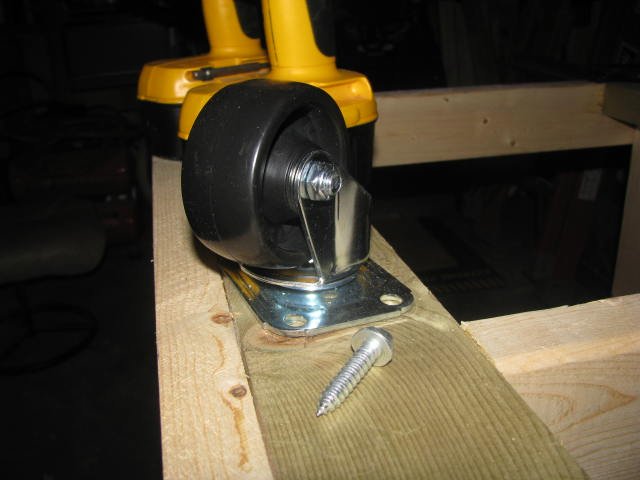
Caster Time! ( Hum baseline from MC Hammer classic here...)

IMG_0114.JPG
 

NewObsession

AC Members
Aug 27, 2007
575
0
16
54
Didn't get much building done last night as I ended up spending a couple hours cleaning up. Got tired of moving the same thing 3 times and tripping over stuff trying to build. I'm telling you, they called it a 1 car garage in the listing for the house but I don't know how you would ever fit a car in there with all that other stuff ... lol
 

NewObsession

AC Members
Aug 27, 2007
575
0
16
54
Wow, moving right along, nice. I want to see the casters, I think if they're strong enough to hold all the weight they'd probably dent my wood floors.

BTW- my brother used to deliver newspapers on a unicycle
. I was originally going to use 6, all four corners and two in the middle. I changed it to 8 so that they would be under each vertical support so there was no worry of the 2 middle casters bowing the bottom rail. But putting one under each vertical support the load is carried straight down to the floor. The casters are rated for 500lbs ea. At 1400 lbs for a 125 gallon tank, the original plan for 6 still would have given me roughly 1500 lbs of breathing room. At 8 casters it should have a 4000 lb load rating which should more than cover the weight of the tank.
Granted, they may punch holes through the living room floor, but then again hey, I wasn't really planning on moving the tank anyways...

As far as the unicycle goes, I used to ride years ago. the one in the picture actually belongs to my 12 yo. he got into about a year ago and we bought him one and he taught himself to ride. The stilts are his too..and he likes to juggle. I really should check when the last time the circus was in town and someone might have a lot of explaining to do.... LOL
 
zoomed.com
hikariusa.com
aqaimports.com
Store