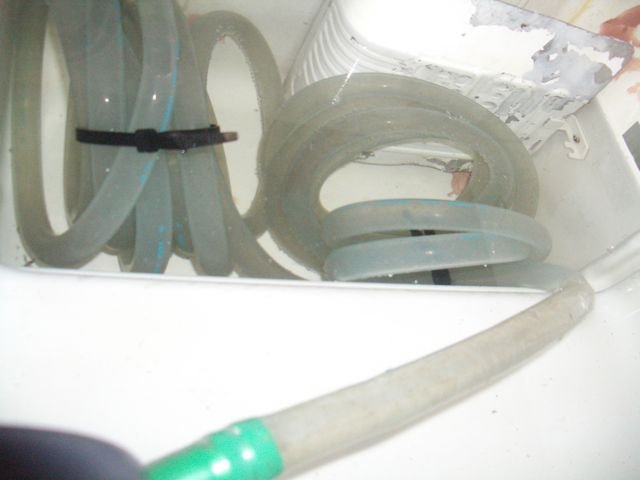
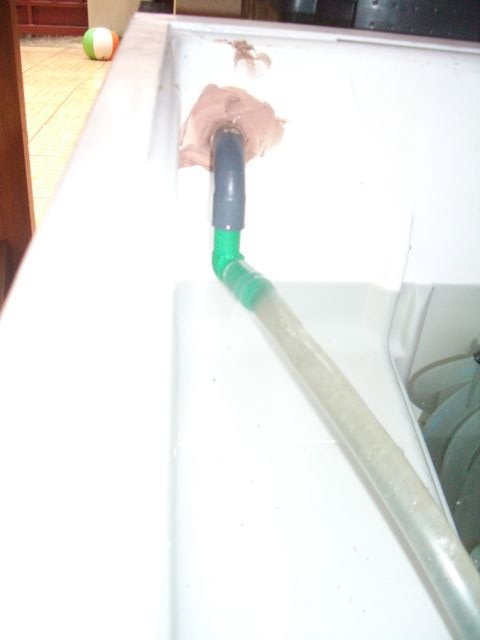
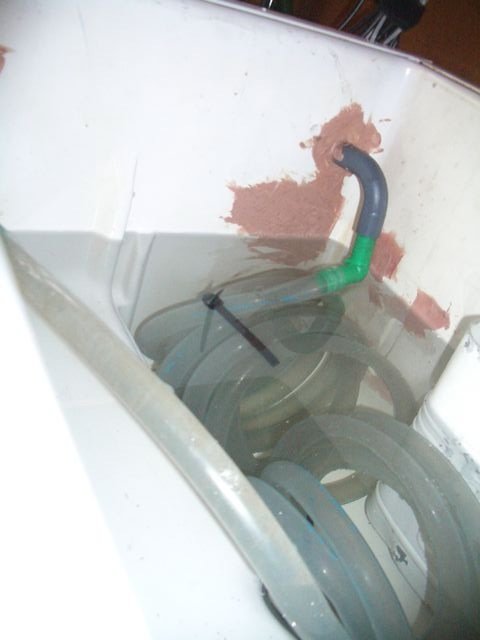
Step 3: Modify and Reuse the Fridge-cabinet
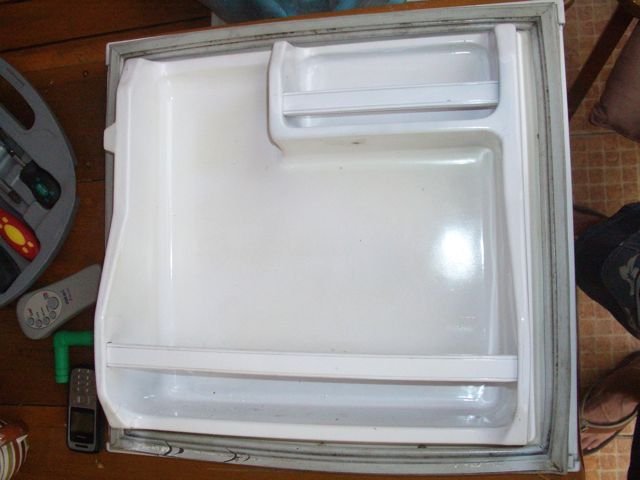
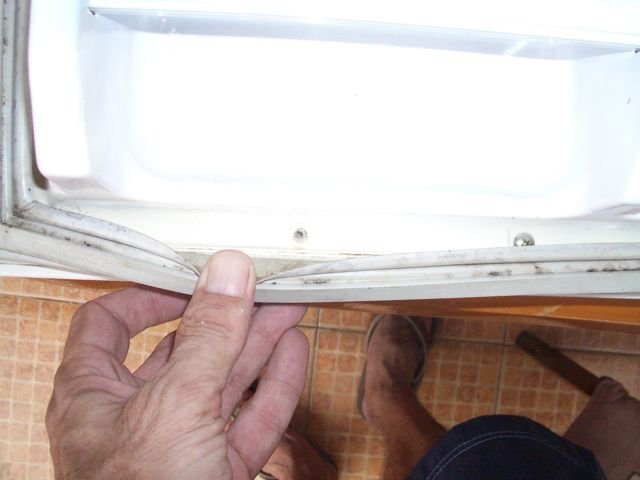
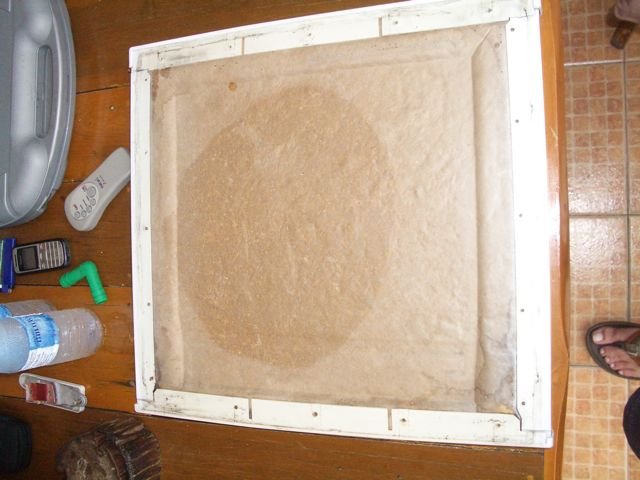
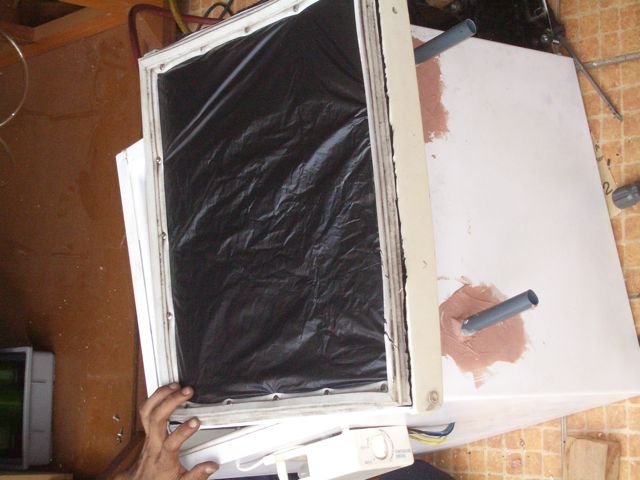
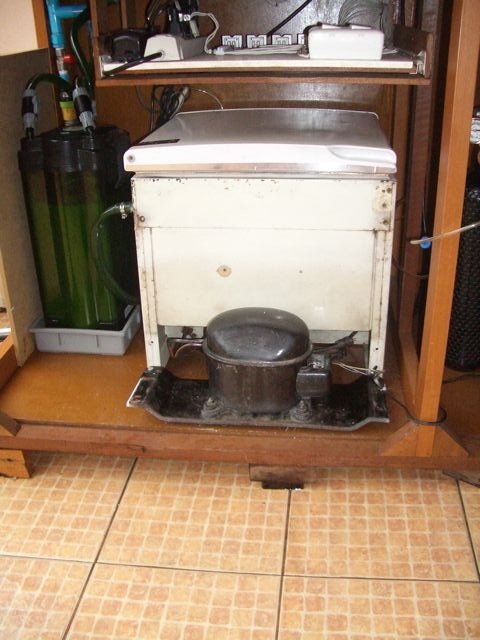
We decided to re-use the fridge-cabinet because of its steel casing and given good isolation as well.
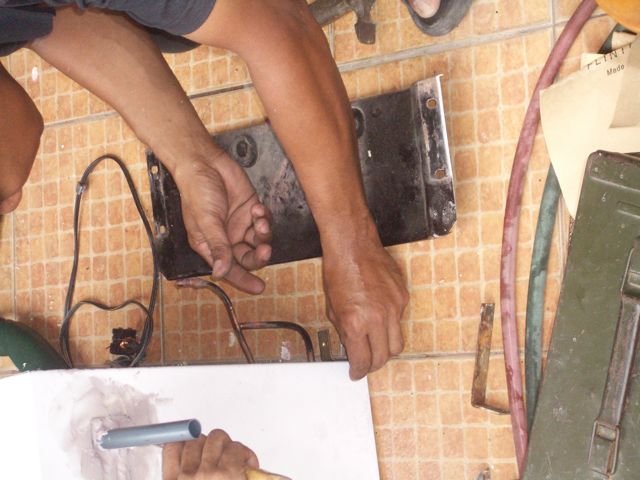
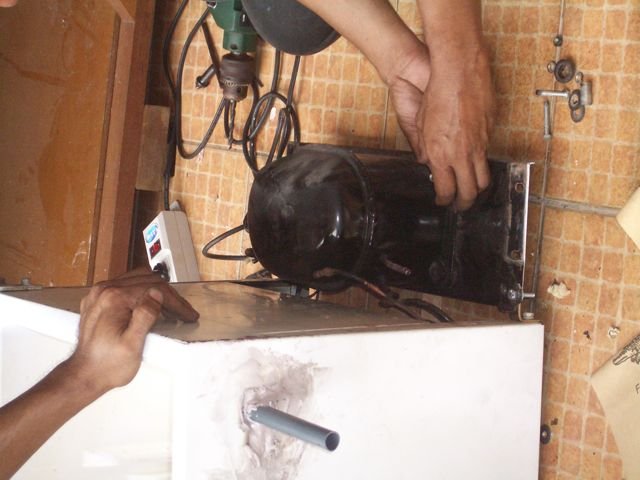
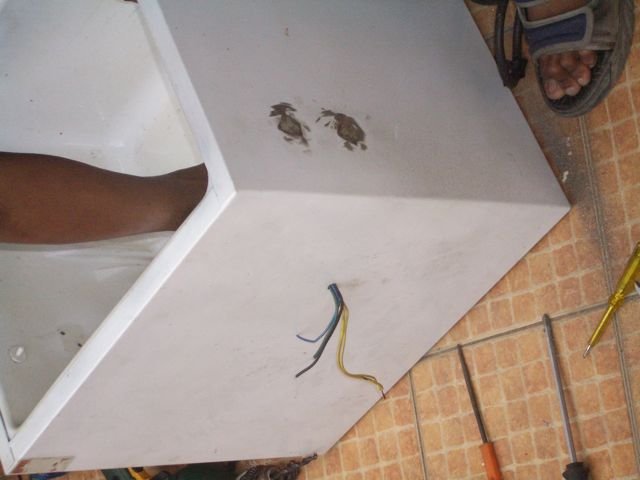
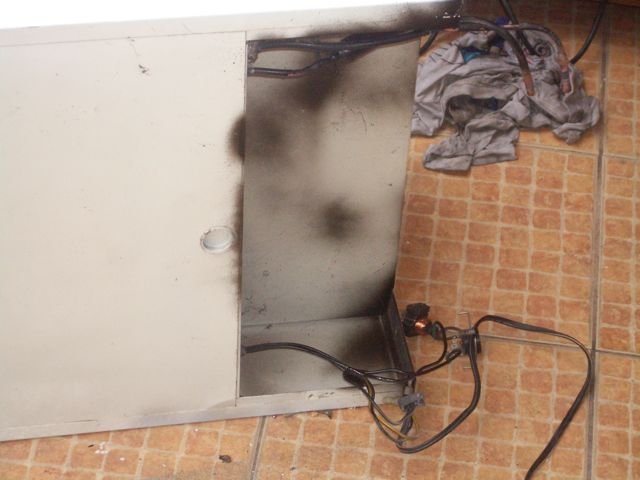
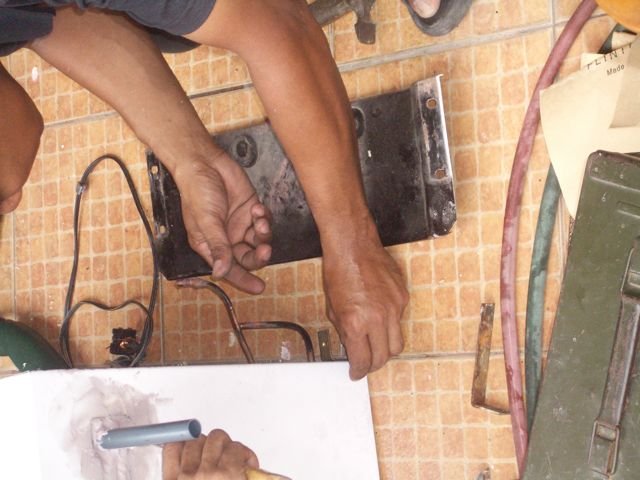
Simply put, we decided to turn the frigde on its back. You can't do this with the compressor of course, so the 'sled' on which the compressor sits moved as well.
To use the cabinet, we had to change/do several things.
1. The thermostat had to move.
2. Change wiring (but re-use because most of it goes through the fridge and isolation, cutting that away would void the idea of using it in the first place.)
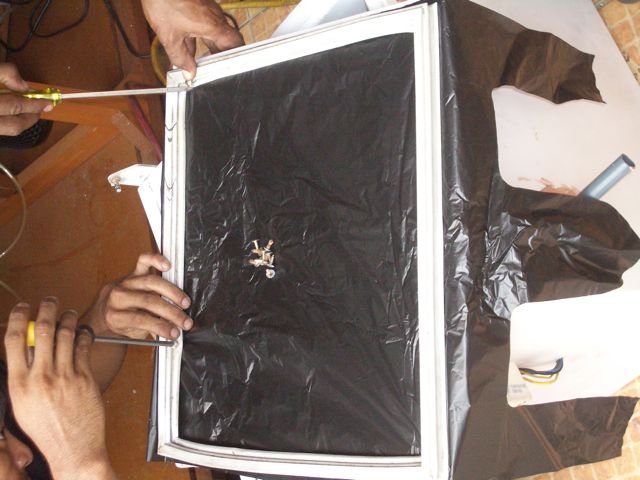
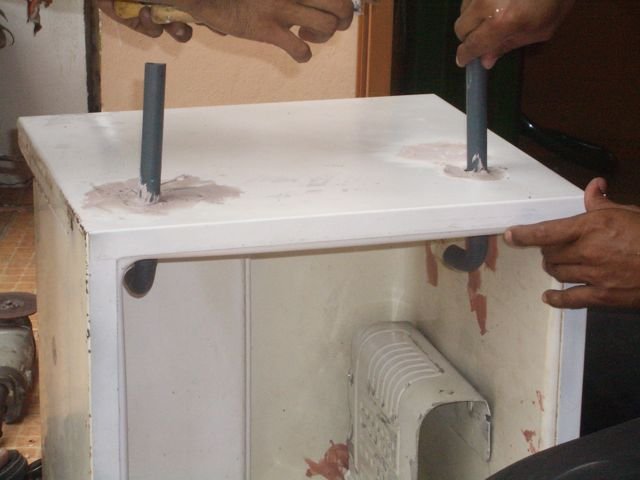
3. Fill the holes.
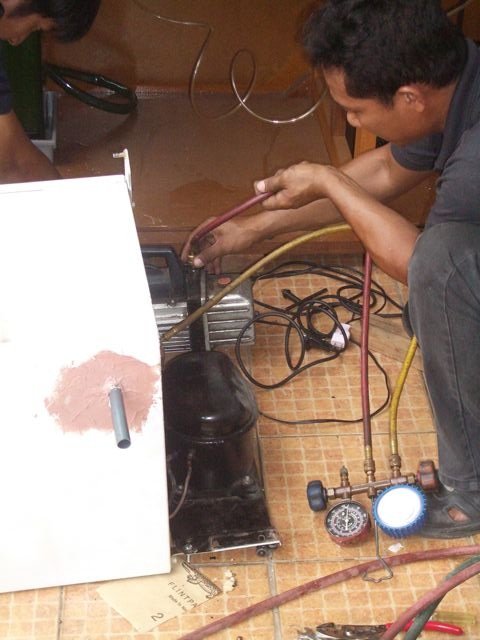
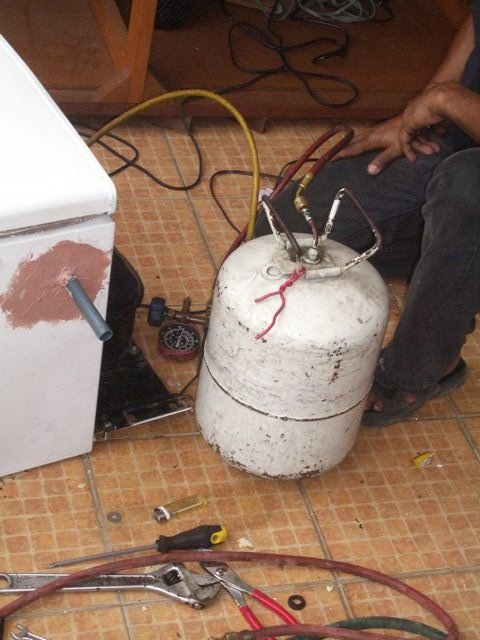
4. Check the pipes of the cooling-element. (The guys found a small hole in one of the pipes. And darn, this is a small dorm-fridge so these pipes are inside the isolation between inner- and outer-wall.) Damaged from the earlier setup with hose and air.
Lesson to be learned here. If there's no 'pipe-frame' on the back of your fridge then sure it is inside your fridge-wall. Drill holes only in the door if you're not sure about the location... (or switch on the fridge, let it run for a while and you'll find the area's they are located getting very hot).
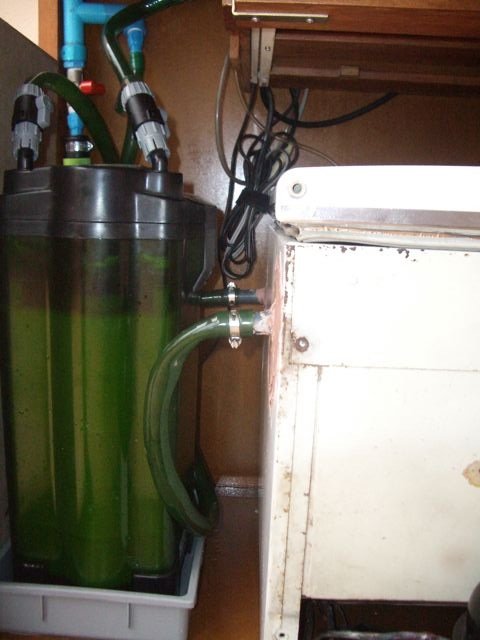
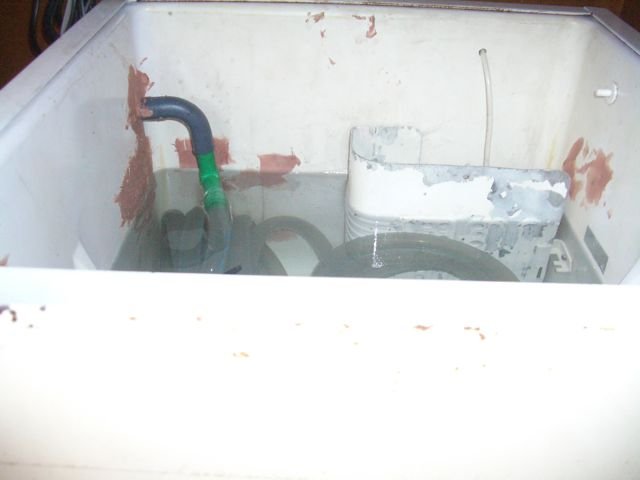
5. Putting the pipes in place for the hose.
6. Patching up the areas with 2-component filler.
7. Bend the in/outlet copper pipes to re-connect later to the compressor. (Many have said it before, once more....Do this very carefully to make sure that especially the very thin lines dont break or flatten on the bend, blocking the flow of coolant.


