99 Gallon Tank Journal

Ok, it's Monday, woke up a bit again. Bob, guess you meant to seal the concrete right?
Anyhow, indeed too late. Did a water-change yesterday, see how long it will take to get to a stable Ph. Once I get that stable Ph, I hope I got the sump ready to start and fill it up with Carbon to take out other potential rubbish. With that running, I can add some small fish and see how that develops.
Started with the surrounding cabinet/hood yesterday. Will post some pictures soon.
My 79G has a nice hood, but I've experience some problems in the design and will try to avoid that now.
1. Electricity separated from the water
- All electrical parts will be connected from the left side of the tank. 'Control' panel over there, including all ballast. Still looking into the heater and controller, and later the Ph controller. Depends on the lenght of the cables I guess (for now).
- My tank is outside as mentioned, so I need to make sure it's not getting damaged with rain, sun and wind.
- Stress on the tank, only from inside. No pressure from the hood on the tank.
- Heat-reduction from the light as well as the ballast.
- Ensure easy access to the fish-tank for maintenance and cleaning.

Will post some pictures soon, still need to get some more wood and other parts.
Still hoping for comments on the Sump. Any suggestions or ideas are very welcome.
Bob? For that one it's not too late yet.... ;-p
 
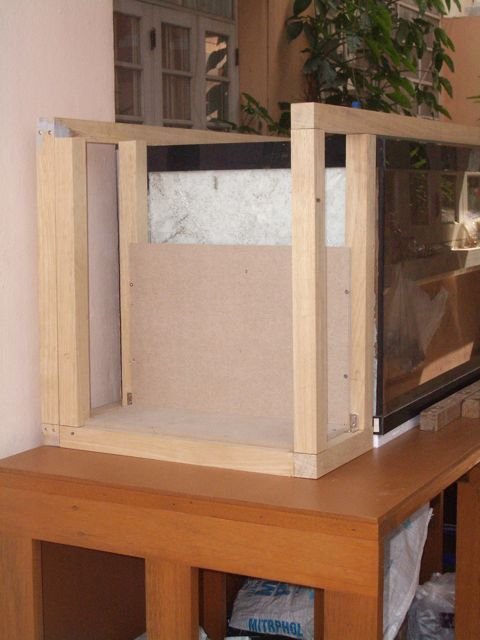
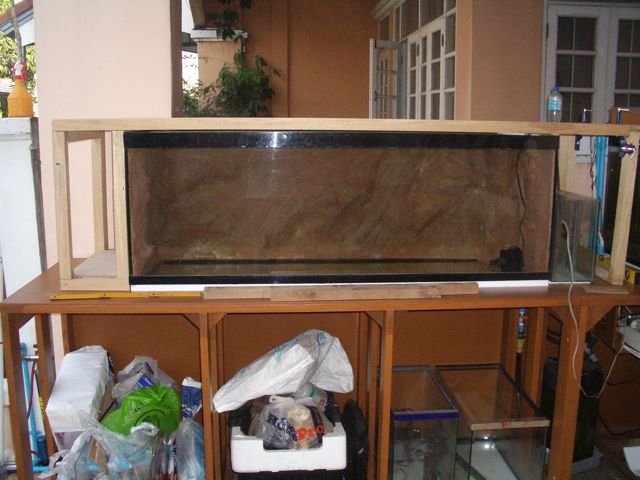
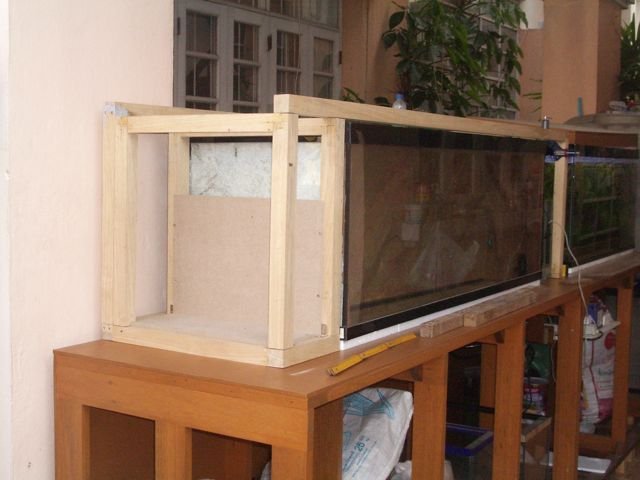
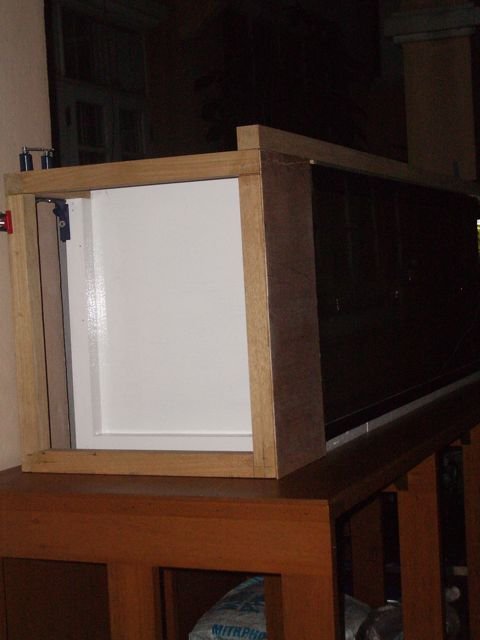
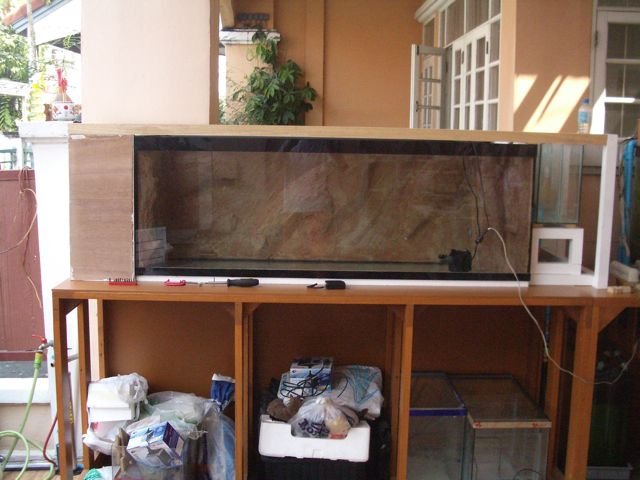
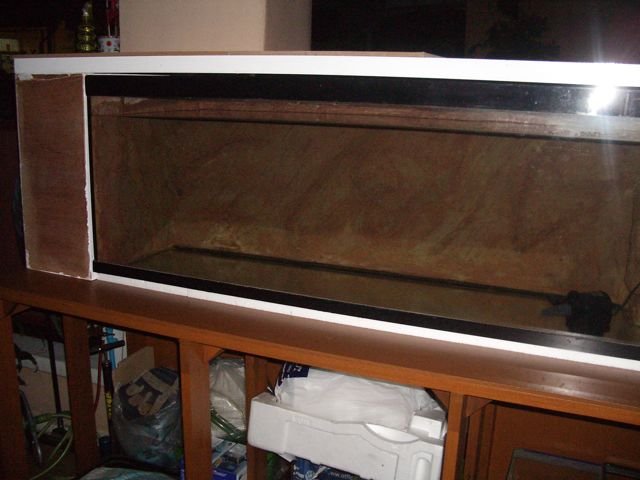
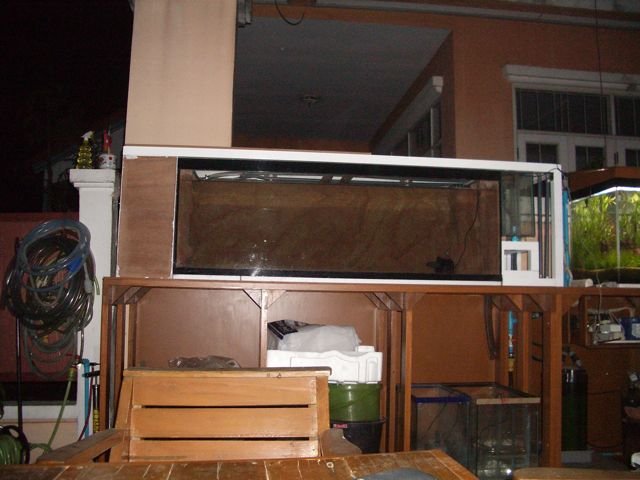
Made some progress this weekend. Working on the hood's framework now.
Need to finish that one before I can start with water and electric because that will all be attached to it.
The pictures speak for itself I think. Hight of the hood will be around 15 cm (6 inch). Not sure on the light yet, would love to have T5 in it, but very hard to get here in Thailand.
Some checking to do in Chatuchak Market. No bad thing anyway, for fish-supplies that is a heaven on earth. You'll find everything you can dream of over there.

Anyhow, for now, the hood will have no reflectors but a glossy flat white surface.
One side will have 4 or 5 high speed fans to get the heat out, the other side will be open to let fresh air in.

IMGP6173.jpg IMGP6174.jpg IMGP6176.jpg
 
Nice progress!
 
Been a couple of days, but received wood for the back and top.
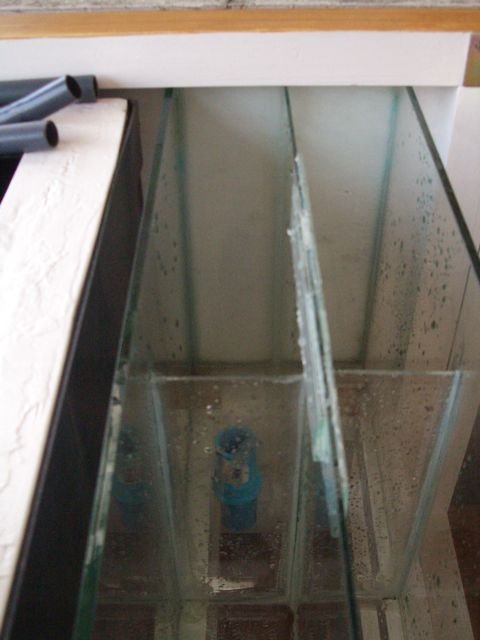
Read through my earlier post for a DIY Chiller and got the solution for getting the copper tubing of it 'directly' into the sump without it leaching copper into my tank.

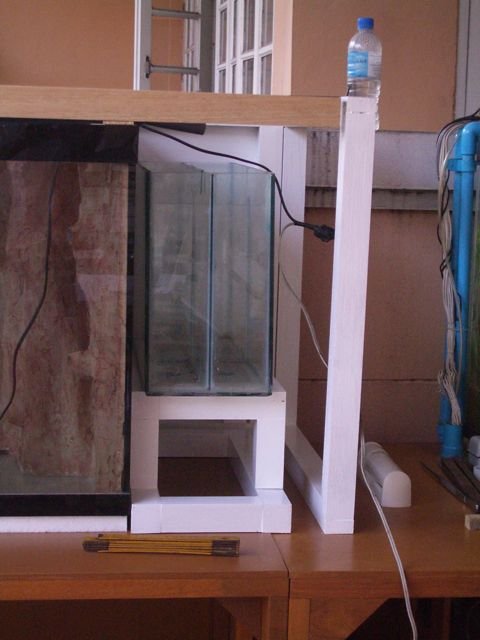
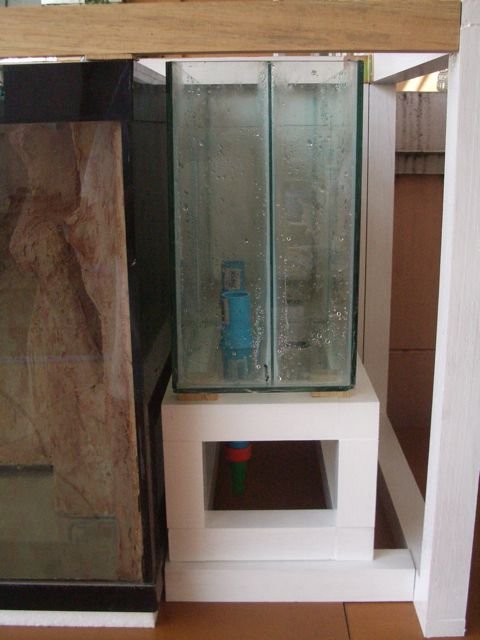
To do that, I'll simply partition the equipment-sump into two compartments, 1 compartment will be sealed 100% from the rest and this is where the copper-tube goes in.

The glass, being a very good conductor of heat/cold, will not pose much of a barrier and give me very good efficiency.

Only need to measure and cut the right pieces of glass, install with silicone and fill up the compartment with water.

Connect chiller to the same power-outlet as the sump (which will be safe-guarded to a water-level switch, and we're sure that it will not freeze when anything happens to the pump and sump.

Will post some pictures soon on the progress, the enclosure of the tank is moving forward but takes time.
Tank is still curing, seems to be slowing down in Ph-increase. Have plenty of time for that, sump will be done this weekend, then drilling the connections with the equipment-tank and start on the plumbing with tank and overflow.
 
Weekend almost finished. Some progress on the tank.
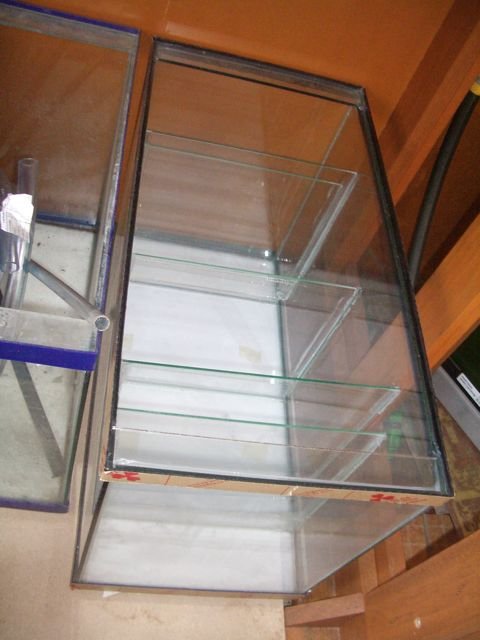
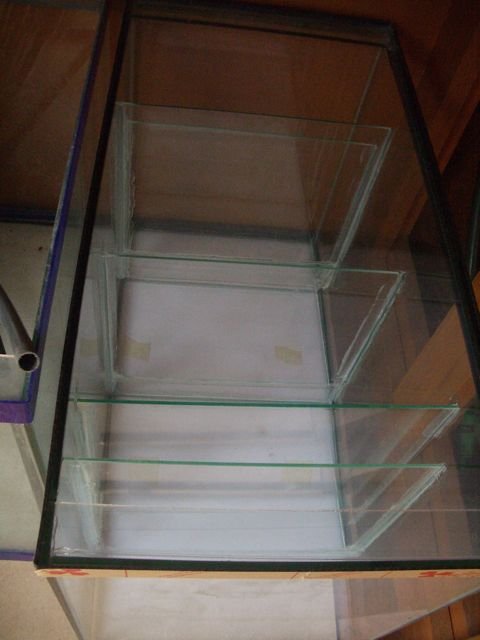
First, sump. Almost finished. Got everything glued though migh add some smaller pieces of glass around to top edge to give support to a cover.
No need to comment on my silicone-glass skills, still practice but it should hold the water as planned..
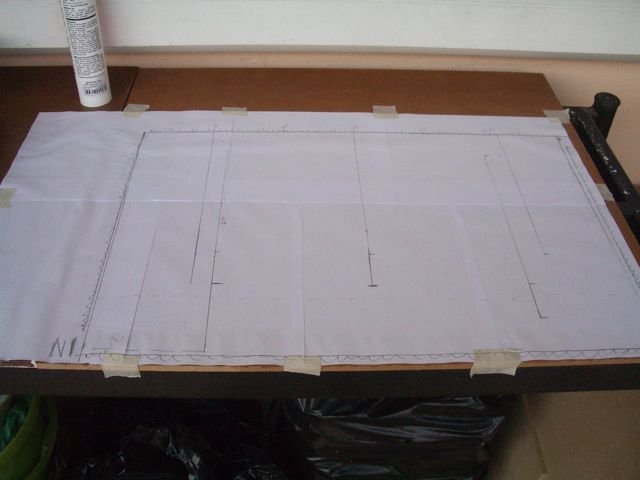
To make sure I would get everything in the right way (I'm the kind that always gets at least one part the wrong way around), I made a drawing of the side of the sump in 1/1 scale and drew all the parts in.
Tank on top and nothing can go wrong.
Picture 1: drawing of the sump (top is bottom of the sump! Picture should be upside down)
Picture 2 & 3: the result after 24 hours drying.

IMGP6179.jpg IMGP6180.jpg IMGP6185.jpg
 
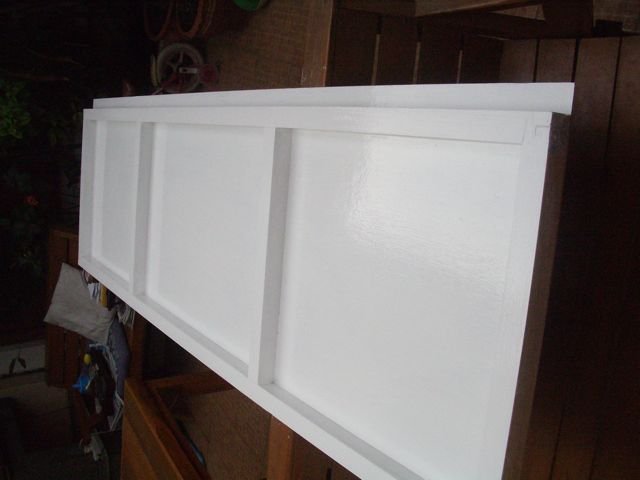
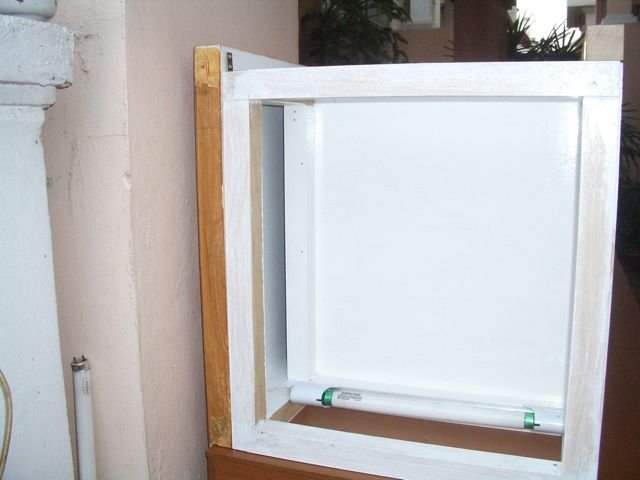
Finished the backside of the hood/enclosure as well bar 4 layers of clear-coat to make it water proof.
It has an overhang at the bottom to prevent rain from getting under the wood and get me in trouble.
Painted it white, though most of it will be hidden behind the tank. This piece will hold the top with lights. It will be bolted to the wood-enclosures on both sides of the tank.
Left side for electricity, right side for overflow and returns.
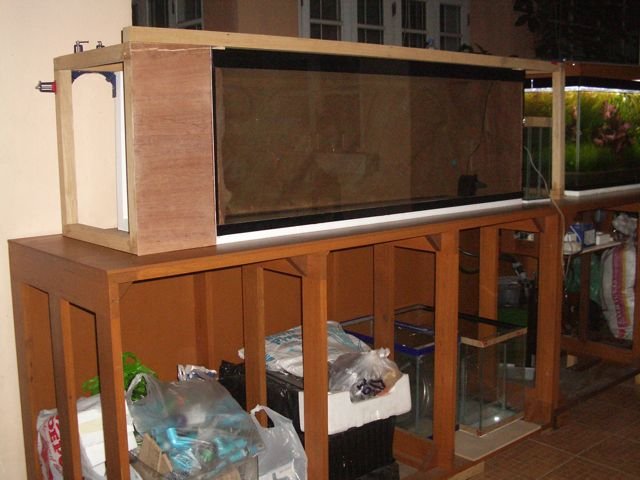
Electricity enclosure starts to look like it, more painting and sanding to do and then start to layout the light-switches and stuff. What you see is the inside frame-work. All will be topped with tropical wood for the looks.

IMGP6188.jpg IMGP6191.jpg IMGP6193.jpg
 
Some updates again on the tank.
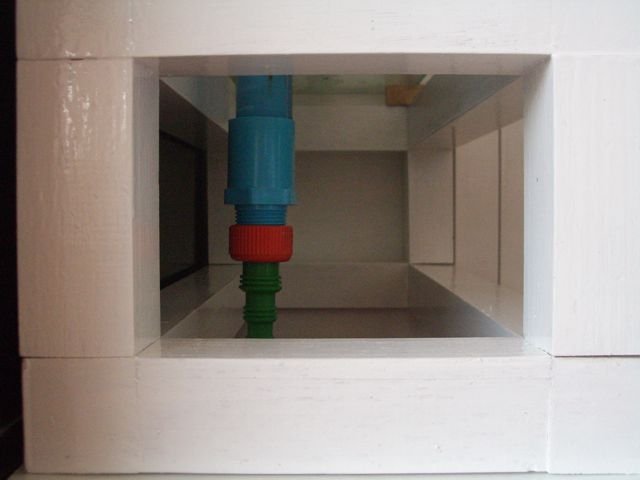
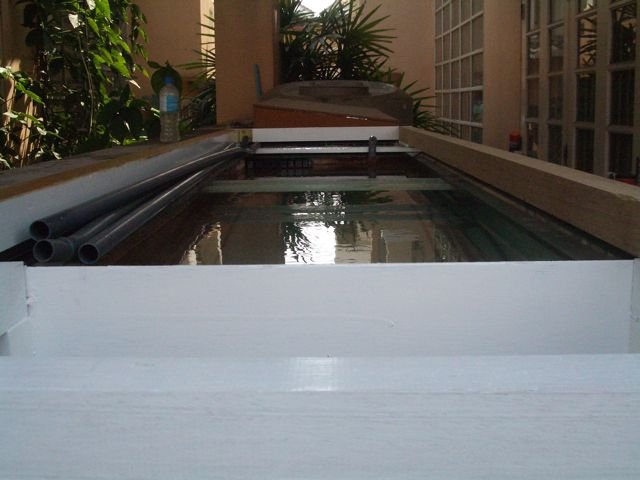
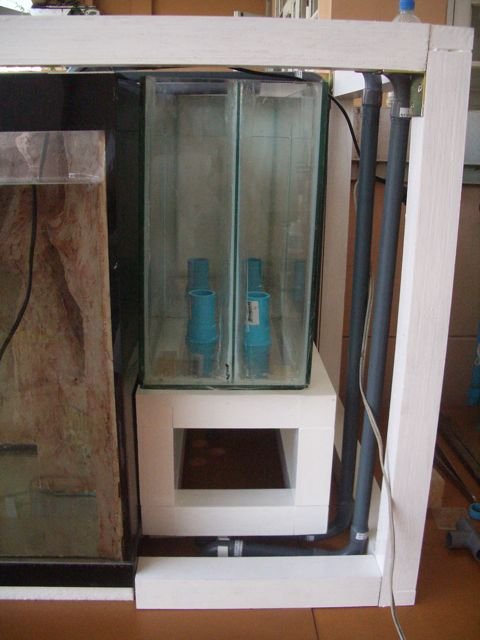
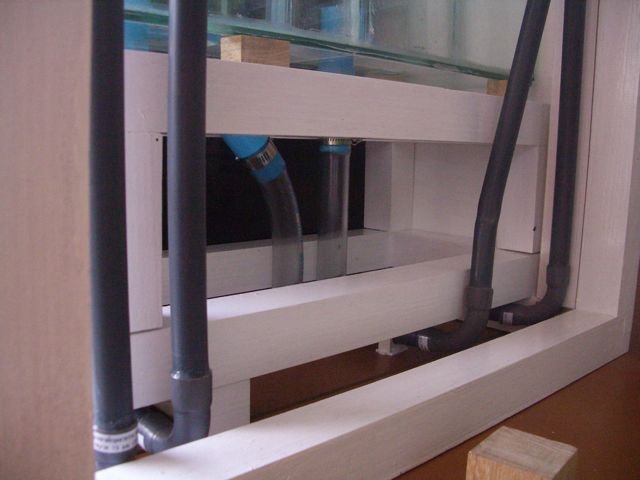
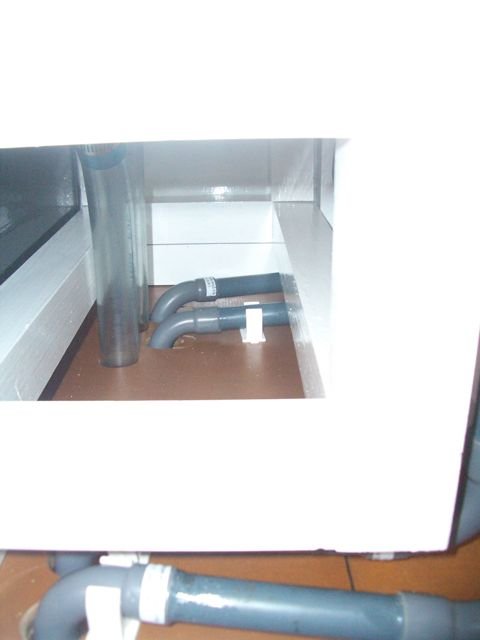
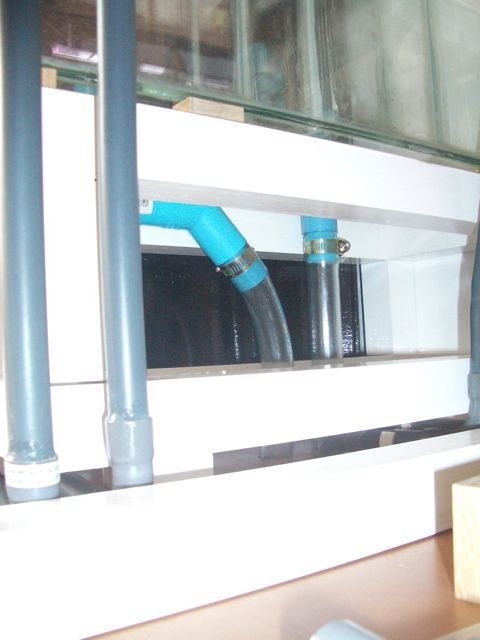
Started assembly of the enclosure and connections for overflow, sump and electricity. Just some pictures to show the progress.

Water is coming to normal levels, it's 4 weeks now I guess, Ph not moving much anymore. Nothing I can't control with CO2 and WC anyway.
Got some connectors and hose today and hopefully, I can finalize on the water-connections top-side tomorrow.
More pictures to come, first today's work.

IMGP6200.jpg IMGP6201.jpg IMGP6203.jpg IMGP6205.jpg IMGP6206.jpg IMGP6208.jpg IMGP6209.jpg
 
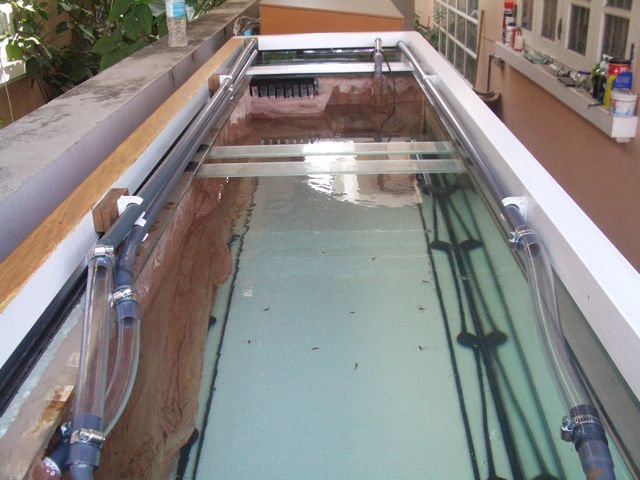
Pretty much finished the top 'wet-system' today.
Everything is now test-fitted, next weekend I hope to make some progress on the sump and hopefully in a week or two I'm ready to do a first wet-test.
Pictures attached...

I've put 2 pieces of compressed wood on top (left half of the tank) just to have an idea of the total thickness of the hood.
The final cover will be 2 sheets of plywood (very thin sheet, like 1/8 inch or so) that will cover a frame of 2cm thickness. The top will be coated with stain/finish, the bottom or inside as you wish, will be high gloss white.
T-8 lights, 7 of them mounted on this and all cables sandwiched inside the frame.

IMGP6211.jpg IMGP6212.jpg IMGP6216.jpg IMGP6218.jpg IMGP6220.jpg IMGP6227.jpg IMGP6231.jpg
 
The frame/hood is shaping up really sturdy. Better then I expected.
As for the right side, wood will be similar in covering the overflow.
Next step of course to be the other tank to line up and use half of the overflow-box.
Can't wait to get water and lights switched on and running
 
AquariaCentral.com